Foraging and gathering— two beautiful words that have been lost in an increasingly noisy, busy and disconnected world. Somewhere in the midst of our cold and white winter, Ellen and I dreamed up a cooking and foraging class at her farm on a beautiful summer night.
Read MoreCookery Maven Blog
Pancetta & Potatoes
I have a thing for pancetta— not just any old, plastic wrapped, sliced too thinly pancetta but the white butcher paper wrapped, fresh pancetta from Northern Waters Smokehaus in Duluth. Given my Irish heritage, I also have a thing for potatoes and for absolutely no reason other than it tastes good, I really like German potato salad. Last week, I got busy boiling, sauteing and mixing up my version of the perfect warm potato salad and it was really, really good— like 'lick your plate clean' kind of good. And to think, it all started with a package of pancetta— I love it when inspiration strikes in the form of cured pork.
Warm Potato Salad with Pancetta
Ingredients
1 pound baby Yukon Gold potatoes
1 Vidalia onion, sliced
1 sweet potato, peeled and cut into cubes
6 tablespoons butter
3 tablespoons champagne vinegar
1 tablespoon stone ground mustard
3 - 5 sprigs of lemon thyme
2 tablespoons chives, chopped
Salt and coarsely ground pepper, to taste
Preparation
Bring a large saucepan of salted water to a boil. Add the potatoes and cook over high heat until tender, about 10 minutes. Drain, shaking off any excess water.
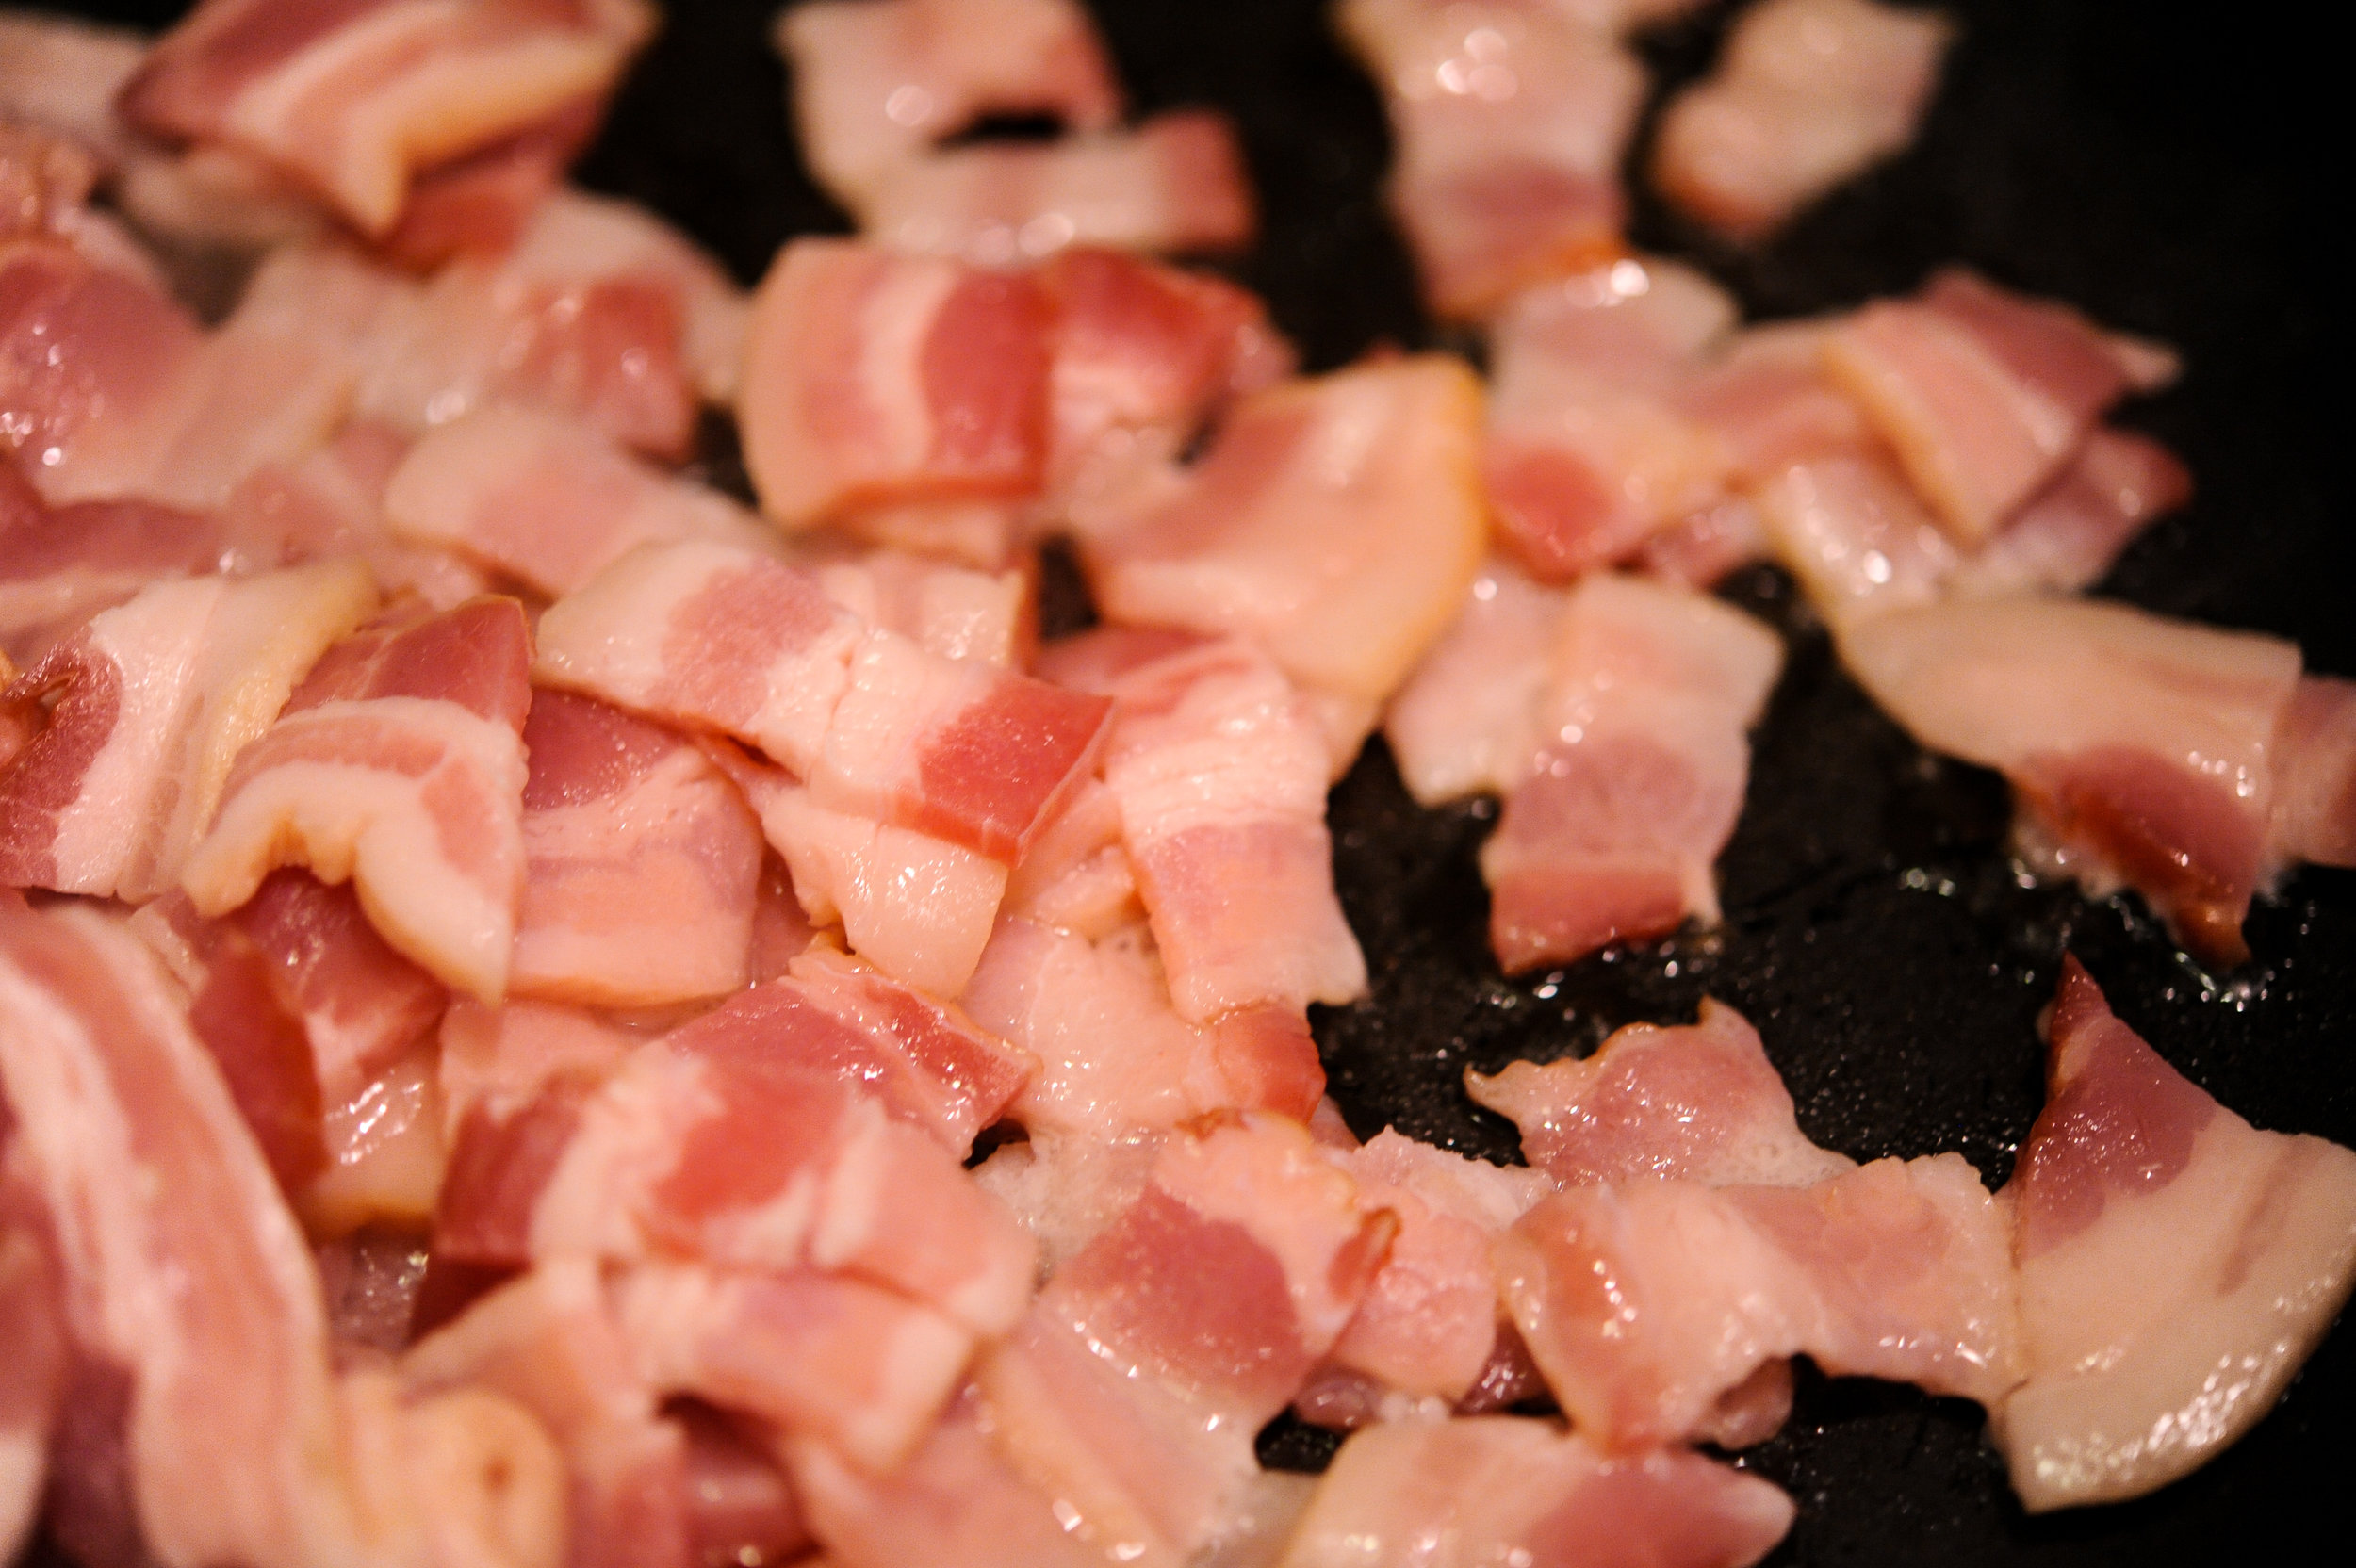
Meanwhile, in a large skillet, melt 3 tablespoons of the butter over medium heat. Add the sliced onions and thyme sprigs, sauté until golden brown, about 10 minutes. Remove the onions and thyme sprigs, add the pancetta and cook over medium heat, stirring frequently, until just beginning to brown, about 3 minutes. Add the remaining 3 tablespoons of butter and cook, stirring occasionally, until the pancetta is golden and the butter is just beginning to brown, about 2 minutes.
Whisk the vinegar and mustard into the pancetta mixture; season with salt and pepper. Add the potatoes and the chives and toss until evenly coated. Serve the potato salad warm or at room temperature.
Homemade Pretzels & Beer Cheese
Have you ever wondered what quark is? Has it kept you up at night, tossing and turning with its Star Trek sounding name? Well, it's been a burning question in my mind for a while now and I decided to scratch that itch when I was at Mount Royal grocery store last week. I knew that quark was cheese and I knew I needed some for a beer cheese recipe from my new favorite cookbook, The Art of Living According to Joe Beef, so I put in the cart— right next to the Taleggio, Fromager d'Affinois and English cheddar. Joe Beef is a restaurant in Montreal that I really, really want to visit someday and when Anthony Bourdain interviewed the two men behind Joe Beef, Frederic Morin and David McMillan, on his show featuring Montreal— the deal was sealed, they are my kind of people. I was hooked from the minute they seared a lobe of foie gras on the wood stove in their ice fishing shack— I have a thing for hedonists, what can I say?
Back to the quark. According to the LA Times, 'quark is just the German word for "curds." A creamy, fresh cheese, quark's curds come together to form something magical — rich with a gentle tang, it's spreadable, kind of a cross between sour cream and soft ricotta cheese. Variations of the cheese can be found throughout Scandinavia and Eastern Europe.' It's also easy to make and it's on my list of things to try when it's not 80 degrees and unbelievably humid (recipe here).
The Joe Beef beer cheese was a snap to put together and tasted fresh and a little garlicky with just a hint of beer. I didn't have any Styrofoam cups or cheese molds and substituted a large-ish fine mesh strainer lined with coffee filters. It worked out okay but since the interior of the cheese is kind of runny, the presentation would be much prettier in a smaller container. I'm definitely putting this cheese in the appetizer rotation in my kitchen— it's perfect with pretzels, Ritz crackers or celery sticks (if you are trying to tone down your inner Hedonist).
Beer Cheese(from The Art of Living According to Joe Beef)
4.5 ounces quark cheese
4.5 ounces cream cheese
3.5 ounces blue cheese
1/2 cup pilsner beer
1 teaspoon salt
1/2 teaspoon black pepper
1/2 clove garlic, finely minced (don't be tempted to add more than a half of a clove, you don't want the garlic to overwhelm the beer notes)
Hefty pinch of paprika
4 (4 ounce) cheese molds with holes or four Styrofoam cups with holes poked in the sides and bottom
4 paper coffee filters to make the cheese
Preparation
Leave the cheeses at room temperature for about one hour. In a small pot, warm the beer over medium heat and then remove from the heat.
In a food processor, combine the cheeses, beer, garlic, salt, pepper and paprika and process until smooth.
If you are using Styrofoam cups, use a hot nail or a small pointed knife to poke holes in each cup, spacing them every square inch. You should have about 30 holes per cup. Dampen the coffee filters and line each perforated cup or cheese mold with a filter.
Divide the cheese mixture into 4 equal portions and put a portion in each lined cup. Put the cups on a rimmed plate, cover and refrigerate overnight. When you are ready to serve them, unmold each cheese and place on a plate. You can keep the cheese, covered, in the refrigerator for about one week.
Now that I had the beer cheese/quark question answered, it was on to the next burning question— how do you make soft pretzels? The kids love pretzels but I had heard tales of boiling the uncooked, twisted pieces of dough prior to baking and decided that was definitely not for me— until Sadie asked if we could try to make some on Sunday. Since I needed a beer cheese delivery vehicle, we decided to try out our pretzel making skills. As it turns out, Sadie is way better at knotting the pretzel dough into the perfect shape than I am—my pretzels looked a little chubby and squat next to her lithe and graceful masterpieces. Regardless, they tasted great and were the perfect accompaniment to the beer cheese. Pretzels and beer cheese— a match made in beer garden heaven.
Homemade Pretzels (from cdkitchen.com and Auntie Anne's)
1 1/2 cup warm water
1 1/8 teaspoon active dry yeast
2 tablespoons brown sugar
1 1/8 teaspoon salt
1 cup bread flour
3 cups regular flour
2 cups warm water
2 tablespoons baking soda
Coarse salt, to taste
4 tablespoons butter (melted)
Preparation
Sprinkle yeast on lukewarm water in mixing bowl; stir to dissolve. Add sugar, salt and stir to dissolve; add flour and knead dough until smooth and elastic. Let rise at least 1/2 hour.
While dough is rising, prepare a baking soda water bath with 2 cups warm water and 2 Tbsp baking soda. Be certain to stir often. After dough has risen, pinch off bits of dough and roll into a long rope* (about 1/2 inch or less thick) and shape. Dip pretzel in soda solution and place on greased baking sheet. Allow pretzels to rise again. Bake in 450 degrees F oven for about 10 minutes or until golden. Brush with melted butter, sprinkle with salt and enjoy.
Quick & Dirty Key Lime Pie
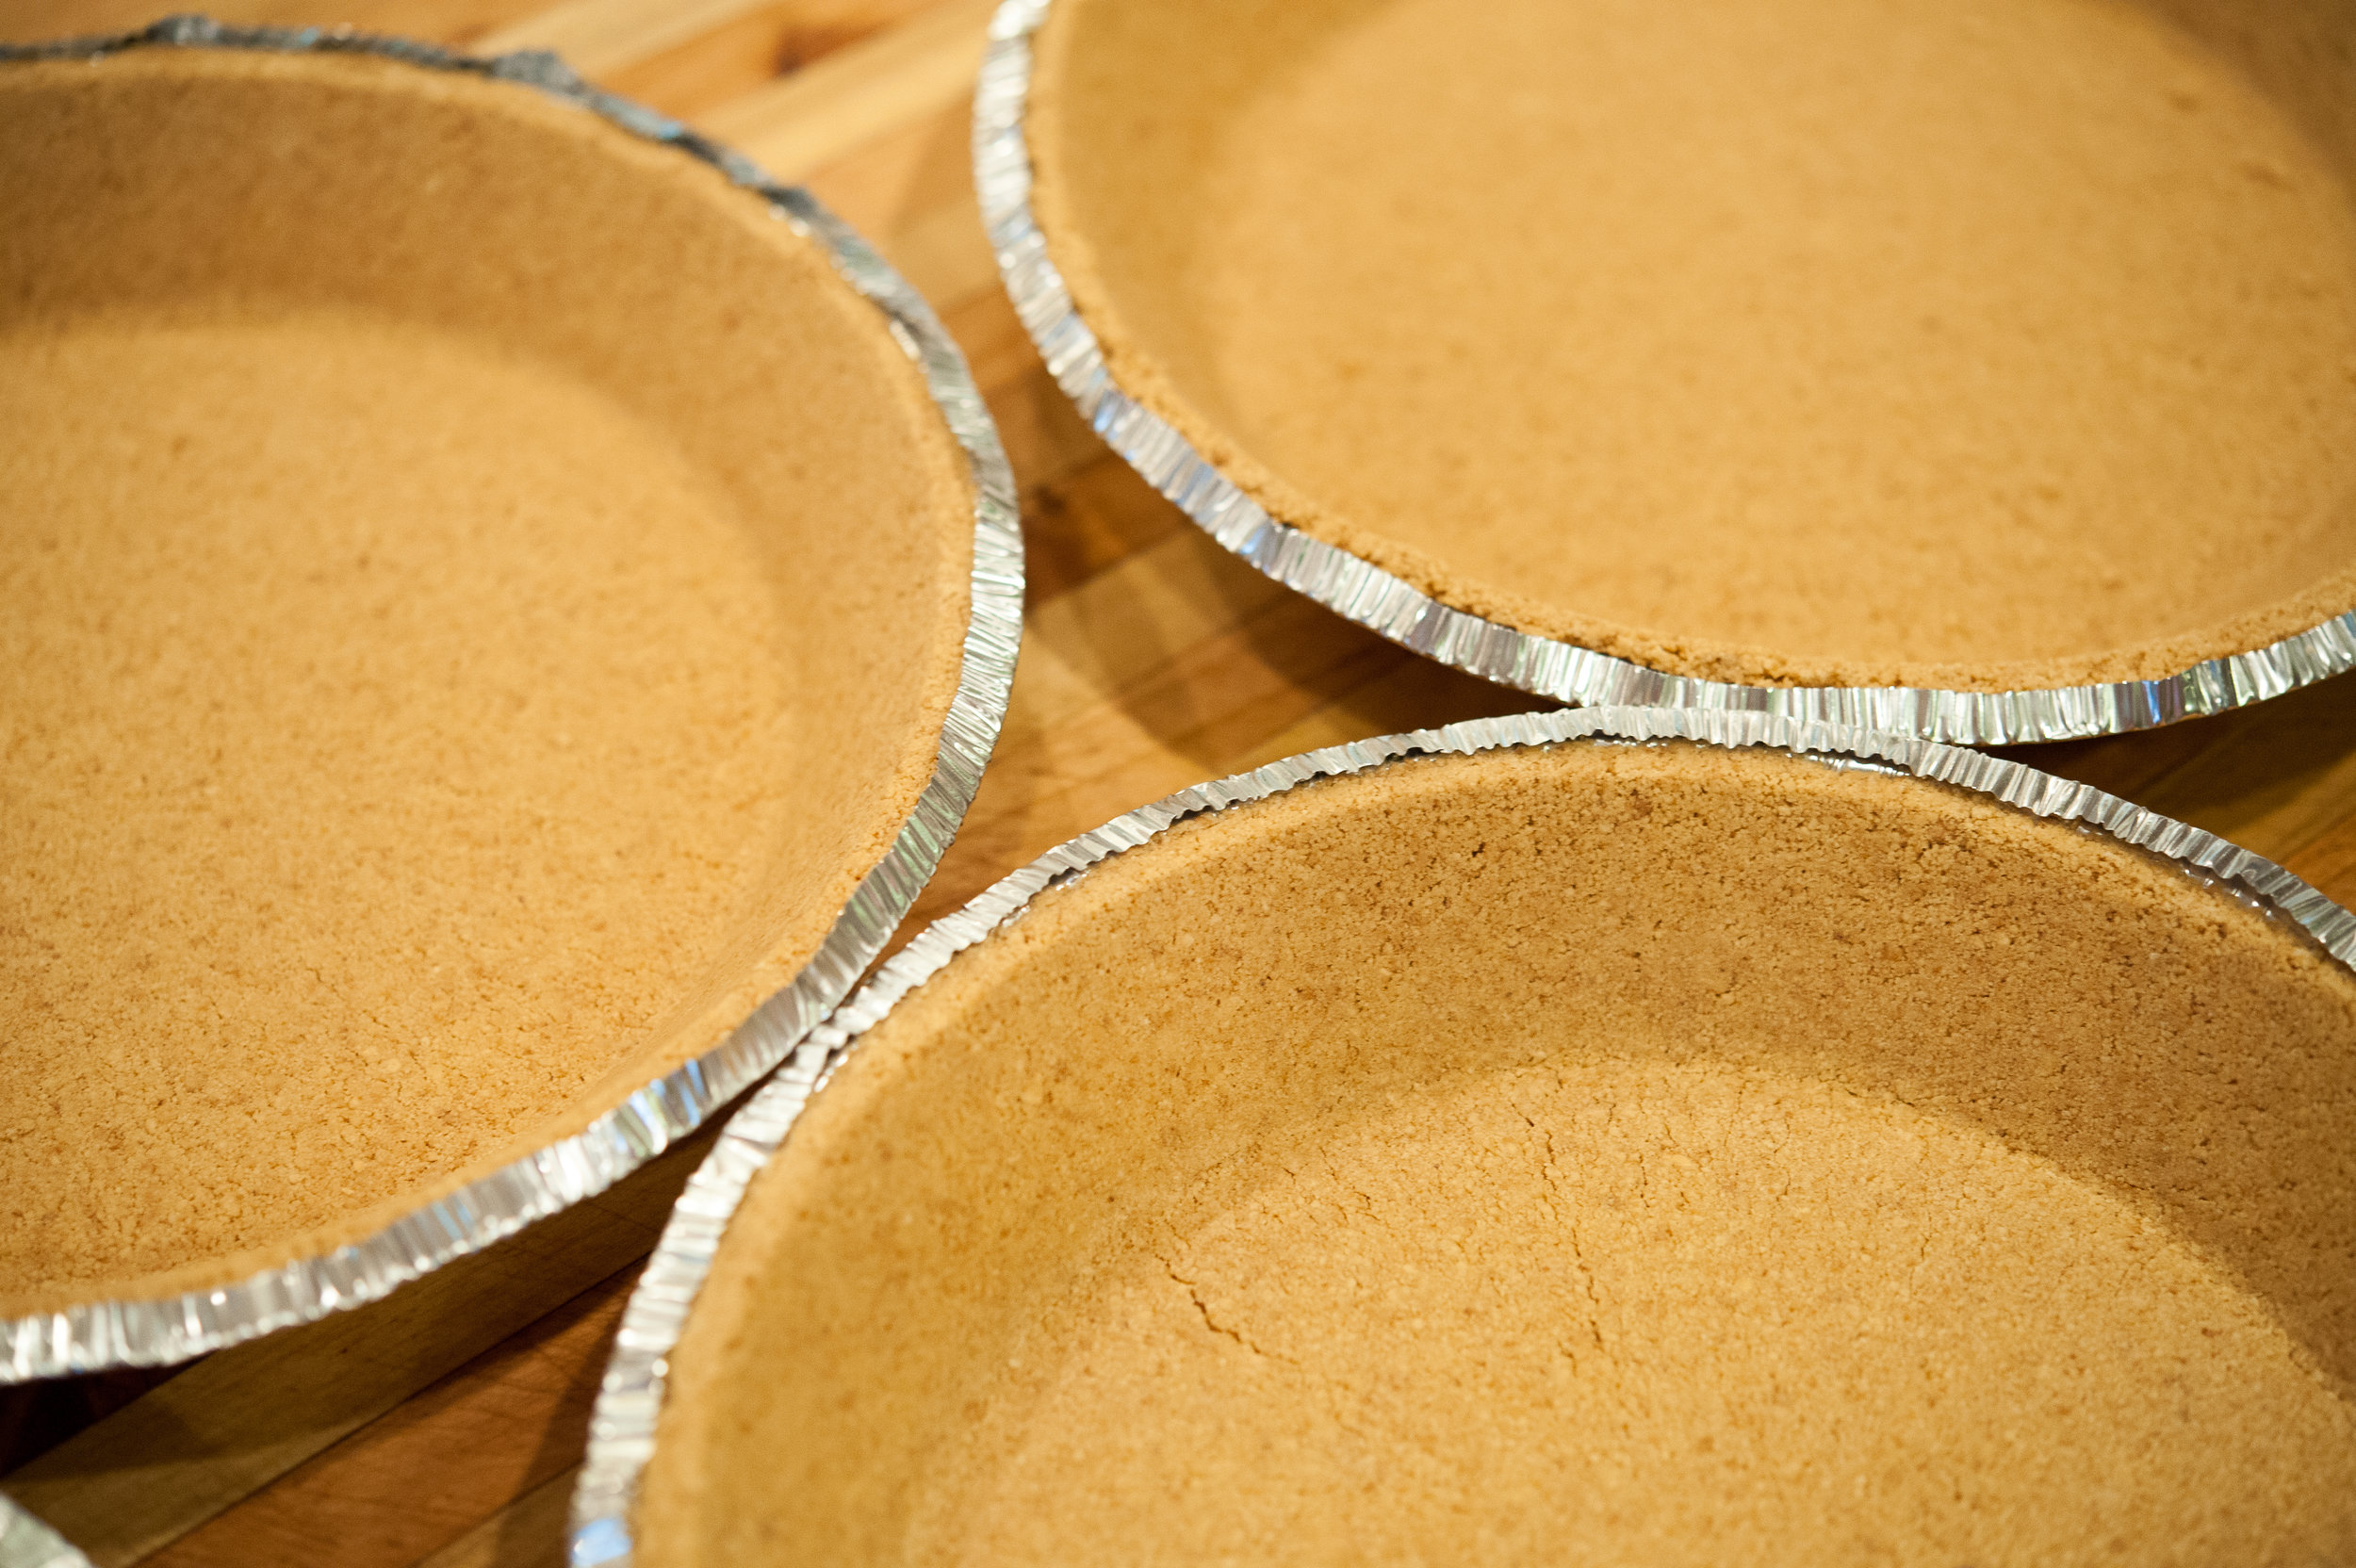
Everyone needs an easy pie in their repertoire and key lime pie is my summer version of a little black dress. I know that fresh key lime juice would be lovely but if you've ever tried to juice the barely-larger-than-a-walnut key limes, you'll understand why I use Nellie and Joe's key lime juice. You can substitute regular, Persian limes (or key limes) if you prefer to squeeze your own but since I'm going for quick and dirty— it's bottled juice all the way for this girl. Throw in a pre-made graham cracker crust pie shell and you can go from sad and pie-less to happy and pie-full in about 30 minutes.
Quick & Dirty Key Lime Pie(Adapted from Emeril Lagasse)
1 pre-made graham cracker pie crusts ( I used Keebler)
2 (14-ounce) cans sweetened condensed milk
1 cup key lime or regular lime juice
2 whole large eggs
1 cup sour cream
3 tablespoons powdered sugar, plus extra for dusting
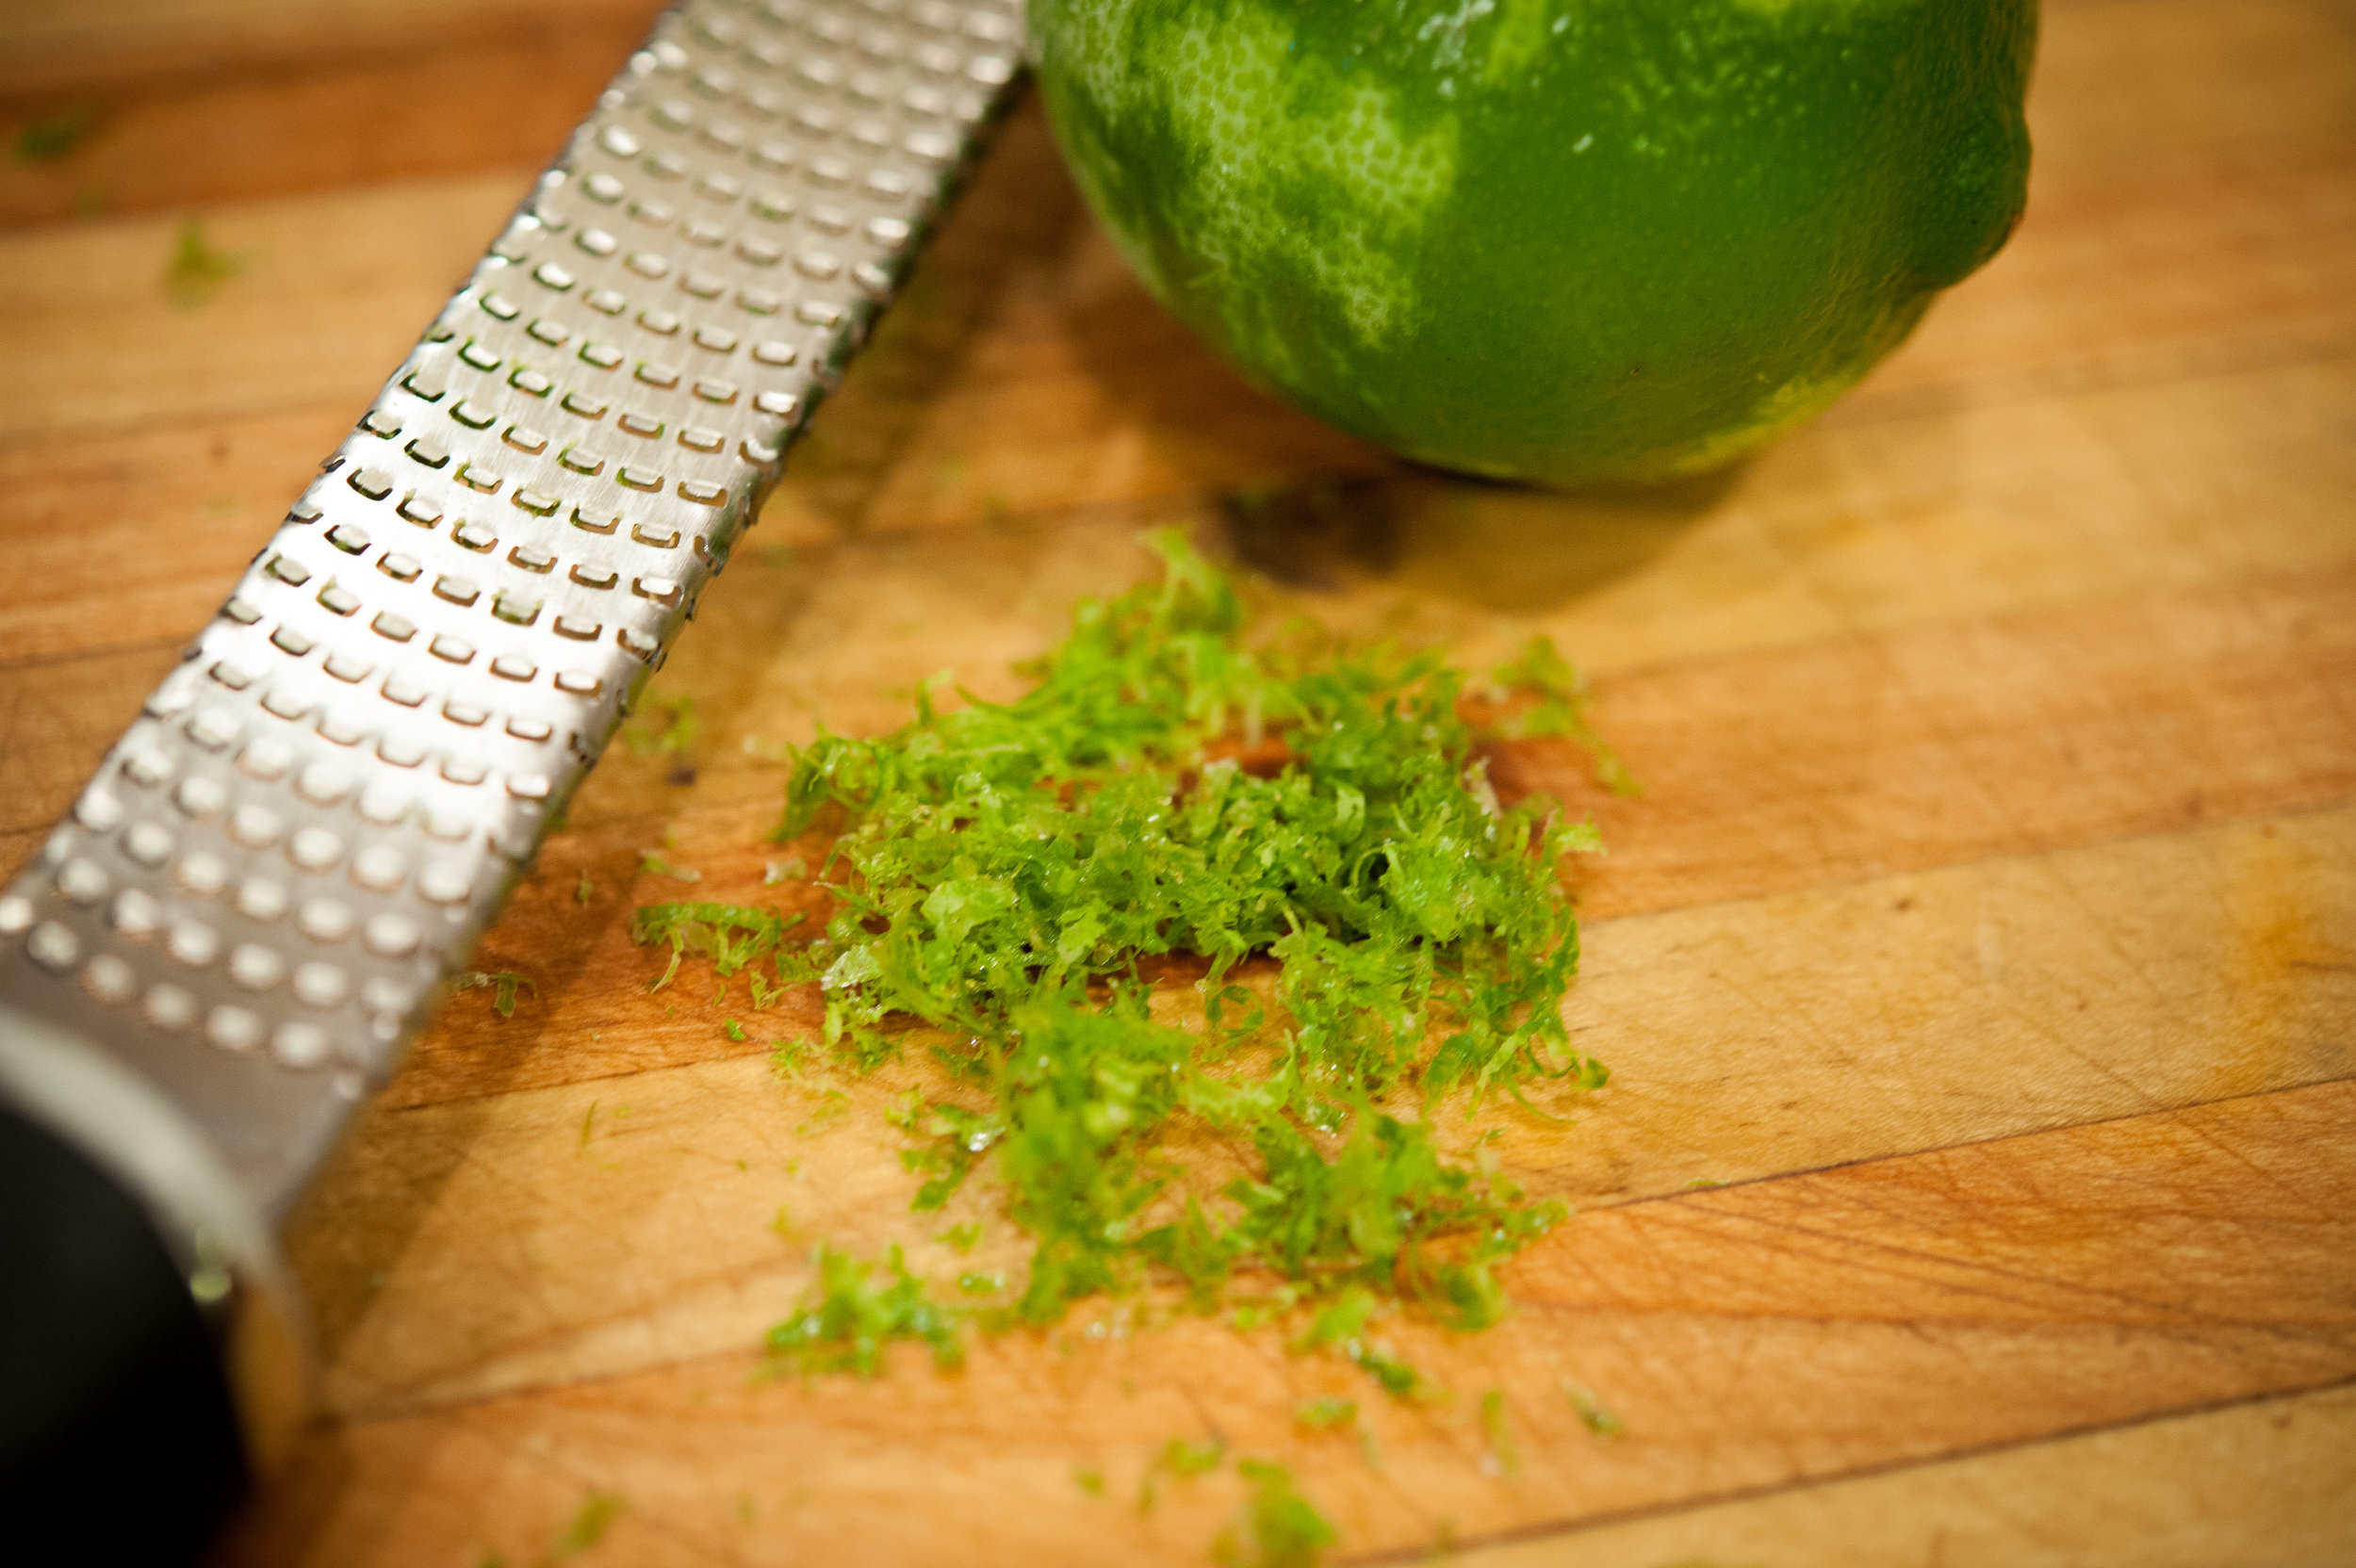
1 tablespoon lime zest
Preparation
Preheat the oven to 325 degrees. In a mixing bowl, combine the condensed milk, lime juice, and eggs. Whisk until well blended and place the filling in the pie shells. Bake in the oven for 15 minutes and allow to chill in the refrigerator for at least 2 hours.
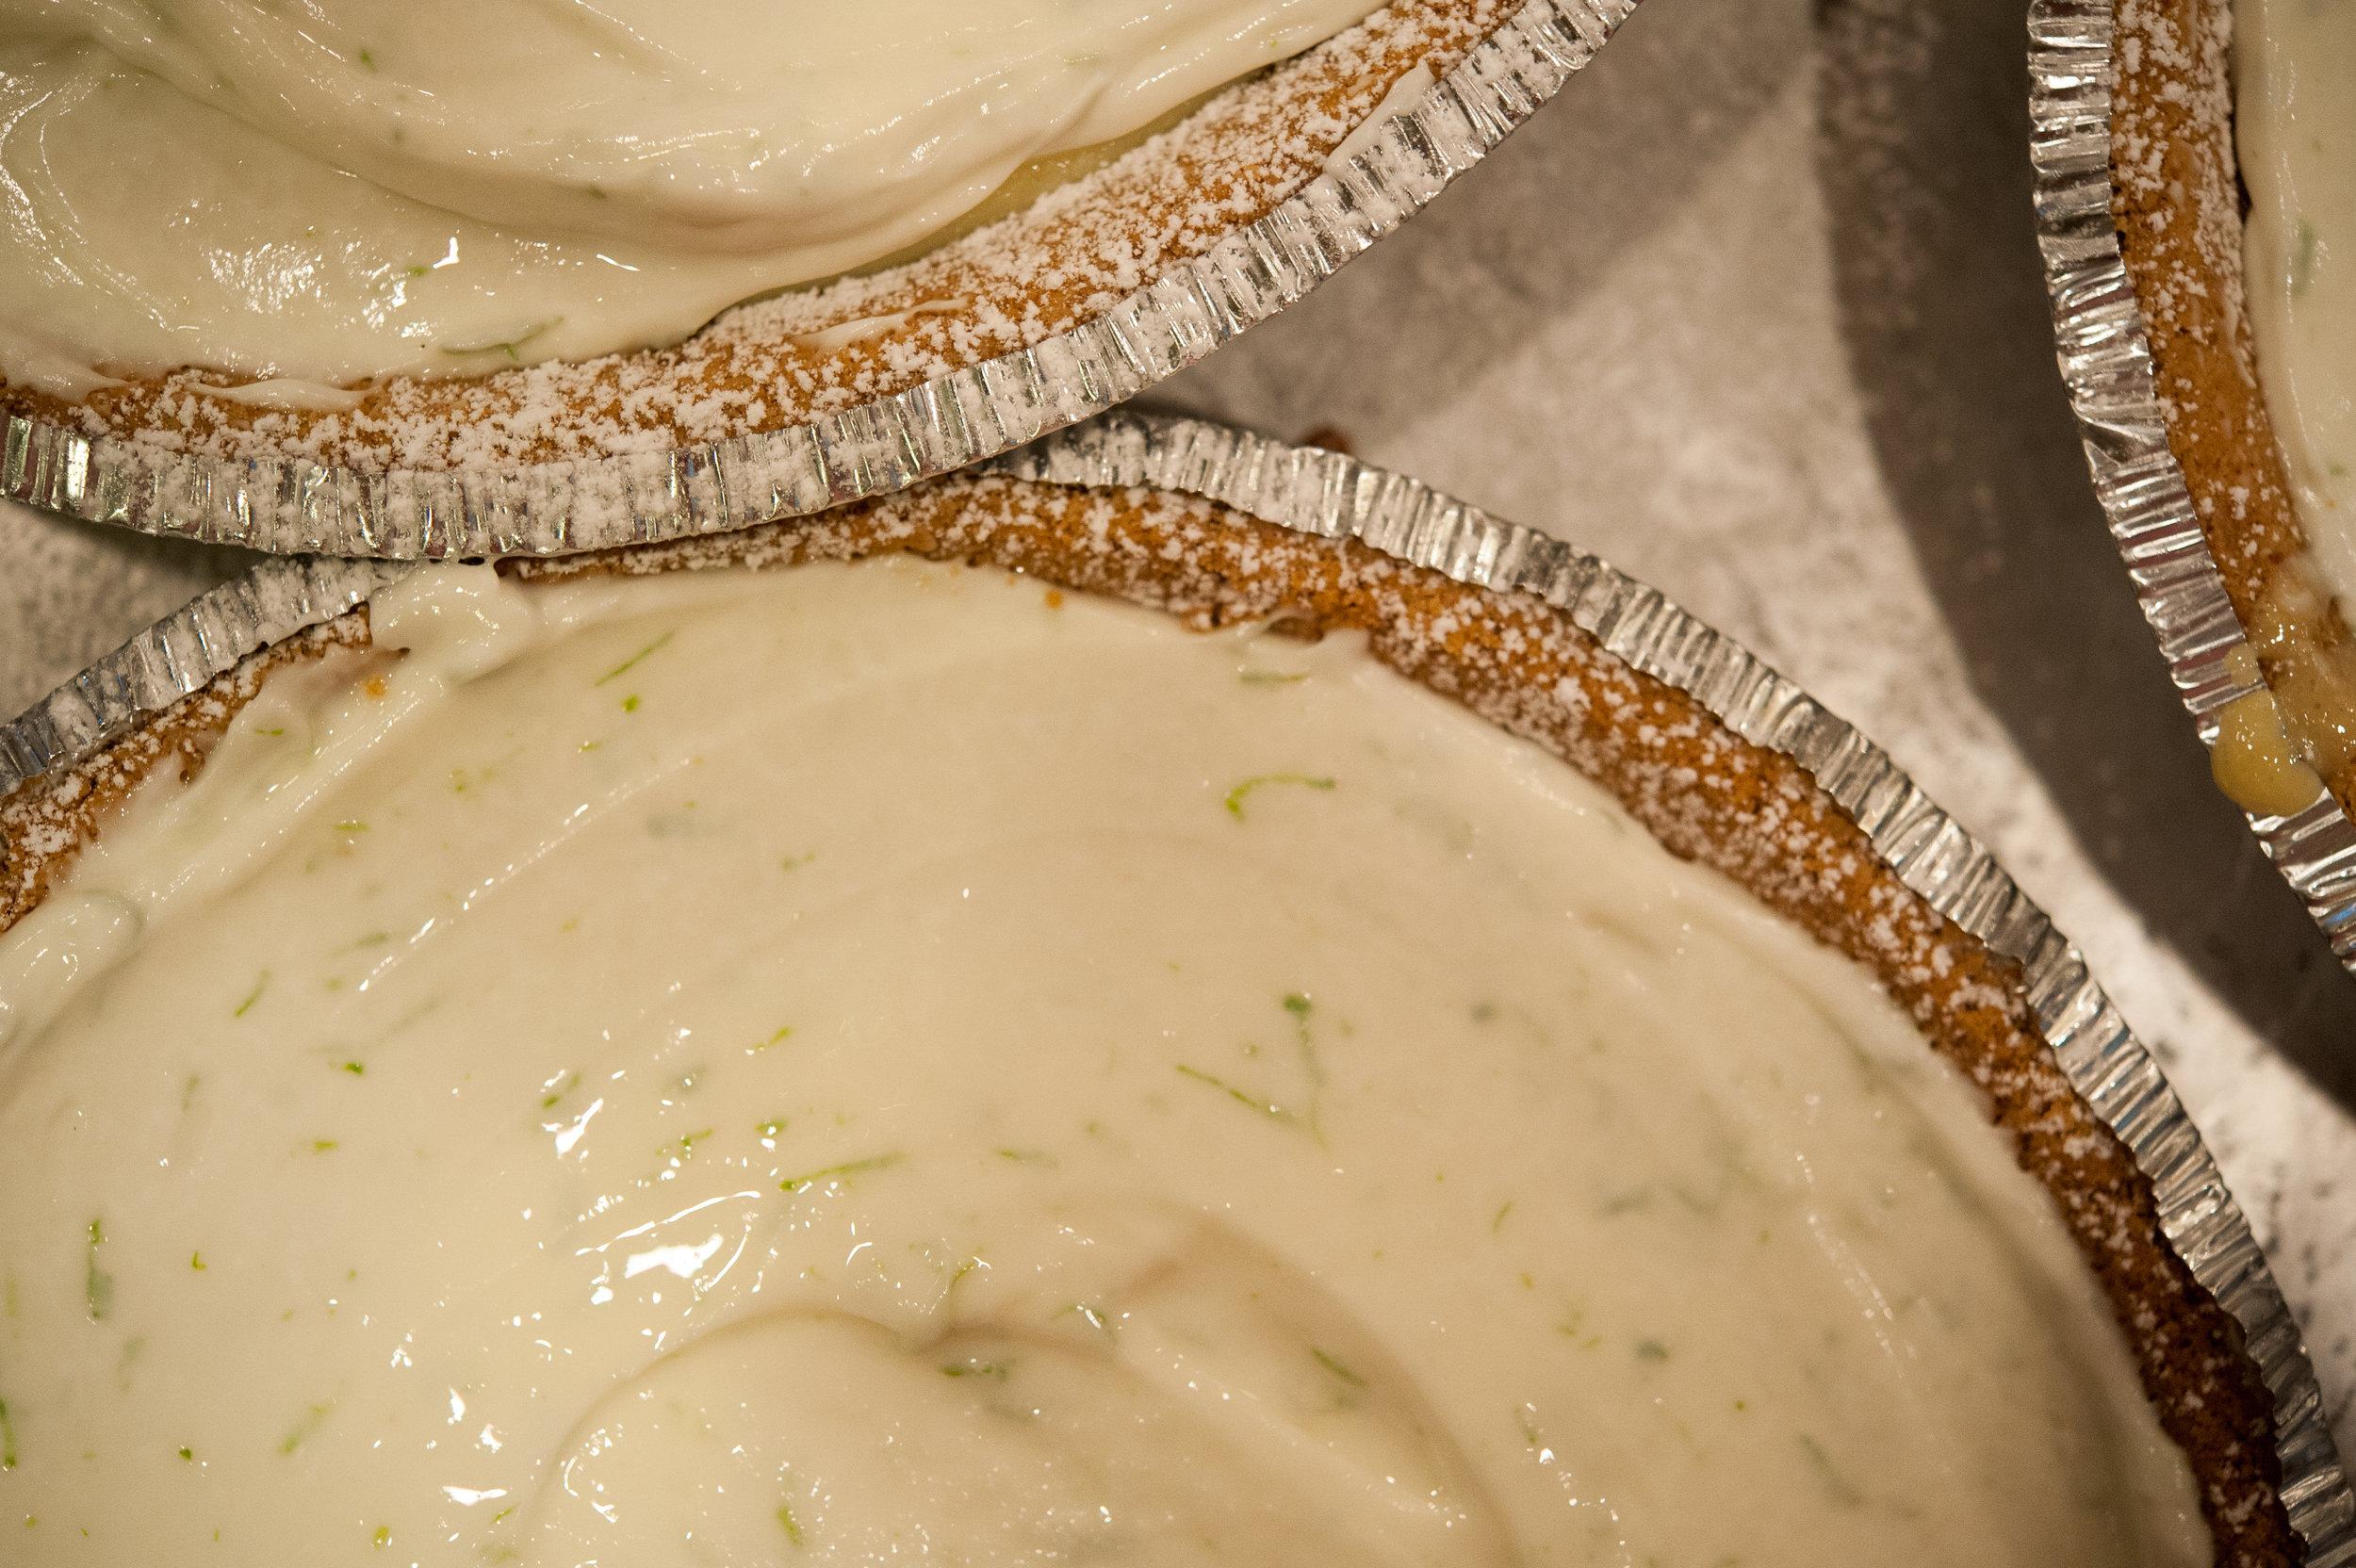
Once chilled, combine the sour cream, lime zest and powdered sugar and spread over the top of the pie using a spatula. Sprinkle the powdered sugar as a garnish on top of the sour cream and serve chilled.
Beef Empanadas- A Beefy Meal In A Pastry Package
I've always had a thing for anything (sweet or savory) wrapped in a flaky dough. When my parents would go out for dinner when I was young, my sister, Bridget, and I would get to choose what we wanted to eat for dinner. My Mom always made dinner from scratch and anything from the frozen food aisle or in a box seemed exotic and was a treat when the babysitter arrived for the evening. It was always a battle between Swanson's chicken pot pie (me) and Kraft macaroni and cheese (Bridget)— nine times out of ten, chicken pot pies won (I'm the oldest and have always been a little overbearing in the food department). So, when Tom and Jen (my brother and sister-in-law) showed up in Bayfield with empanadas on the dinner docket, I was a happy camper.
I recently had my first pasty in Mineral Point a few months ago and I was excited to try the south of the border version of a self-contained, pastry wrapped meat pie. The combination of currants, hard-boiled egg, flaky pastry and warm South American spices were brilliant and exactly what I was hungry for. I followed the recipe down to the letter and while I'm not exactly sure what the vodka brought to the table in regards to the dough, I have to say the pastry was beautifully flaky. I think I should make these for Bridget when she comes home in July— she ate a lot of Swanson's when we were little and I really should make it up to her. Beef empanadas are a good place to start.
Beef Empanadas (Cooks Illustrated May 2010)
Filling
1 large slice hearty white sandwich bread, torn into quarters
½ cup plus 2 tbsp. chicken broth (preferably homemade or low sodium)
1 pound 85 % lean ground chuck
1 tbsp. olive oil
2 medium onions, chopped fine
4 medium garlic cloves, minced
1 tsp. ground cumin
¼ tsp. cayenne
1/8 tsp. ground cloves
½ cup cilantro leaves, coarsely chopped
2 hard-cooked eggs, coarsely chopped
1/3 cup raisins or currants, coarsely chopped
¼ cup pitted green olives, coarsely chopped
4 tsp. cider vinegar
Salt and pepper to taste
Dough 3 cups unbleached all-purpose flour, plus extra for work surface 1 cup masa harina 1 tbsp. sugar 2 tsp. table salt 12 tbsp. (1 ½ sticks) unsalted butter, cut into ½ inch cubes and chilled ½ cup cold vodka or tequila ½ cup cold water 5 tablespoons olive oil
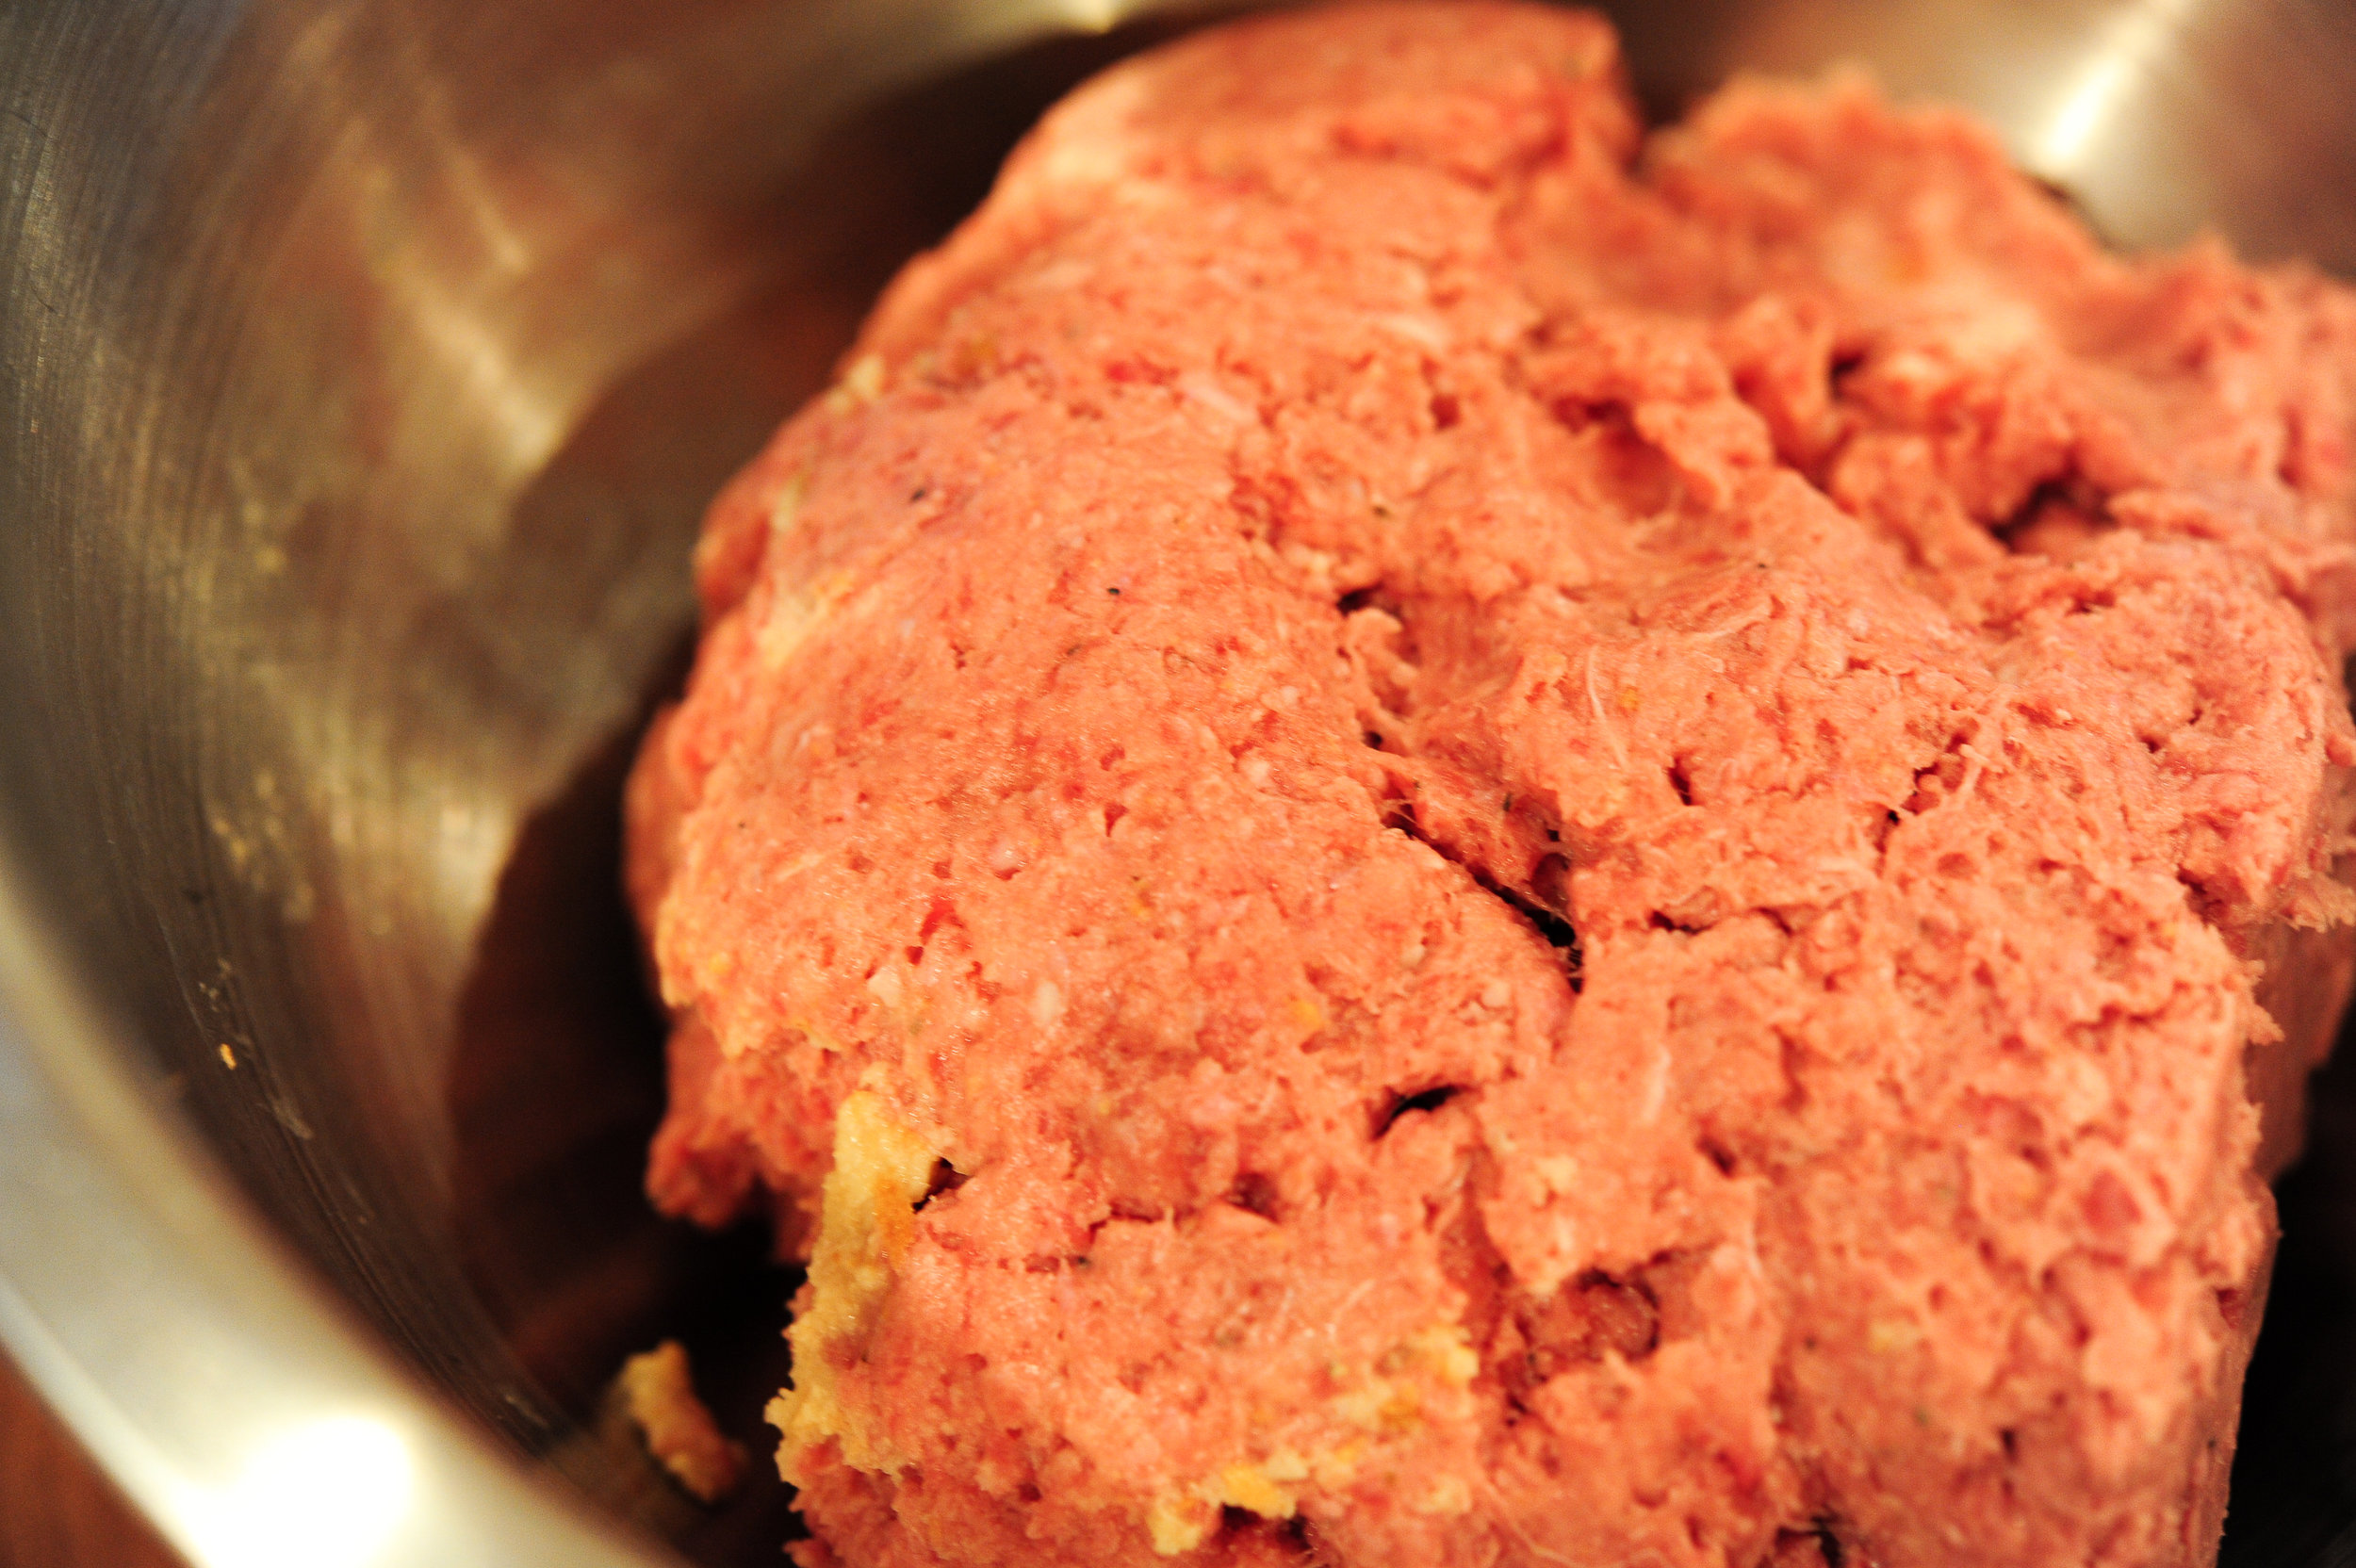
Filling Preparation Process bread and 2 tablespoons chicken broth in food processor until paste forms, about 5 seconds, scraping down sides of bowl as necessary. Add beef, ¾ teaspoon salt, and ½ teaspoon pepper and pulse until mixture is well combined, six to eight one-second pulses.
Heat oil in 12-inch nonstick skillet over medium-high heat until shimmering. Add onions and cook, stirring frequently, until beginning to brown, about 5 minutes. Stir in garlic, cumin, cayenne, and cloves; cook until fragrant, about 1 minute. Add beef mixture and cook, breaking meat into 1-inch pieces with wooden spoon, until browned, about 7 minutes. Add remaining ½ cup chicken broth and simmer until mixture is moist but not wet, 3 to 5 minutes. Transfer mixture to bowl and cool 10 minutes. Stir in cilantro, eggs, raisins, olives, and vinegar. Season with salt and pepper to taste and refrigerate until cool, about 1 hour.
Dough Preparation Process 1 cup flour, masa harina, sugar, and salt in food processor until combined, about two one-second pulses. Add butter and process until homogeneous and dough resembles wet sand, about 10 seconds. Add remaining 2 cups flour and pulse until mixture is evenly distributed around bowl, 4 to 6 quick pulses. Empty mixture into large bowl.
Sprinkle vodka or tequila and water over mixture. Using hands, mix dough until it forms tacky mass that sticks together. Divide dough in half, then divide each half into 6 equal pieces. Transfer dough pieces to plate, cover with plastic wrap, and refrigerate until firm, about 45 minutes.
Empanadas Assembly Adjust over racks to upper and lower-middle positions, place 1 baking sheet on each rack, and heat oven to 425 degrees. While baking sheets are preheating, remove dough from refrigerator. Roll each dough piece out on lightly floured work surface into 6-inch circle about 1/8 inch thick, covering each dough round with plastic wrap while rolling remaining dough. Place about 1/3 cup filling in center of each dough round. Brush edges of dough with water and fold dough over filling. Trim any ragged edges. Press edges to seal. Crimp edges of empanadas using fork.
Drizzle 2 tablespoons oil over surface of each hot baking sheet, then return to oven for 2 minutes. Brush empanadas with remaining tablespoon oil. Carefully place 6 empanadas on each baking sheet and cook until well browned and crisp, 25 to 30 minutes, rotating baking sheets front to back and top to bottom halfway through baking. Cool empanadas on wire rack 10 minutes and serve.
A Really Good Thai Chicken & Apple Salad
What is better than Thai chicken on the grill? A sweet, salty and tangy salad made with the leftover Thai chicken, that's what. Since it seems summer is here to stay, it's time to break out the 'salad as dinner' trick I'm so fond of during these warm days full of sandy beaches, gardening, lollygagging and late dinners on the porch.
This is a seriously good salad and the best part is it takes about 15 minutes to throw together (assuming you've grilled the chicken ahead of time). Perfect for those days when you've been lollygagging, dillydallying and enjoying every last minute of summer sunshine but still need to eat dinner. Plus, it's loaded with fruits and vegetables— so you can add virtuous to the list of the day's activities.
Thai Chicken & Apple Salad(Adapted from Fine Cooking)
Dressing
1/2 cup Sweet & Sour Sauce (recipe here)
3 tbsp. fish sauce
1/4 cup fresh lime juice
Salad
1 Granny Smith apple, unpeeled, cored, quartered, and thinly sliced
1 tbsp. fresh lemon juice
1 orange or clementine
1 white onion, thinly sliced
1 red or yellow bell pepper, charred until soft, peeled, and sliced
1 cup red or white seedless grapes, halved
12 leaves arugula, torn into bite-size pieces
2 cups shredded Grilled Thai Chicken (recipe here)
1/4 cup unsalted, dry-roasted peanuts, coarsely chopped
1/4 cup mint leaves, crushed slightly and torn
Make the Dressing
In a small mixing bowl, combine the Sweet & Sour Sauce, fish sauce, and lime juice; set aside.
Assemble the Salad
In a small bowl, toss apple slices with lemon juice to prevent browning; set aside. Peel the orange or clementine and separate the sections. With a paring knife over a bowl, cut the segments in half or thirds and let the segments fall in the bowl. Add the apple, onion, yellow pepper, grapes, arugula, and chicken. Toss gently. Add the dressing, gently tossing again to mix thoroughly. Transfer to a shallow bowl or platter, sprinkle with the peanuts and mint leaves, and serve.
Pickled Wild Onions
Wild onions, ramps, allium triciccum, wood leek— different words for the same pungent and fragrant spring gift from the forest floor. Ramps made an appearance at nearly every meal for weeks until Ted looked at me and asked for a ramp hiatus. I had to agree, it was time to take a break but I still had two or three pounds of those lovely wild onions in the fridge and I was not about to waste them. Since I dug those babies up with my own two hands, I felt a responsibility to make sure they were re-incarnated as something wonderful.
Pickling was the perfect way to preserve my foraged wild onions and since I have yet to meet a pickled thing I don't like, I knew it would be a fitting re-incarnation for my harvest. As I stood at the sink, trimming and washing the last of those oniony bad boys, my mind wandered back to the day the kids, George, Ted and I went out to harvest the ramps near a rushing creek in a lush forest. Charlie scouted out the best ramp patches, Will wandered around with his camera, Sadie was trying to embrace the gnats swarming around her head, Meg and Ted were exploring and George awed and amazed us with his ability to scamper across a fallen tree over the creek. I bottled up that warm spring day with my family in each jar of wild onions I sealed. Food is love, plain and simple.
Pickled Wild Onions
2 pounds wild onions, cleaned and green leaves removed (I left some of the smaller onions leaves on)
1 cup white wine vinegar
1 cup white sugar
1 cup water
1/2 tsp. red pepper flakes
2 tbsp. fresh ginger, chopped
1 1/2 tsp. mixed peppercorns
1 tsp. mustard seeds
1/2 tsp. fennel seeds
1 tbsp. kosher salt
1 bay leaf
8 - 10 springs of thyme (depending on how many jars you are using)
Preparation
Bring the canning jars and lids to a boil in a stock pot, remove from heat and set aside. Bring salted water in a large saucepan to a boil over high heat and add wild onions and cook until crisp-tender (about 45 seconds). Remove the onions from the boiling water and immediately place in an ice bath. Drain and divide the ramps and sprigs of thyme between your sterilized canning jars.
Combine the remaining ingredients in a large saucepan and bring to a boil. Cook, stirring, until the sugar is dissolved and then pour the mixture over the wild onions and seal jar. Let cool to room temperature and then refrigerate for 2 - 3 weeks.
Salty Potatoes & Ramp Pesto- A Perfect Pair
Maybe it's the Irish in me but I love potatoes and maybe it's the Italian man I married but I also love pesto so when Food52 (recipe here) delivered Jose Pizarro's salt-crusted potatoes to my email in-box, I knew what I was making for dinner. Some of the ramps I harvested with Ellen (read about it here) were still in the fridge and I thought they would be perfect, re-purposed as pesto, with my salty, little potatoes.
It took me a couple of attempts to get the pesto 'right'— straight ramp pesto is a formidable beast. I don't think I've ever eaten something that strong before, my breath could have melted steel or at least repelled every mosquito in Bayfield county. I knew I needed to temper the beast while maintaining the distinctive wild onion/garlic flavor of a ramp fresh from the forest floor. I settled on spinach, basil and sun-dried tomatoes and it was exactly what those wild ramps needed to become a bit more civilized.
Wild Ramp Pesto
10 - 12 ramps, roots removed and washed
1 cup spinach
1/2 cup basil
1/4 cup oil cured sun-dried tomatoes
3/4 cup Parmesan, shredded
1/4 cup plus 2 tbsp. olive oil
1/4 cup unsalted butter, melted and cooled
1 tsp. kosher salt
Preparation
Add all ingredients except the olive oil to a food processor. Turn processor on and slowly add oil. Once added, stop the processor and scrape sides to make sure all ingredients get incorporated. The pesto freezes well (in an airtight container). Makes about 2 cups.
A Field Of Ramps, A Few Fiddleheads & Ham Salad
Last year my friend, Kathy, stopped at the house with a bundle of wild ramps (read about it here). That bundle of ramps seemed like a magical gift from the forest— a bit wildness in my kitchen waiting to feed us with its memories of spring water and emerging life. This year, I wanted to find my own secret patch but had no idea where to start. Foraging would not make the list of the top 100 skills Mary Dougherty possesses but I was eager to learn. As usual, I had everything I needed right in front of me.
Ellen and her husband, Eric, own Blue Vista Farm (read about our blueberry picking adventure here) and not only is she a maven of healing plants, she one of my dearest friends. She just completed her Earth Medicine Apprenticeship and when she graciously agreed to share her spot with me, I knew it was going to be good. We hiked into the woods, over a log and into a field of ramps that blew my mind— it was a patch of spring green leaves with an aroma of wet forest floor and wild onions.
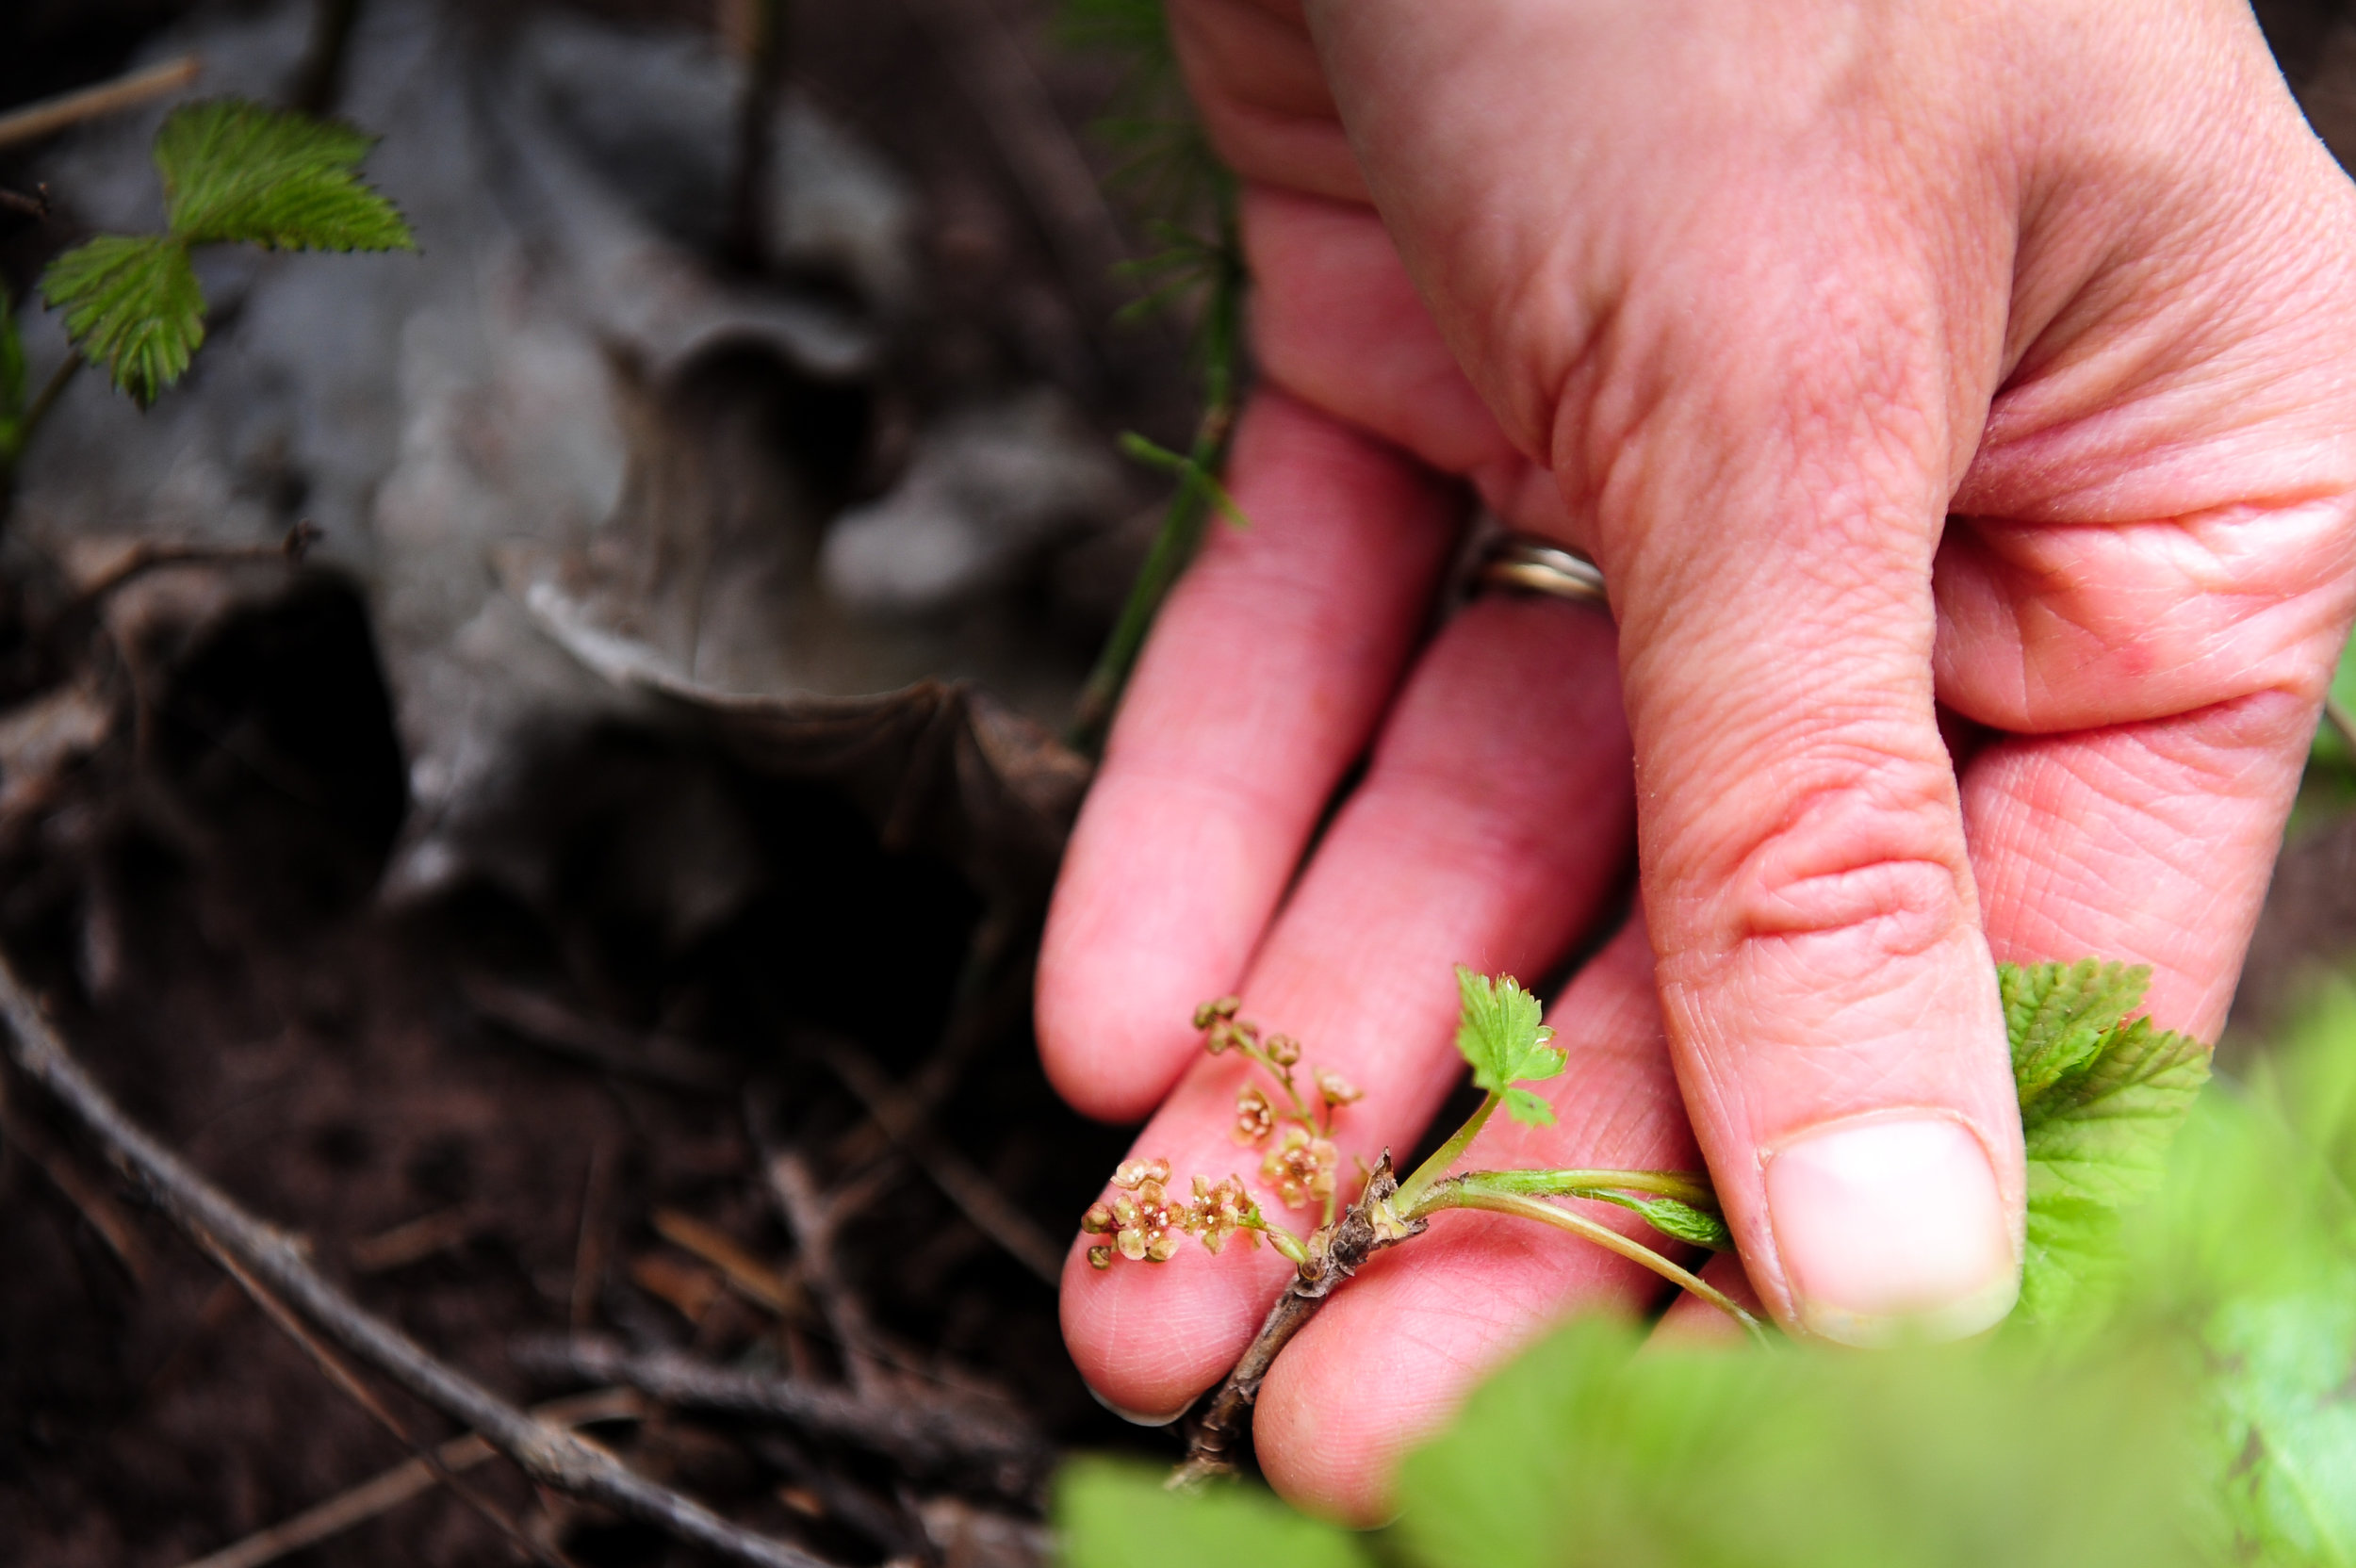
Ellen found some wild currant plants on our way through the forest. It was enlightening to spend a couple of hours with her. She has a strong connection to nature and it was fun to learn a little about the plants I see everyday. We're doing a cooking class on July 12, Gathering for the Table: Celebrating the Sacred in our Food, at Blue Vista Farm. I can't wait to cook freshly foraged greens and have dinner in her garden, overlooking the Lake. It's going to be an amazing night.
Ellen's patch of ramps was epic— they were everywhere I looked. Ramps grow slowly and are sensitive to over harvesting. A good rule of thumb is a ratio of 1 to 20 (harvest one and leave 20).
We found this Robin's egg on our way back to the car— a good omen for the new beginnings we are blessed with every spring.
Why ham salad, you ask? There are two reasons— I love ham salad (made with Hellman's) and ramps are the perfect substitute for green onions. My Mom used to make ham salad, with a manual meat grinder that she clamped on the counter, after Easter every year. I can't say it was one of my favorite foods growing up but like blue cheese and pâté, it grew on me as I grew up. I made a sandwich yesterday with lettuce, tomato and ham salad that rocked (an HSLT sandwich) but it's really good spread on Ritz crackers as well.
Ham Salad With Ramps
1 pound ham, cubed
3 tbsp. capers, chopped
8 pickled jalapeno, chopped
4 tbsp. ramp leaves, finely chopped
1/4 cup ramps (white and light pinks parts), chopped
1/8 cup red onion, chopped
1/2 cup Hellman's mayonnaise
2 tbsp. Dijon mustard
Kosher salt and pepper, to taste
Preparation
Place ham in a food processor and pulse until roughly chopped. Transfer to a large bowl, add all other ingredients and stir to combine thoroughly. Taste for salt and pepper and chill for at least 2 hours. Keeps for about a week, covered, in the refrigerator.
Chocolate, Hazelnut & Salted Caramel Tart
If you come to my house for dinner and you ask the inevitable, 'what can I bring'— I will either say nothing (I like all my food to match) or I'll say dessert. I am definitely a pinch-hitter when it come to anything sweet— I know exactly what to do with a pile of cheese or green beans but a pile of pastry dough tends to make me break out in hives. Rachel Allen's Favorite Food At Home was a dessert game changer— now I'm a pinch hitter with a kick ass tart up my sleeve.
Hazelnut, Chocolate & Salted Caramel Tart(adapted from Rachel Allen's Favorite Food At Home)
Pastry Crust
2 cups all-purpose flour
9 tbsp butter, diced and softened
1 egg, beaten
3 tbsp water
2 tbsp powdered sugar
Hazelnut Salted Caramel
6 tbsp butter
1/2 cup cream
1 cup light brown sugar
3 tbsp spiced rum
5 ounces hazelnuts, roasted and coarsely chopped
2 tbsp Maldon sea salt
Chocolate Ganache
3/4 cup cream
7 ounces dark chocolate, broken into pieces
Preparation
Preheat the oven to 350 degrees and grease or butter your tart pan. Place the flour, butter and powdered sugar in a food processor. Process for a few seconds, then add the beaten egg and continue processing. Add the water, 1 tbsp at a time, until the dough just comes together. Flatten out the ball of dough into a thickness to about 1 1/4 inches, wrap in plastic and place in refrigerator for at least 30 minutes.
Remove the pastry from fridge and place the pastry between two sheets of plastic. Using a rolling-pin, roll it out until it is about 1/8 inch thick. Removing the top layer of the plastic wrap. place the pastry upside-down (plastic facing up) in the greased or buttered tart pan. Press into the edges and using your thumbs, 'cut' the top of the pastry on the edge of the tart pan. Remove the plastic and place in freezer for 10 - 15 minutes.
Blind bake the pastry dough for about 15 minutes or until the pastry feels dry. Remove from oven and set aside.
Place the butter, cream, rum and brown sugar in a saucepan, bring to a boil and then simmer for 2 - 3 minutes until slightly thickened. Remove the heat and add the hazelnuts and allow to cool. Spread evenly over the cooked tart shell, sprinkle the salt over the caramel/hazelnut mixture and set aside.
Place the cream in a saucepan and bring to boil. Remove from the heat and add the chocolate immediately, stirring until the chocolate is thoroughly combined with the cream. Pour over the hazelnut caramel in the pastry shell.
Place the tart in the fridge until the chocolate ganche has set. If you are keeping it in the fridge, remove from the fridge a few hours before serving and let come back to room temperature.
Phyllis's Eggs & Prosciutto Wrapped Asparagus Salad
Dana and Kathy have a sassy and very spunky duck named Phyllis— a quacking force to be reckoned with. I'm pretty sure she has a touch of PTSD because a bobcat filled his belly with her fellow duck companions last year and as the lone survivor, the quacking is her way of letting that bobcat know she's still standing. She celebrates everyday with a chorus of quack, quack, quacking and now that she has three new duck pals to boss around, she's happy (and laying eggs).
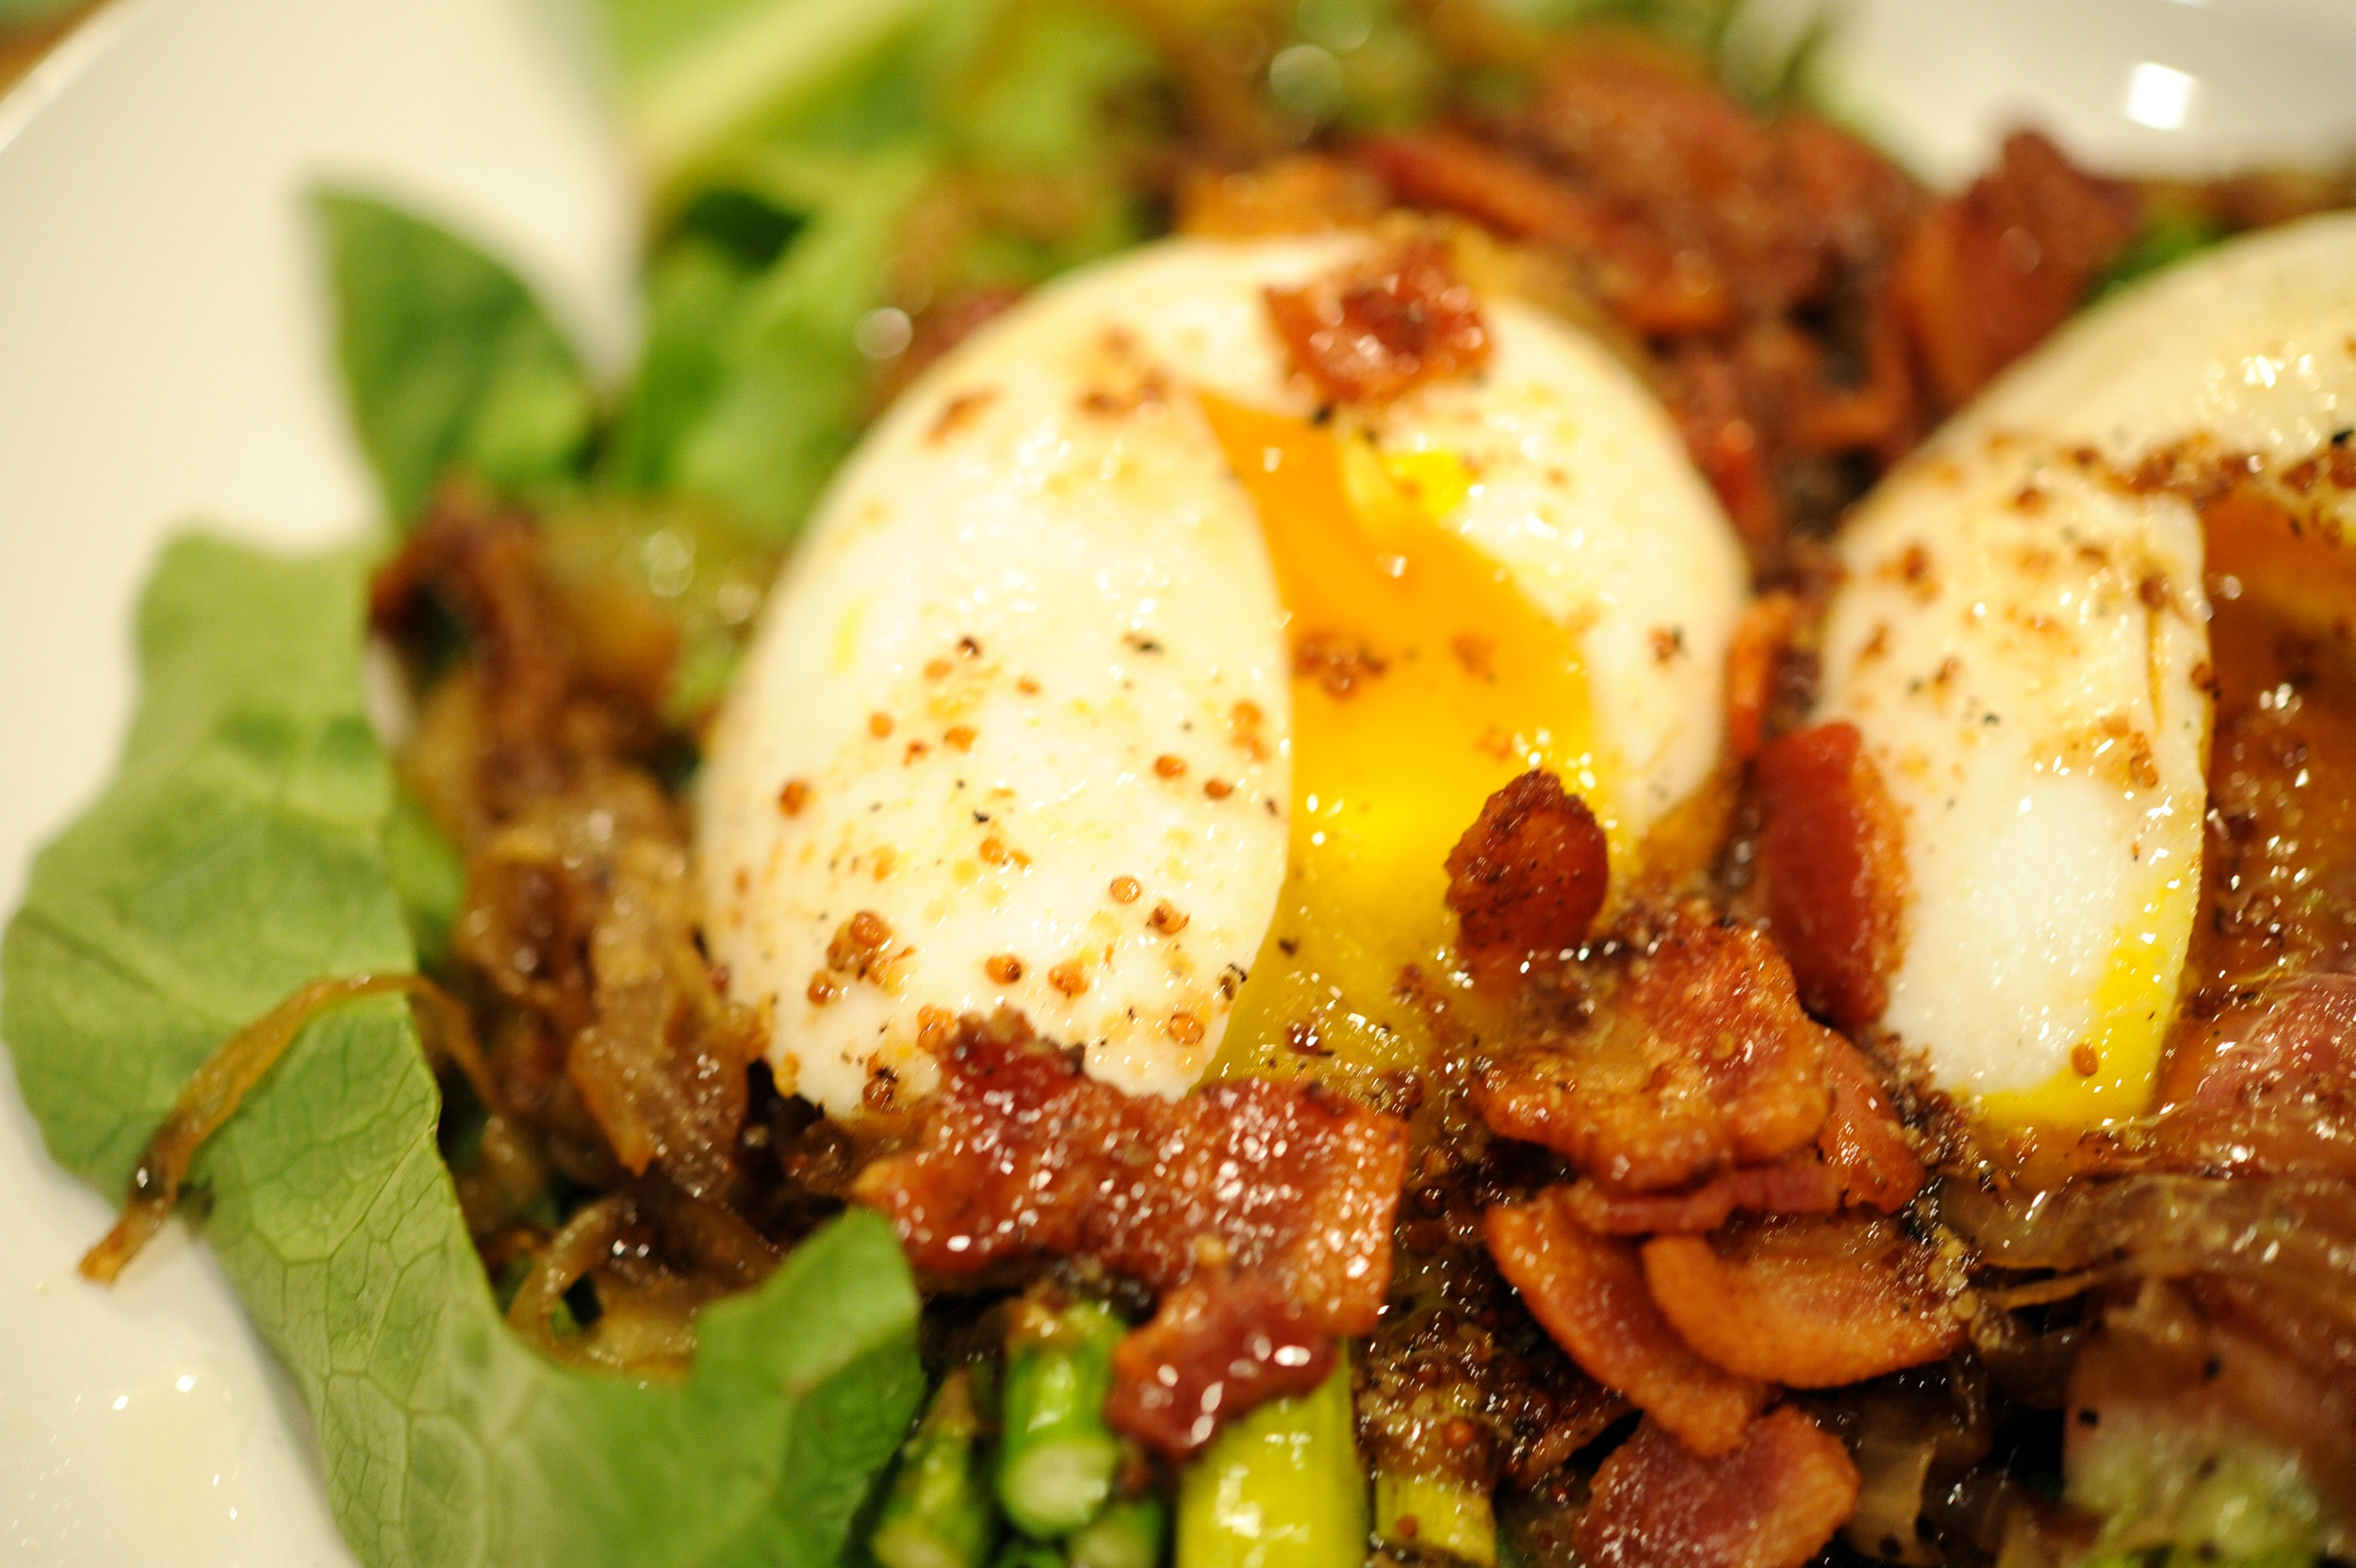
When Kathy came over for dinner and handed me a container full of duck eggs, I was so happy and thankful Phyllis out-foxed the bobcat. Duck eggs have the most lovely, rick yolk and that means two things: poached eggs or hollandaise sauce. Since I had a quart of Julie and Charly's maple syrup and a package of prosciutto in the fridge, I settled on a salad topped with a poached egg and prosciutto wrapped asparagus bundles with a maple bacon vinaigrette. I've always loved that old school spinach salad with a hard-boiled egg and warm bacon dressing and this version was an homage to that salty and egg-y salad.
I've mentioned these egg poaching cups (link here) before but they have changed my life— I'm guaranteed a beautifully runny yolk every time (which definitely was not the case when I was trying to poach them the old-fashioned way).
Poached Duck Egg on a Salad with Prosciutto Wrapped Asparagus Bundles & a Maple Bacon Vinaigrette
Salad Dressing
5 strips bacon, chopped
3 tbsp real maple syrup
5 tbsp sherry vinegar
1 tbsp honey
4 tbsp olive oil
1 1/2 tsp Dijon mustard
1 tsp shallot, minced
Salt and pepper, to taste
Salad Ingredients
1 large bunch of asparagus, washed and trimmed
5 - 7 pieces of prosciutto (depending on how many bundles you end up with)
12 ounces spinach or lettuce
4 duck eggs, poached
1 Vidalia onion, sliced
4 tbsp olive oil
Salt and pepper, to taste
Preparation
Put bacon in a medium skillet and cook over medium heat. Cook until bacon is golden brown and remove pan from heat. Transfer bacon to a paper towel, reserving bacon drippings. Reserve 4 tbsp of drippings in the pan. Whisk maple syrup, vinegar, shallot and honey into the drippings. Return the pan to medium heat, bring vinaigrette to a simmer and cook for about 5 minutes. Whisk in mustard and olive oil until incorporated and then stir in bacon pieces. Transfer dressing to a bowl and set aside.
Place 2 tbsp of oil in a large sauté pan and add the sliced onions. Cook over medium heat until the onions are golden brown and caramelized, about 20 minutes. Remove from pan and set aside.
Preheat oven to 400 degrees. Wrap one piece of prosciutto around 3 - 5 pieces of asparagus and place on a sheet tray lined with parchment. Drizzle the remaining 2 tbsp of olive oil over the bundles, sprinkle with salt and pepper and place in oven. Bake for 15 - 20 minutes or until the prosciutto is crisp and the asparagus is softened. Remove from the oven and set aside.
Divide the salad greens between four plates, place the onions, asparagus bundles and poached eggs on top. Spoon the warm bacon vinaigrette over the top and serve immediately.
Divide the salad greens between four plates, place the onions, asparagus bundles and poached eggs on top. Spoon the warm bacon vinaigrette over the top and serve immediately.
Three Of My Favorite Food Groups
2010 Domaine du Grand Montmirail Gigondas Cuvée Vieilles Vignes
I think I've mentioned this before but I'll say it again— Gigondas (jhee gohn dahs) is one of my favorite wine words to say, second only to Montepulciano d’Abruzzo (mon tae pul chee AH noh dah BRUTE so). Throw in a little Vielles Vignes and you might just feel un peu français, at the very least you'll be drinking a nice glass of wine. The Southern Rhone region is known for rich, warm and spicy blends of Grenache, Syrah and Mourvedre— it's my favorite region in France. According to the Rhone Report, the 2010 Montmirail Gigondas is 'loaded with classical aromas of wild herbs, pepper, spice, and leather, as well as copious amounts of licorice drenched bing cherry and blackberry styled fruits, this hits the palate with a full-bodied, decadent, and layered texture that coats the mouth. Despite all of the fruit, it has solid underlying structure and plenty of freshness. While no doubt superb now, it will be even better with a handful of years in the cellar, and shine for 10-12 years. 93 points'.
This 15-year-old cheddar was my first introduction to Fromagination in Madison. Bob and Kelly brought a hunk of this crystalline, smooth cheddar to Bayfield and I was hooked. I knew I had a seriously good reason to drive 6 hours south (Jack's going to school down there) but the idea of an entire store devoted to cheese sealed the deal. 15-year-old cheese and a 19-year-old freshman— I'm going to be spending some time in Madison.
I don't have much of sweet tooth, more of a cheese tooth, but these little chocolates gave that 15-year-old cheddar a serious run for its money. They are from a shop in Madison called Candinas (another reason to make the journey) and they were little nuggets of smooth, chocolatey goodness wrapped up in the most beautiful packaging I've seen.
Sassy Quiche
I'm back after a hiatus due to a pinched nerve in my neck and a numb right arm— I have a whole new appreciation for the phrase 'a pain in the neck', heating pads and Ben-Gay. I have to admit, I really missed taking pictures and writing about my dinners, dogs, waterfalls, photo safaris and all the other pieces that make up the mosaic of a Mary Dougherty day. The good news is it forced me to (kind of) clean up my hedonistic eating habits and I'm proud to say I throw back a quart of green smoothie every morning. And there's even more good news— before my nerves staged their insurrection in my neck, I made these beautiful little quiches with Sassy Nanny chevre and Northern Smokehaus pancetta. There's something about my red tartlet pans that makes my heart go pitter-pat (and it doesn't hurt there was pancetta and chevre involved).
I feel like I've catapulted myself over into 'I have a rolling-pin and I know how to use it' land every time I make my own shortcrust pastry, it's not as hard as I thought and nine times out of ten, it actually works out. When I find myself in 'what the hell am I supposed to do with this rolling pin' land, there is a package of Pillsbury pie crusts in the freezer that's perfectly acceptable and flaky. I used a recipe from Rachel Allen (recipe here) but use whatever recipe (or refrigerated pie crust) you feel comfortable with— it's really all about the filling, in my opinion.
Sassy Quiche
6 tartlet pans
3 tbsp butter, melted for the tartlet pans
1 batch of shortcrust pastry or a package of refrigerated pie crusts
3/4 cup red onion, chopped
3/4 pound of pancetta or bacon
1/2 cup of Parmesan, shredded
3/4 pound Sassy Nanny chevre
4 tbsp fresh rosemary, chopped
6 eggs, lightly beaten
1 1/4 cup heavy cream
salt and pepper to taste
Preparation
Preheat the oven to 375 degrees. In a medium sauté pan, cook the pancetta or bacon until crisp, remove from the pan and set aside. In the same pan you cooked the pancetta, add the red onion and cook until lightly browned. Remove from the pan and set aside with the pancetta. Brush the interiors of the tartlet pans with butter and place rounds of shortcrust pastry in each pan. Press the dough firmly into the sides and bottom of each pan, sprinkle the parmesan over the bottom and set aside. Divide the chevre into 6 equal portions and add it, along with pancetta and onions, to each pan. Combine the eggs and cream, pour into each tartlet pan (until it's about a 1/4 inch from the top of the crust) and sprinkle the rosemary over each pan. Bake in the preheated 375 degree oven for about 30 minutes or until filling sets and top of quiche is lightly browned. Allow to cool 10 minutes before serving.
A Taste Of Summer- Crab & Corn Chowder
Corn, crab and chowder— a trio of words that make me happy. Given the snow, clouds and wind that have taken hold in Bayfield, corn chowder was a little taste of warm summer days that are sure to make an appearance, sometime before August. This batch passed the 'Meghan' test— she's a bit of a chowder connoisseur and gave this chowder two thumbs up. It's lighter than my favorite chowder (recipe here), a nice change as the snow melts and mud season enters the picture.
Corn and Crab Chowder
4 slices of bacon, diced
2 tbsp. butter
3/4 cup onion, chopped
1 cup red or orange pepper, chopped
1 cup carrots, sliced
1/2 cup celery, chopped
1/4 cup garlic, minced
1/4 cup flour
4 cups chicken stock, preferably homemade or low sodium
1 1/2 cup red or Yukon potatoes, diced
4 corn on the cob, corn kernels removed and cobs reserved
2 cups frozen corn
1/4 tsp. cayenne
1 tsp. kosher salt
1 tsp. Old Bay seasoning
2 1/2 cups whole milk
1 pound of fresh crab, picked over for shells
Preparation
Place the corn cobs and the milk in a saucepan and simmer over low heat for 20 minutes. After 20 minutes, remove the cobs and set the milk aside. Place the bacon in a sauté pan and sauté until cooked but not crisp. Remove cooked bacon from the pan and set aside. Add the butter, onion, pepper, carrots, celery and garlic to the bacon pan and cook until softened, about 5 minutes. Stir in the flour and cook, stirring occasionally, for 5 minutes. Stir in the broth a little at a time and combine until the mixture is smooth. Add the potatoes, increase the heat and bring to a boil, reduce the heat and simmer for 10 minutes, or until the potatoes are tender. Stir in the corn (frozen and fresh from the cob), seasonings and reserved milk, bring back to a boil and then reduce to a simmer and fold in the crab. Simmer for an additional 5 - 10 minutes, taste for seasoning and serve immediately.
A Monochromatic Dinner For Another Snowy Night
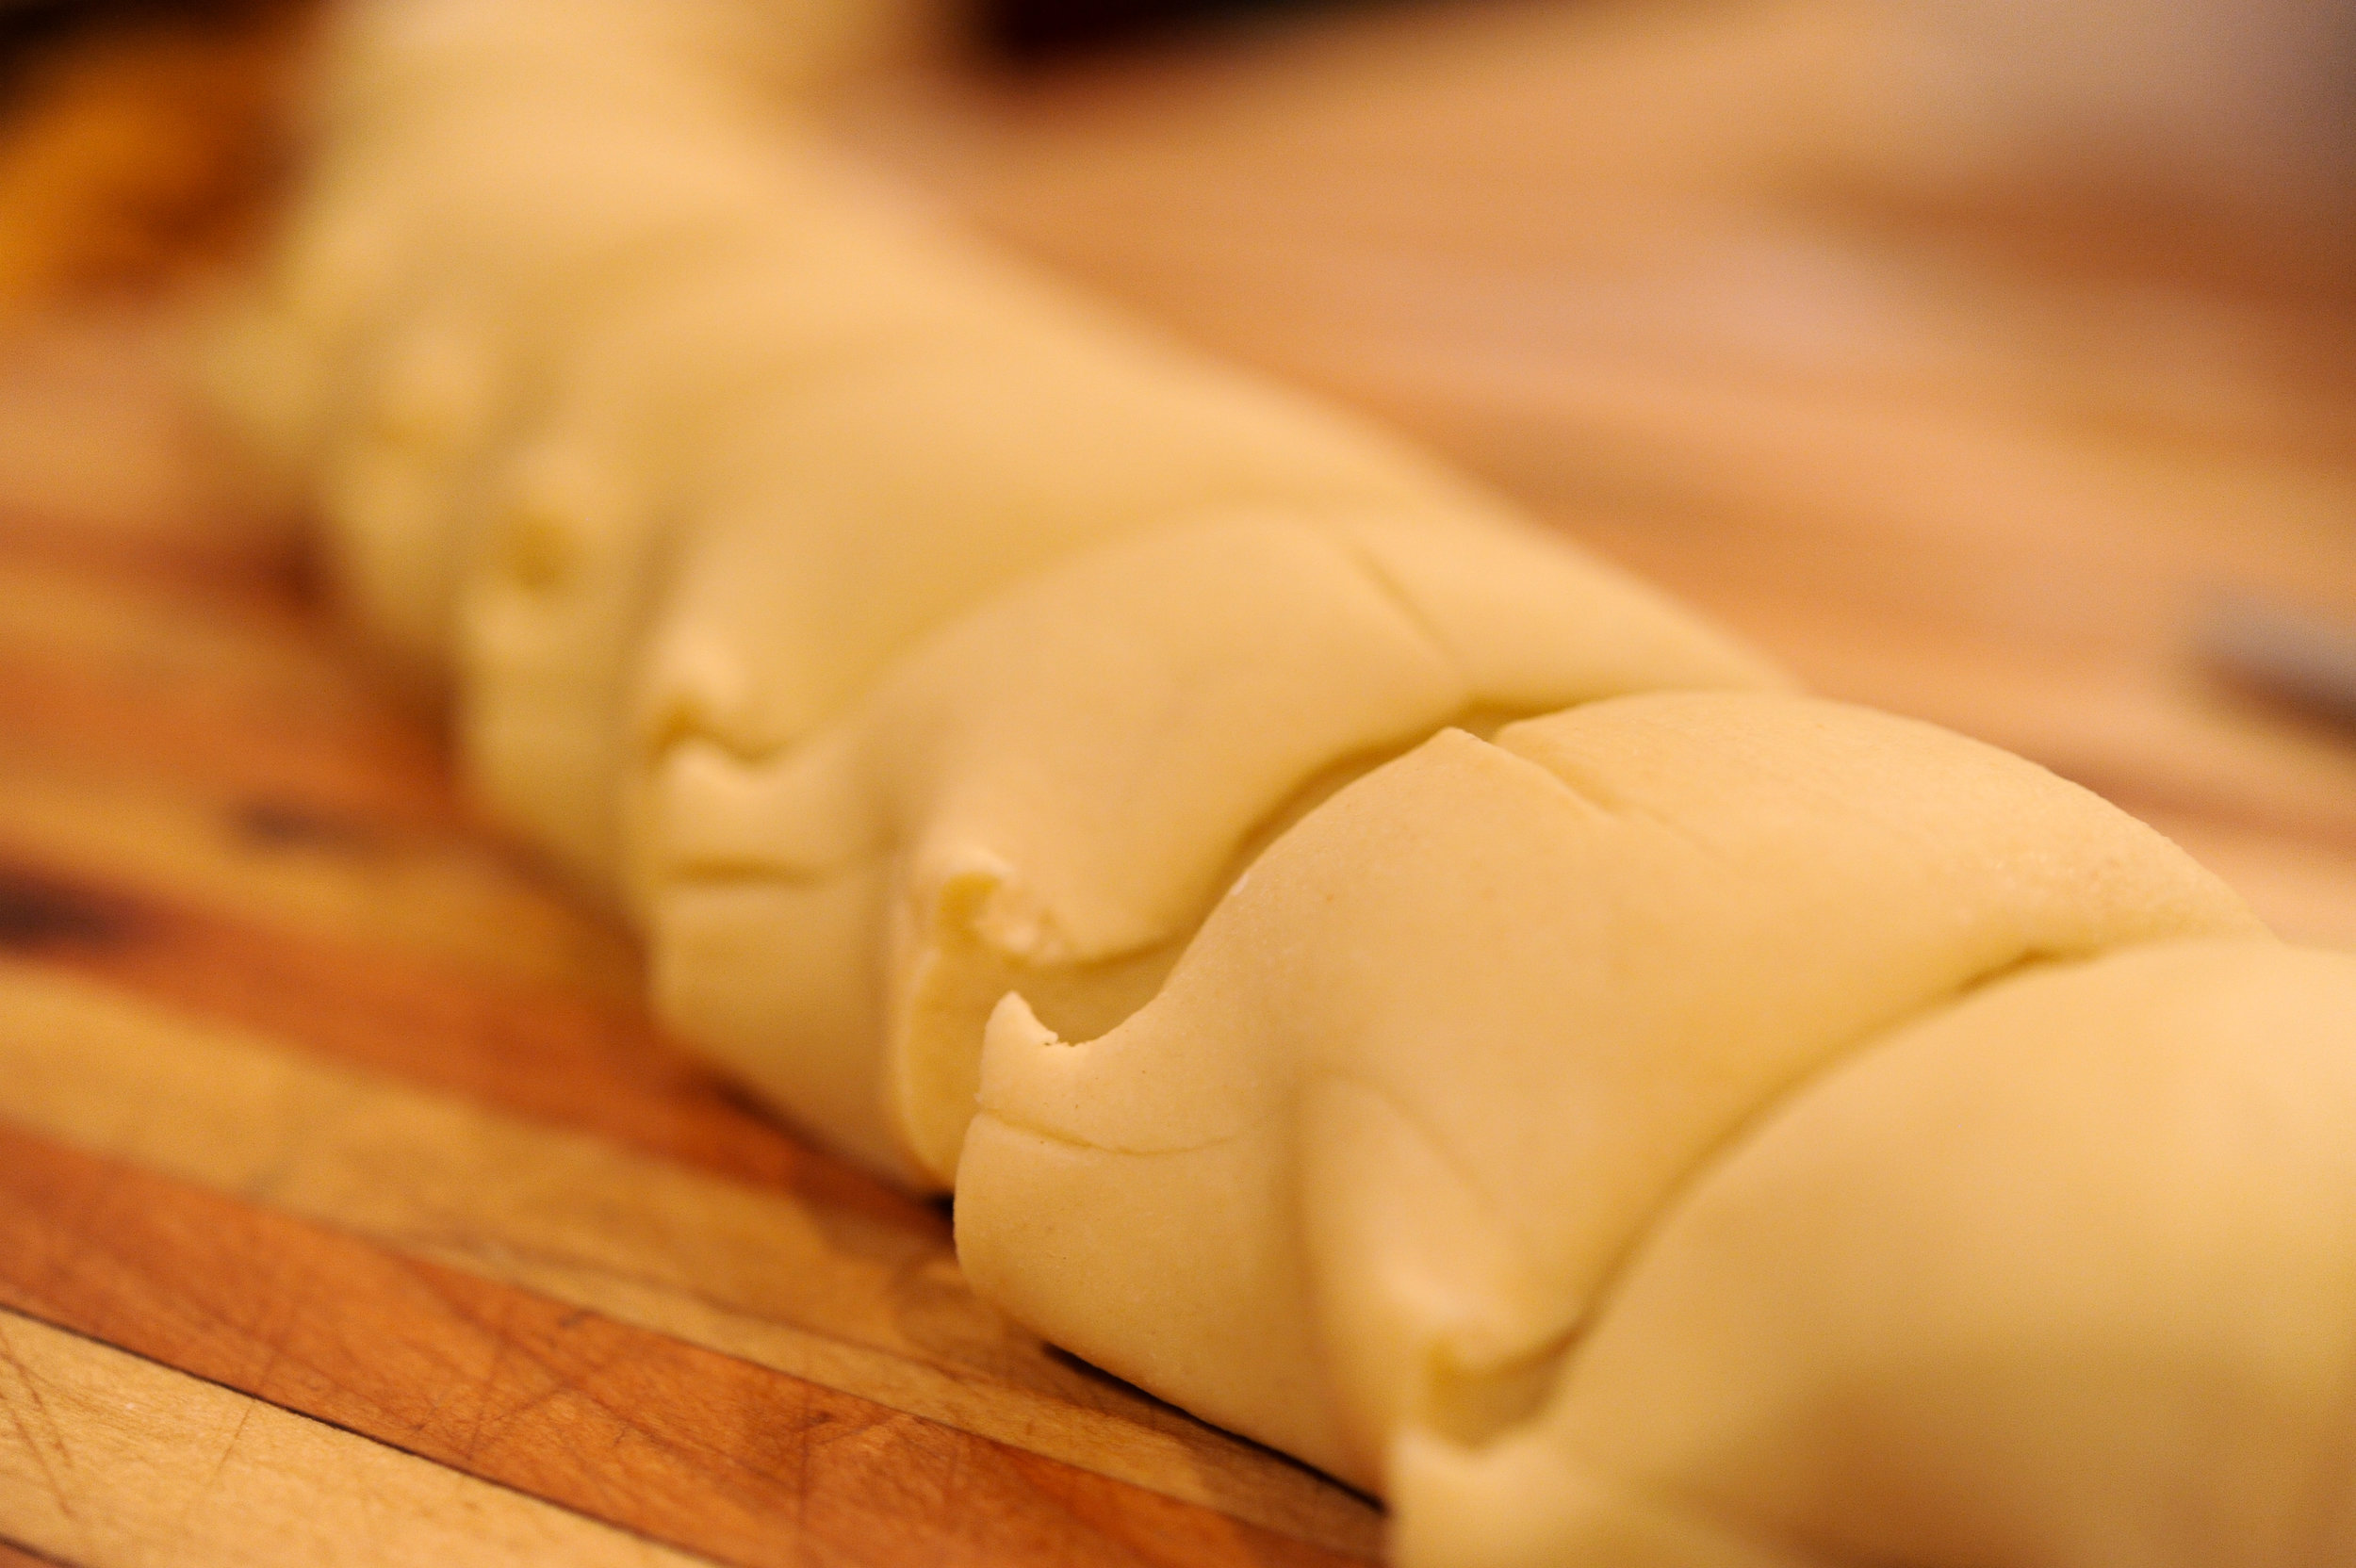
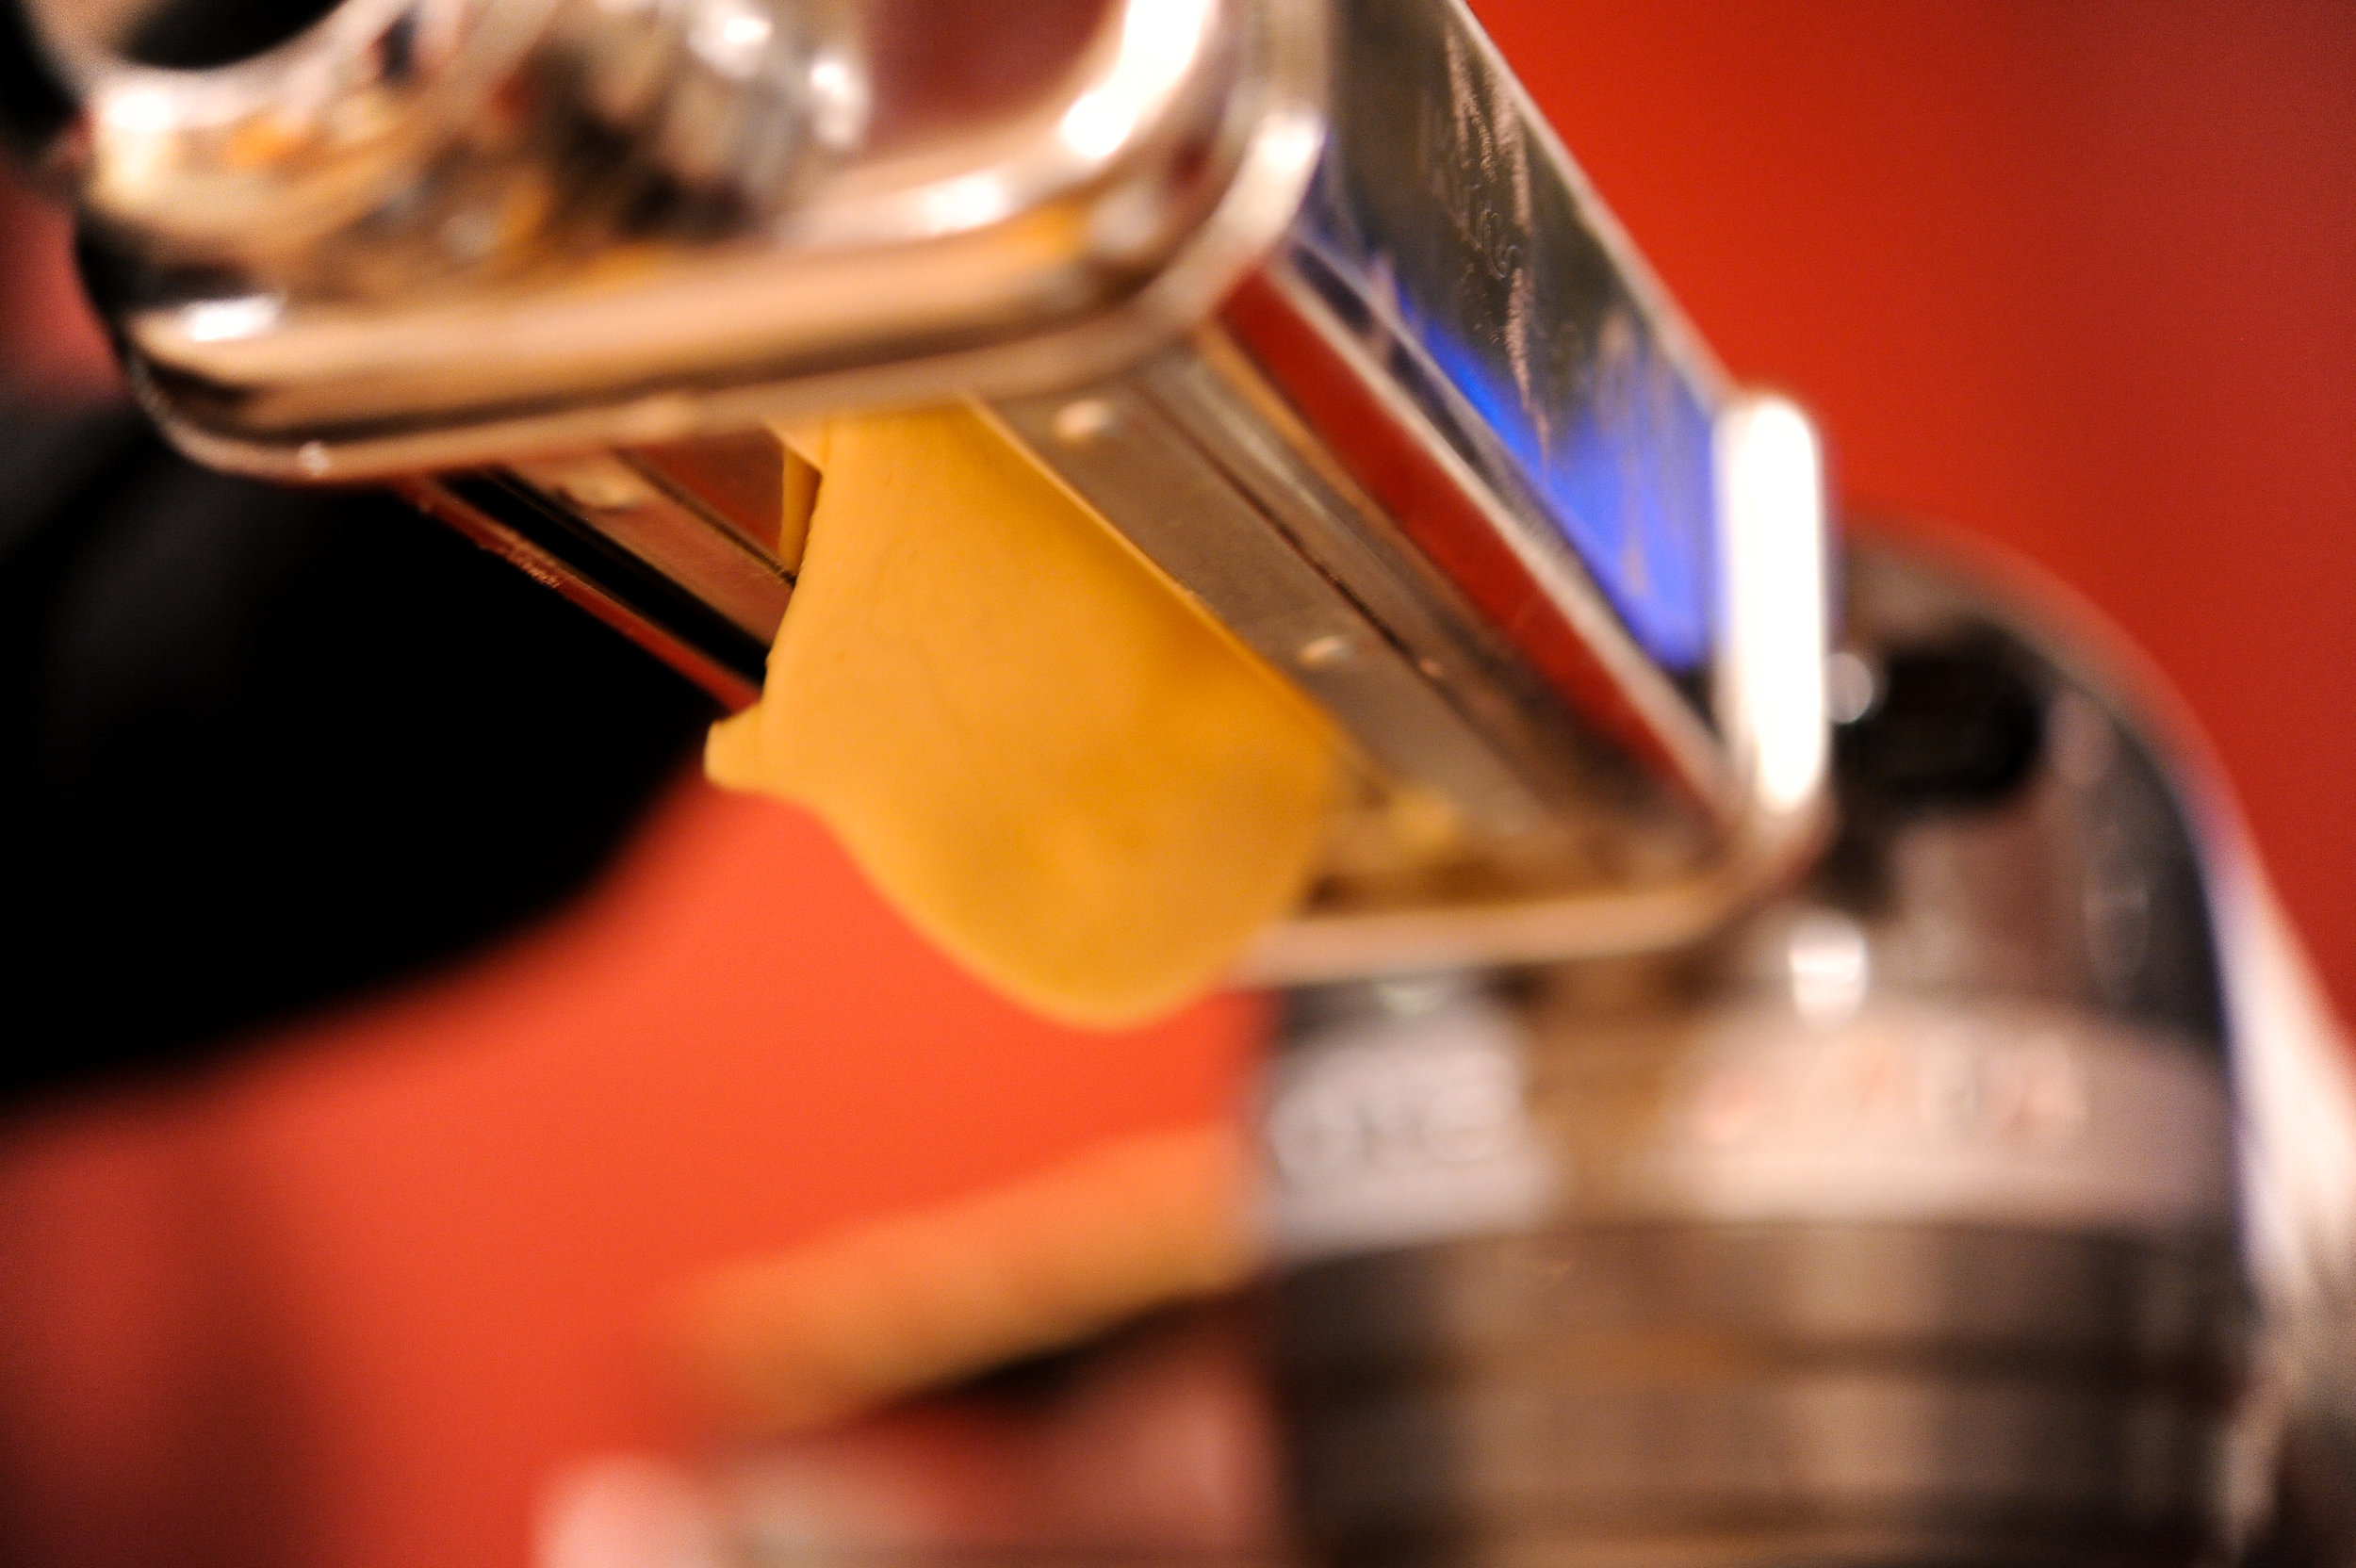
Instead of 'space, the final frontier' from Star Trek, it was 'pasta, the final frontier' in my kitchen last week. My final frontier list has been greatly reduced in the past year (I've been busy in the kitchen). I've checked off naan, mu shu pork, pie crust, Italian sausage and now, homemade pasta. Since the dough is relatively easy to work with (nothing like pie crust dough or as I call it, a crumbly mess) and I had the attachments for my mixer— I was ready to take off into one more culinary final frontier. My pasta Captain Kirk was David Lebovitz, a blogger I follow in Paris. His recipes are thoroughly tested and haven't failed me yet (pasta recipe here). I added about 3 or 4 tbsp. of water because the dough seemed dry. I used large eggs, like the recipe stated, but I think the addition of the water was necessary or it would have been impossible to roll out. The resting period is very important, give the dough the full one hour resting time— it will be easier to work with.
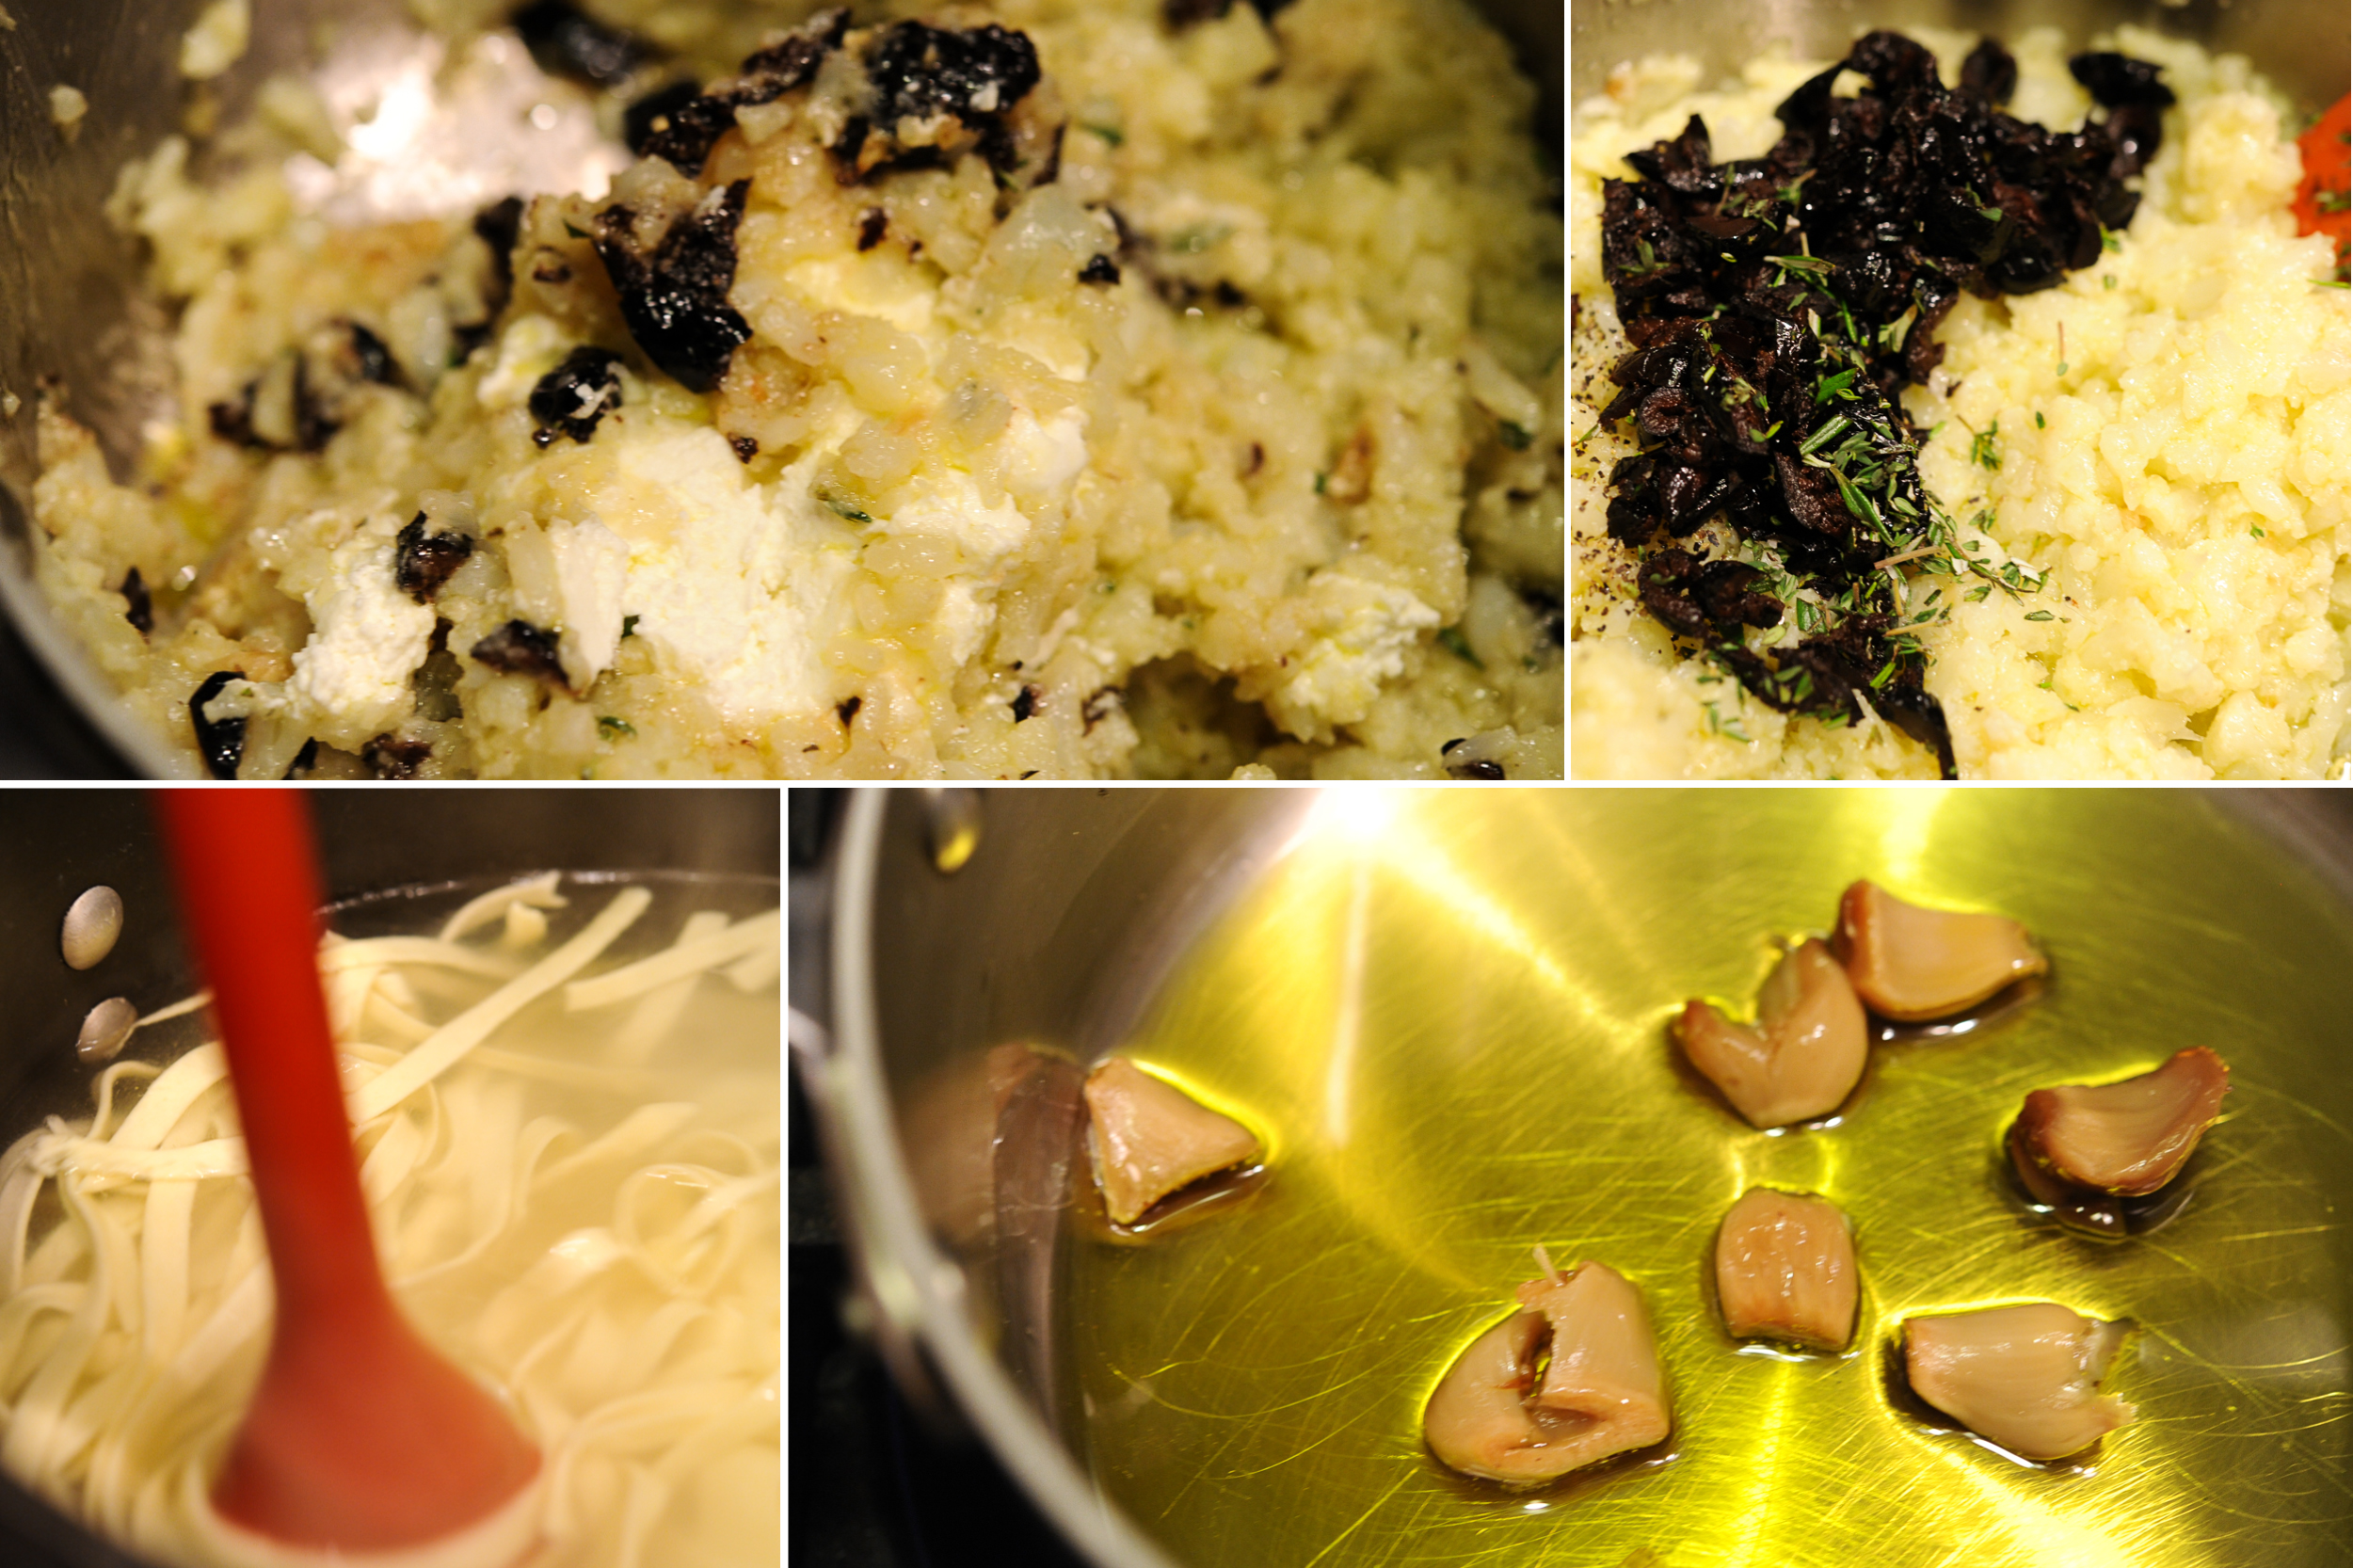
Another 6 - 12 inches of snow is on it's way tomorrow night and Thursday. I can't believe the sheer volume of snow we've received this winter but it's melting fast (there's nothing like a warm April sun, except maybe a hot July sun) and the mud is already making appearances here and there. But it's still 50 million shades of white outside and this pasta dish is an homage to the monochromatic world of winter and spring in Northern Wisconsin. I had two heads of roasted garlic, a head of cauliflower, Sassy Nanny chevre and some oil cured olives waiting for a flash of inspiration to propel them to dinner greatness. My flash came from another blogger I follow in Italy, Rachel Eats. She had a post about making pasta with a recipe for a simple cauliflower and olive oil 'sauce'. I cooked the cauliflower, gathered my other ingredients, boiled the pasta and a monochromatic dinner was born.
Homemade Pasta with Cauliflower, Chevre and Roasted Garlic (Adapted from Rachel Eats)
Ingredients
Homemade pasta (David Lebovitz)
1 head of cauliflower
1/2 to 3/4 cup extra virgin olive oil (depending on how creamy you want the sauce)
3/4 cup Sassy Nanny chevre
2 heads of roasted garlic, cloves removed
2 tbsp fresh thyme, chopped
1 tbsp fresh rosemary, chopped
/2 cup olive cured olives, pits removed and chopped
1 -2 tbsp good balsamic vinegar
Kosher salt and pepper
Preparation
Break the cauliflower into large florets. Bring a large pan of well salted water to boil and cook the florets for about 1o minutes or until they are soft and very tender.
Use a slotted spoon to lift the cauliflower out of the pan and into a colander to drain. In a sauté pan warm the oil and then sauté the garlic until it's fragrant. Do not let it burn. Remove the garlic and then add the cauliflower, olives and herbs. Stir well so both are coated with oil and gently mash the cauliflower with the back of the wooden spoon until you have a soft, creamy mixture. Add more oil if necessary. Add the chevre and stir to combine. Taste for salt and pepper and remove from the heat.
Cook the pasta in the cauliflower water until al dente which will only take a few minutes. Drain the pasta – reserving some cooking water – and add it to the pan. Stir. Add a little cooking water to loosen and emulsify the dish if necessary. Drizzle with balsamic vinegar and serve immediately.
Timpano- It's A Really Big Calazone In A Pot
What do you make for dinner when a group of Pagans are coming over the day before St Patrick's Day, your last name is Dougherty and your husband is half Italian? That's the question I pondered in the first few days in March. It had to be a big deal— something with lots of steps, complicated ingredients and the ability to shock and amaze a bunch of Pagans. Turducken? No, all that de-boning would be exhausting. Boiled dinner? No, too obvious a choice. Timpano? Yes, yes, yes— there were lots of ingredients, it involved making homemade pasta dough and I was in uncharted territory— always fun when 10 people are coming over for dinner. I had a secret weapon— my friend, Gina. She had no fear of pasta dough, makes a mean red sauce and was game for a kitchen adventure.
Renee introduced me to 'The Big Night', a movie about two Italian brothers who host an extravagant dinner to save their restaurant from closing, right after we met in 2007 and it's now one of my favorites. The last course in the movie is a timpano and, while Louis Prima never showed up, it was a grand moment when they rolled that timpano into the dining room. It's a great movie— funny, poignant and has a killer soundtrack. It's hard to go wrong with Tony Shalhoub, Stanley Tucci, Minnie Driver and Isabella Rossellini in the same cast.
Since Gina and I had both seen the movie, had a solid prep list and knew our way around the kitchen— I figured we were on our way to timpano success. There was one catch, I was nervous about the pasta dough— Gina assured me it was no big deal and whipped up a batch in about 5 minutes. Pasta dough is very resilient, much more than I expected, and that dough opened up a whole new world for me— homemade pasta. Meghan and I have one batch under our belts— I never would have attempted that without watching Gina make our timpano pasta. Pagans, pasta dough, Meghan and The Big Night will be forever entwined in my food memory bank and seriously, once you make your own pasta, the dried stuff loses it's luster.
I poached a pheasant in red wine and duck fat— it was as close as the timpano was going to get to a boiled dinner.
I shredded the pheasant (add about a half of a cup of the poaching liquid to the shredded pheasant), made meatballs (recipe here) and cooked rigatoni and ricotta mushroom panzerotti (available here) al dente. The key to a successful timpano is prepping all the ingredients in advance and assembling the pasta masterpiece right before you plan to cook it.
Pancetta started the party and was the first layer in the timpano. Gina's sauce was like the United Nations— it brought the whole pie together and unified many different flavors and textures.
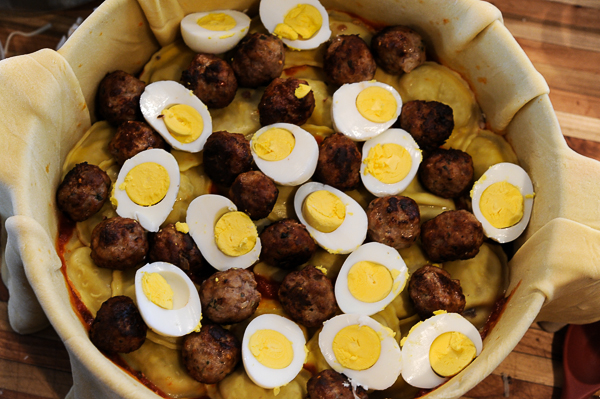
Ricotta panzerotti, hard-boiled eggs and meatballs— the second layer of the timpano.
Rigatoni, more hard-boiled eggs and shredded pheasant— the third layer of the timpano.
Ricotta, mozzarella and red sauce— the fourth and final layer of our pasta pie.
We had a small moment of panic when I tried to unearth the timpano from the pot. The pot weighed about 10 pounds (I'm not exaggerating) and I was worried it would fall apart on the way out. Ted, the proud owner of miles and miles of army green webbing, concocted a cutting board/webbing solution that worked perfectly and the timpano left the pot unscathed.
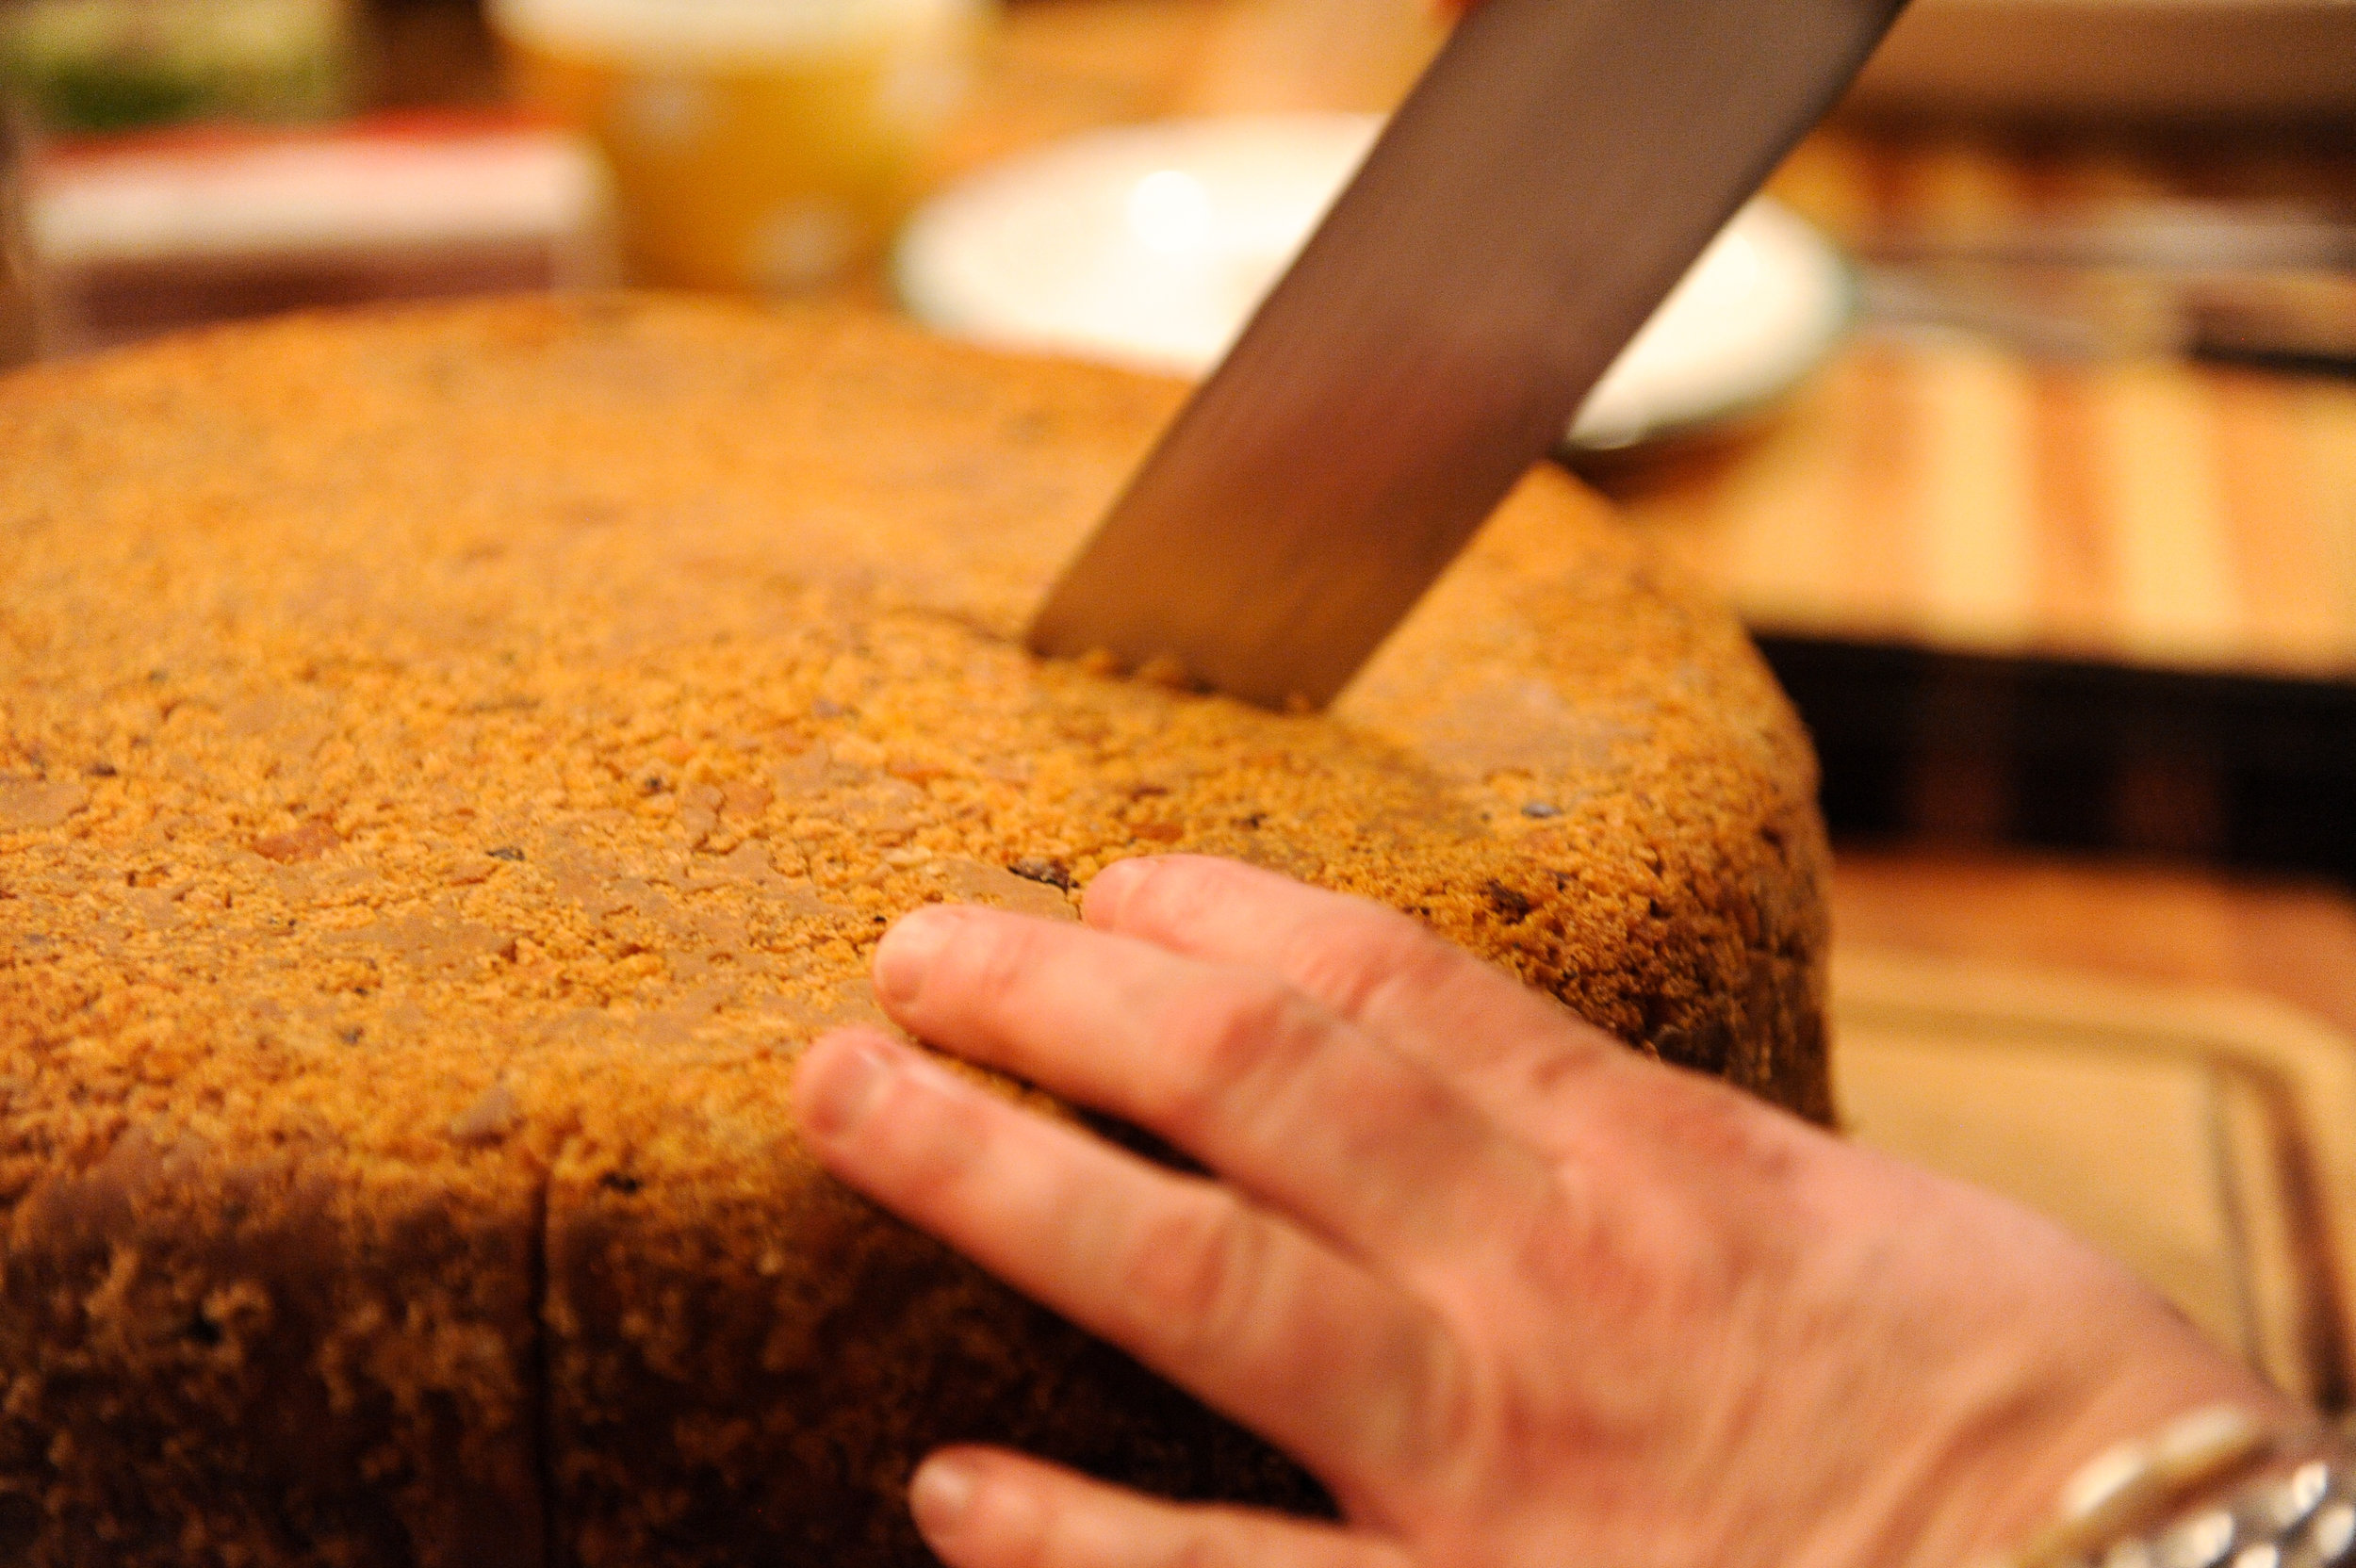
Cutting into that 10 pound masterpiece was a little scary. What if the best laid plans of Mary and Gina went awry and all the Pagans had to go home hungry? We didn't have a back-up plan and it turns out we didn't need one. The timpano held up nicely and tasted great but it really did remind me of a huge calazone with a lot of stuff in it. It's a meal I'm glad we tackled but it's not one I plan on making any time soon. Maybe it will become my Italian St. Patrick's Day dinner and I'll save the corned beef for hash the morning after.
A Pagan's Timpano(Adapted From Stanley Tucci's Cucina & Famiglia Cookbook)
The Dough
4 cups all-purpose flour
4 large eggs
1 tsp kosher salt
3 tbsp olive oil 1
/2 cup water
Butter, olive oil and bread crumbs to prepare the pan
The Filling
10 pieces of pancetta, thinly sliced
2 cups ricotta
12 hard-boiled eggs, shelled, halved
1 pheasant, simmered in 375 ml red wine, 12 oz rendered duck fat & 1/2 cup olive oil for 3 hours 14 - 18 meatballs, depending on the size of your pan
8 cups marinara sauce (homemade or good quality store-bought)
3 pounds rigatoni, cooked very al dente (about half the time recommended on the package) and drained
2 pounds ricotta panzerotti (you can substitute any filled pasta), cooked very al dente and drained
8 cups mozzarella, shredded
1 cup Parmesan, shredded
4 large eggs, beaten
Dough Preparation Using Stand Mixer
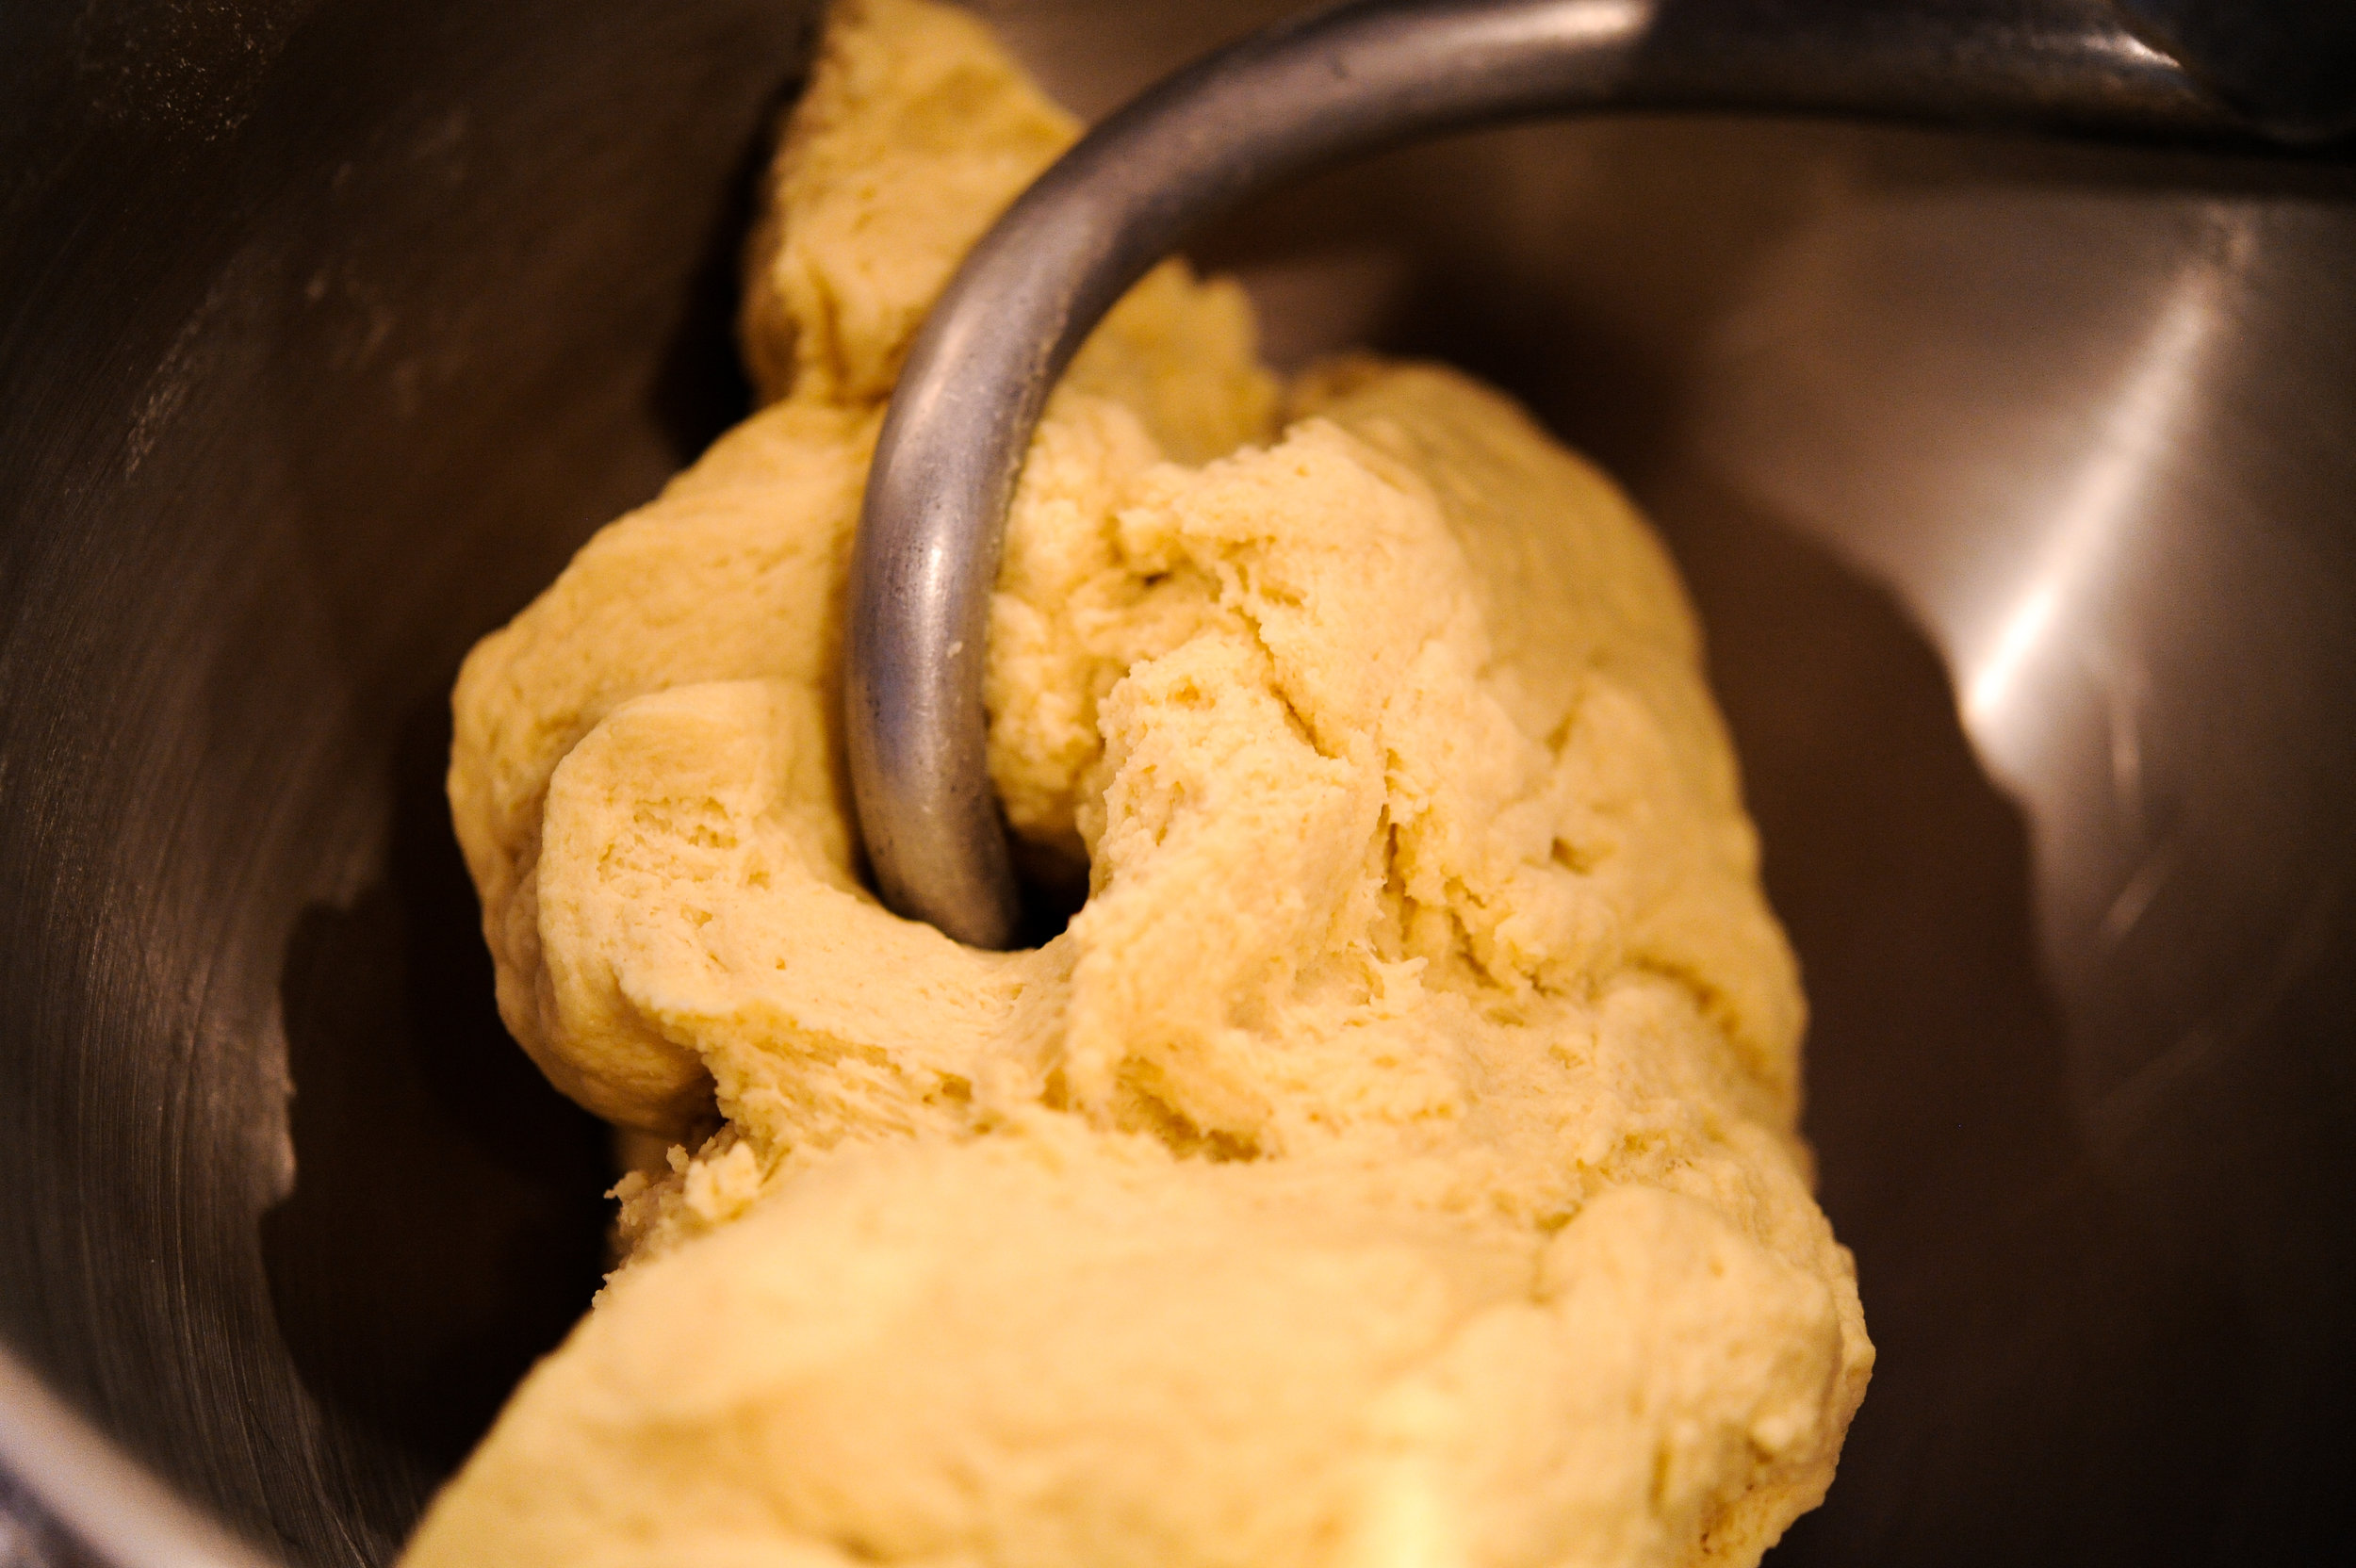
Place all ingredients in the bowl except for the water. Turn the mixer on slowly and add 3 tablespoons of the water. Add more water, 1 tablespoon at a time, until the mixture comes together and forms a ball. Knead the dough on a lightly floured board to make sure it is well mixed. Set aside to rest for5-10 minutes, or refrigerate overnight. Bring to room temperature before rolling.
Flatten out the dough on a lightly floured surface. Roll the dough to 1/16″ thickness, dusting with flour and turning from time to time, to prevent sticking. Generously grease the pan with butter, olive oil and bread crumbs. Fold the dough in half and then in half again, to form a triangle, and place it in the pan. Open the dough and gently press it into the pan against the bottom and sides. Allow the extra dough to drape over the sides.
Cooking the Pasta Cook the pasta in a very large pot of salted water until it is half done (it will finish cooking in the oven). place in a large bowl and toss with a few tablespoons of olive oil and set aside.
Assemble the Timpano Preheat the oven to 350 degrees. Cover the bottom of the pasta dough lined pan with the pancetta slices, half of the rigatoni, 2 cups of mozzarella, 1/4 cup Parmesan and marinara. Second layer: panzerotti, meatballs, half of the eggs, 2 cups of mozzarella, 1/4 cup Parmesan and marinara. Third layer: remaining rigatoni, poached pheasant, remaining eggs, 2 cups mozzarella, 1/4 cup Parmesan and marinara. Fourth layer: ricotta, 2 cups mozzarella, 1/4 cup Parmesan, beaten eggs and remaining marinara sauce. Fold the pasta dough over the filling to seal completely. Trim away and discard any double layers of dough.
Bake the timpano until lightly browned, about 1 hour, then cover loosely with aluminum foil and continue baking until the timpano is cooked through and the dough is golden brown, about 30 minutes. The internal temperature should reach 120 degrees. Remove from oven and allow to rest about 45 - 60 minutes. The timpano should not stick to the pan. If it does, carefully run a knife around the edges to loosen. Placing a serving platter or cutting board on top of the pan and invert the timpano onto a serving platter. Remove the pan and allow timpano to cool for at least an hour. Using a long, sharp knife, slice the timpano as you would a pie into individual portions. Serves 16.
Snow Storms & Roasted Chickens
It's snowing again, the second snow storm this week. I think it's changing to sleet because I hear a tap, tap, tap on the windows and about an hour ago, there was a green flash outside and our lights flickered— thunder snow. April has a bag of tricks up her sleeve and I can only hope sunshine and something green is on the itinerary. While it seems this is the winter without end, I still get excited (even in April) when I hear the term 'winter weather advisory' or better yet, 'winter storm warning'. It feels like Christmas Eve— checking for the first snowflakes, listening to the wind whistle through the pines, checking the radar online and discussing the chances of a snow day with Charlie and Meghan. I plan on enjoying every bit of this last (hopefully) snowstorm. It never snows in June, right?
Like most things in my life, everything eventually ends up in the kitchen and once the snow starts falling, I start planning what to make for dinner. A snow storm meal needs to meet a few criteria: butter or duck fat is crucial, preferably roasted in the oven and must make the house smell divine. When I was in Minneapolis, I went grocery shopping at Byerly's— I love a good grocery store like Carrie Bradshaw loved Manolo Blahniks. Walking into Byerly's (or Lund's or Kowalski's) makes me so happy. It feels a little like a treasure hunt— I never know what I'm looking for but I know it's going to be just what I need to find. I wander around aimlessly (driving every sane person with a list, a plan and a restless two-year old strapped in the cart completely nuts) until BAM, inspiration strikes and I know what I'm making for dinner.
When I saw the Smart Chicken roasters in the cooler, I almost did a little dance. It was my favorite chicken when we lived in Woodbury and I'm telling you, air chilled chicken really does taste better than chicken chilled with water. It is the juiciest, most tender chicken available commercially. I've been on a preserved lemon kick lately (I'm craving something yellow and sunny looking since the sun is on hiatus) and I'd just been to Bill's Imports so I had capers, lemon thyme and Moroccan olives in the fridge, waiting for a chance to be useful. I mixed up a batch of Moroccan compound butter, put the chickens in the oven and met all three criteria of my snowstorm dinner criteria in one fell swoop. It was perfect.
Moroccan Roasted Chicken
1 whole chicken, preferably organic
1/2 cup butter, at room temperature
1/4 cup preserved lemons, rinsed and chopped
1/4 cup Moroccan olives, pits removed and chopped
1/8 cup salted capers. rinsed and chopped
2 tbsp harissa 1 tbsp fresh rosemary, chopped
2 tbsp lemon thyme, chopped
Kosher salt and pepper
Preparation
Preheat oven to 450 degrees. Combine the butter, lemon, olives, capers, rosemary, thyme and harissa and set aside. Loosen the skin around the breasts, legs and thighs and spread the compound butter under the skin. Spread any remaining butter on the outside of the skin, season with salt and pepper and place in a roasting pan. Put the chicken in the oven and roast at 450 degrees for 15 minutes, reduce the temperature to 350 degrees and continue to roast until the breast reaches 165 degrees (about 45 - 60 minutes). Let the chicken rest, uncovered, for 10 minutes then carve and serve.
Sassy Salmon En Croute
There are a few things I always have in the freezer: meatballs, Tetzner's ice cream, chicken stock and puff pastry dough. Puff pastry dough is my idea of a secret weapon— you wrap anything in a buttery, flaky dough and voilà, you've elevated the ordinary to the extraordinary (the power of butter is endless). Ted made salmon en croute for our very first Christmas Eve dinner with my family twelve years ago. We wanted to come up with a show-stopping meal and since I've never been a particularly big fan of understatement, wrapping a hunk of salmon in puff pastry seemed like the ticket to Christmas Eve perfection. Ted took charge of the dinner and I remember poking my head in the kitchen and watching him, with his tie tucked in between the buttons on his shirt, cutting the dough into the shape of a fish— he's kind of a fancy guy. When he walked out of the kitchen with an enormous smile on his face and a perfectly cooked and puffed salmon en croute, I knew we had started a cherished family tradition.
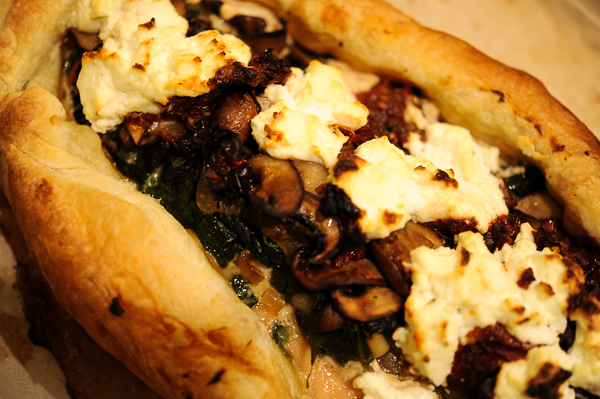
Twelve years later, I've wrapped all sorts of things in puff pastry (brie en croute recipe here) and we have ribs for Christmas Eve dinner now, but nothing beats salmon en croute for a good meal and a trip down memory lane. This time I ran into a snag and tried to roll out the dough when it was too cold. It kept cracking and I wasn't able to get it large enough to wrap up the entire fish. I decided to morph my 'en croute' to 'en galette' and wrapped the salmon about halfway up. It turned out to be a fortuitous detour— the filling (now the topping) was caramelized and the puff wasn't soggy because the moisture from the spinach and mushrooms evaporated in the oven. I guess impatience can pay off (sometimes).
Sassy Salmon En Croute
1/4 cup butter
1 1/2 pounds fresh mushrooms,sliced
3 large shallots, chopped
2 cloves garlic, minced
2 (10-ounce) packages frozen spinach, thawed and squeezed dry
1/2 cup sun-dried tomatoes in olive oil, chopped
8 ounces goat cheese (I used Sassy Nanny Lake Effect)
2 tbsp fresh thyme, chopped
1 package puff pastry ( I used Pepperidge Farms), thawed in the refrigerator overnight
1 (2-to 2 1/2-pound) salmon fillet, skinned
1 large egg
2 teaspoons water
Salt and freshly ground black pepper
Preparation
Melt the butter over medium-high heat in a large skillet. Add the mushrooms and shallots and sauté until well cooked and all the liquid has evaporated, about 10 minutes. Add the spinach, garlic, sun-dried tomatoes and thyme and sauté until all liquid is evaporated, about another 5 minutes. Season to taste with salt and pepper. Transfer to a covered container and refrigerate until thoroughly cooled, up to one day in advance.
Lightly flour a clean work surface and set out the chilled puff pastry. Let the pastry sit just long enough to become pliable, so it won't break or crack when you unfold it and try to roll it out. Roll the puff pastry dough out to fit your salmon fillet when it's placed on the dough on the diagonal. Place the puff dough on a sheet tray lined with parchment paper. In a small bowl, combine the egg and water for the egg wash and beat with a fork until foamy.
Season the salmon fillet with salt and pepper. Place the spinach/mushroom/sun-dried tomato mixture and goat cheese on top of the salmon fillet and wrap the puff dough up around the salmon. Brush the sides of the dough with the egg wash, being careful not to let too much egg drip down the edges of the pastry, and cover loosely with plastic wrap. Place in the refrigerator and chill for at least 1 hour and up to overnight before baking.
Preheat the oven to 450 degrees. Remove the plastic wrap, place the baking sheet on the center rack of the oven, and bake for 15 minutes. Decrease the temperature to 350 degrees and bake an additional 15 to 20 minutes, until the pastry is golden brown and puffed. Remove from the oven and let rest, uncovered, for at least 30 minutes before cutting.
Pickled & Deviled...Eggs That Is
Every time I opened the fridge, there they were— two Mason jars full of pickled eggs (recipe here). To be honest, I've never eaten a pickled egg in my life and I had no intention of just popping one in my mouth and chewing. I needed a little something to ease my passage into "I've eaten a pickled egg and liked it' land. I settled on deviling my pickled eggs and it more than eased my passage to pickled egg land— they were seriously good. Although next time, I'll only pickle the eggs for five days or so— they were a little too rubbery for my taste.
I'll say one thing about those pickled eggs I made two weeks ago, they were pretty and didn't look anything like the eggs I've seen behind some Wisconsin bars. The herbs made beautiful patterns on the whites that weren't in direct contact with the brine, kind of like Easter eggs without the shells. I liked the balsamic brine— it had a nice bite but wasn't too strong and dyed the eggs a beautiful shade of mahogany. Pretty pickled and deviled eggs— not too shabby for my first time.
Pickled & Deviled Eggs
14 pickled eggs
1/3 cup mayonnaise
1/4 cup sour cream
2 tbsp salted capers, rinsed and chopped
2 tbsp cornichons, chopped
Salt and pepper, to taste
Lemon thyme, minced
Preparation
Rinse the pickled eggs and pat dry. Cut the eggs in half, scoop out the yolks and place in a bowl. Add the mayonnaise, sour cream, capers, and cornichons to the bowl and combine with egg yolks. Taste for salt and pepper and then fill the egg whites with the yolk mixture. Garnish with lemon thyme and serve immediately or store, covered, in the refrigerator.
A Sassy Roasted Vegetable Salad
Two really great things happened to me in the past month— my homemade red wine vinegar is finally healthy and Kathy introduced me to roasted vegetables in a green salad. I'm not sure what event was more impactful but when they came together on my plate, I had joy in my little heart. My path to homemade vinegar was full of pot-holes, really big and unmarked pot-holes. I bought my vinegar mother, put her in the crock with decent red wine, put the cap on the crock and went on my merry way for 2 months. Big mistake. I opened the crock and it smelled exactly like nail polish remover, not exactly what I was shooting for.
I searched the internet but it seemed nearly everyone had great success in their vinegar production and I couldn't find much information on what to do when the vinegar smells horrid (except throw it out and start over). I was not about to throw it out, I had two months invested and it was too cold to have another mother shipped— evidently, they need to stay warm in order to turn wine into vinegar. So, I decided to do it my way and disregard the instructions. I added some water, sugar, more wine and stirred it vigorously every third day. I waited and waited and stirred and stirred. Finally, six weeks later, I took a whiff and the most beautiful acidic aroma wafted into my nose. Homemade red wine vinegar is everything I hoped it would be— lightly acidic and fresh tasting, and not a hint of acetone to be found.
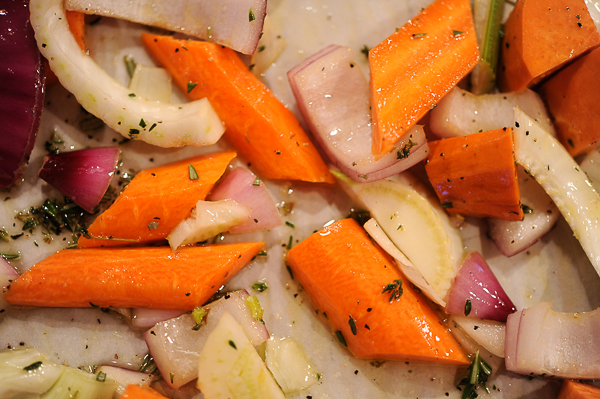
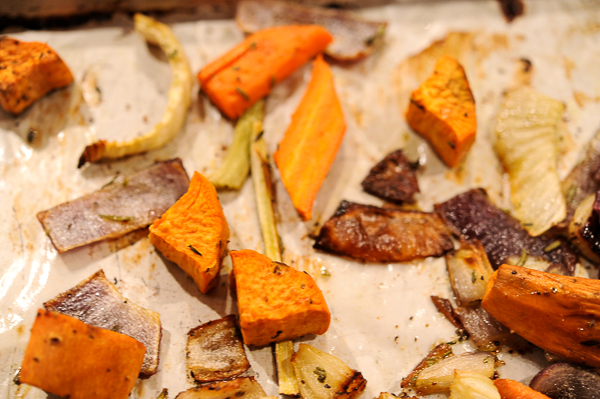
Back to the roasted vegetable revelation. I knew a salad with roasted carrots, sweet potatoes, fennel and onion combined with Sassy Nanny goat cheese and my red wine vinaigrette would be just the ticket for a spring dinner. Soon, I will have lots of fresh vegetables from the garden to dress up in a salad but for now, roasted vegetables were a nod to the passing of winter.
Sassy Roasted Vegetable Salad
Red Wine Vinaigrette
1/4 cup red-wine vinegar
1 tablespoon Dijon mustard
1 teaspoon sugar
Salt and black pepper, to taste
1/2 cup extra-virgin olive oil
Salad
4 carrots, peeled and cut into 2 inch pieces
1 sweet potato, peeled and cut into 1 inch pieces
1 red onion, peeled and sliced
1 fennel bulb, fronds removed and sliced
1/4 cup olive oil
1 tbsp fresh thyme, minced
1 tbsp fresh rosemary, minced
salt and pepper, to taste
1 pear, sliced
4 cups spring mix or spinach (or a combination of both)
1/2 cup Sassy Nanny Lake Effect goat cheese
Preparation
Preheat oven to 400 degrees.
Place all the vinaigrette ingredients in a bowl and whisk until fully incorporated and slightly thickened.
Place vegetables, herbs, salt, pepper and olive oil in a sheet tray lined with parchment. Roast for 30 minutes or until softened and caramelized. Set aside to cool. Assemble the salad with roasted vegetables and pear slices and then toss with the vinaigrette. Place the goat cheese on top of the salad, taste for salt and pepper and serve immediately.


