Cookery Maven Blog

Roasted Butternut Squash & Goat Cheese Lasagna

I love everything about fall— the golden light, shorter days, cooler weather and the food, oh the food.  Provençal beef stew, roasted chickens, Indian curries, porchetta, bread puddings and lasagna. I've embraced homemade pasta and I have to admit, I enjoy making it. Yes, it's more work than dried pasta but there is something meditative about standing at the counter, rolling and cutting pasta. Forget yoga, I'll take my meditation with a side of lasagna.

Of course, I used Sassy Nanny goat cheese, it melted perfectly into the bechamel and the pecorino added a nice salty tang.

Bacon and caramelized onion rounded out the sauce and added an extra layer of layer that really complemented the rich sauce and roasted squash. Nothing but the best for my freshly made lasagna sheets.

Speaking of lasagna sheets, the transformation of a round piece of dough into a silky ribbon of pasta is magical. I pass the dough through the pasta roller eight  times— three times through #1 and then once through # 2 - # 5. I don't go beyond #5 because I like my pasta on the thick side. It's a matter of taste and if you like thin pasta, by all means go to #6 or even #8.

Another tricky part of the fresh pasta process is what do you do with the pasta after it's rolled out but before you are ready to cook it? I don't like to hang it— for some crazy reason, the dogs have a serious thing for fresh pasta and will spend the entire time attempting to leap and snag a mouthful of pasta while I'm busy rolling out the rest of the pasta. Necessity (or badly behaved dogs) being the mother of invention, I coated the sheets in flour and layered them on a sheet tray. One caveat— use lots of flour and dust the sheets evenly. There's nothing worse than a pile of fresh pasta stuck together in a giant mess....it'll make a grown woman weep.

I'm a firm believer in boiling pasta and lasagna noodles are no exception. The no-boil method, at least with fresh pasta, doesn't taste as good. I can taste the raw flour and I prefer the texture of noodles boiled for about a minute (if your sheets are thin, boil them for 30 seconds) prior to assembling the lasagna. An extra 10 minutes yields a superior pan of lasagna, trust me.

Roasted Butternut Squash & Goat Cheese Lasagna (adapted from Fine Cooking)

Lasagna Sheets
2 cups all-purpose flour
2 cups semolina flour (you can substitute all purpose flour if you don't have semolina)
4 large eggs
1 tsp kosher salt
3 tbsp olive oil
1/2 cup water

Lasagna Filling
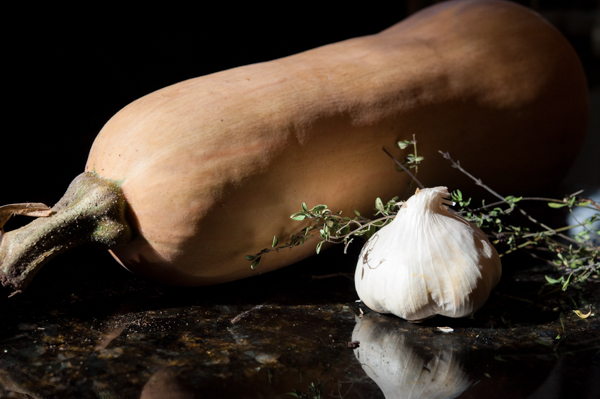
1 large butternut squash (about 3 lb.), halved lengthwise and seeded
10 - 12 medium cloves garlic, unpeeled
2 sprigs fresh thyme plus 2 teaspoons chopped leaves
2 teaspoons extra-virgin olive oil
Kosher salt
Freshly ground black pepper
1 cup bacon, cooked and chopped
1 large yellow onion, sliced
8 tablespoons butter
1/4 cup all-purpose flour
3 cups whole milk
1 1/2 cups fresh goat cheese
1 cup Pecorino Romano,  finely grated
1 cup Parmesan, grated

Pasta Preparation
Place all ingredients in the bowl except for the water. Turn the mixer on slowly and add 3 tablespoons of the water. Add more water, 1 tablespoon at a time, until the mixture comes together and forms a ball. Knead the dough on a lightly floured board to make sure it is well mixed. Set aside to rest for 30 minutes.

Generously flour your counter top or work area. Cut the dough into 6 pieces and cover with a towel (don’t cover the pasta with kitchen towels if you use a scented fabric softener because the pasta will pick up the scent—use parchment instead). With your hands, flatten and shape one piece of dough into a 1/2-inch-thick rectangle. Dust it lightly with flour and pass it through the widest setting on the pasta machine. If the dough comes out oddly shaped, reform into a rectangle. Fold it in thirds, like a letter, and if necessary, flatten to 1/2 inch thick. Pass it through the widest setting again with the seam of the letter perpendicular to the rollers. Repeat this folding and rolling step three or four times, dusting the dough with flour if it becomes sticky.

Without folding the dough, pass it through the next setting on the pasta machine. Keep reducing the space between the rollers after each pass, lightly dusting the pasta with flour on both sides each time ( I stop at # 5 on the KitchenAid pasta roller).

Generously dust both sides of the pasta sheet and lay on the floured sheet tray. Roll out the remaining dough in the same manner. Cut each strip of dough into 11-inch lengths.

Bring a 10-quart pot of well-salted (it should taste like sea water) water to a boil over high heat. Put a large bowl of ice water near the pot of boiling water. Line a rimmed baking sheet with sheets of parchment and have more parchment ready.

Put 3 or 4 noodles in the boiling water. Once the water returns to a boil, cook for about one minute. With a large wire skimmer, carefully transfer them to the ice water to stop the cooking. Repeat with the remaining noodles.

Drain the noodles and rinse under cold water. Spread them flat on the parchment-lined sheet tray, I layered them on top of each other and they didn't stick but if you are concerned about sticking,  layer the noodles between parchment and set aside until you’re ready to assemble the lasagna.

Lasagna Filling Preparation
Position a rack in the center of the oven and heat the oven to 425°F.

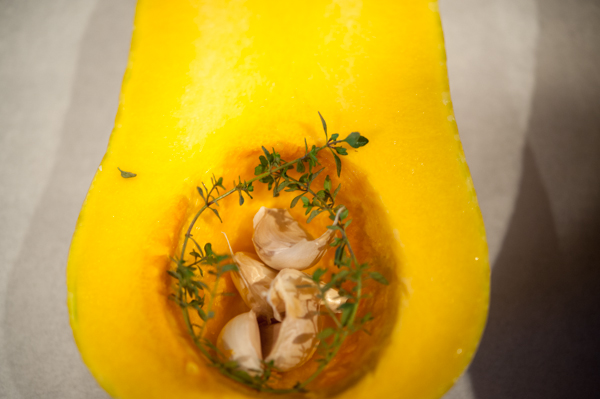
Put the squash cut side up on a large, heavy-duty rimmed baking sheet. Divide the garlic cloves and sprigs of thyme between the two halves and place in each cavity. Drizzle each half with 1 tsp. of the oil and then season each with 1/4 tsp. salt and a few grinds of pepper. Roast until the squash is browned in spots and very tender when pierced with a skewer, 45 to 50 minutes. Remove from the oven and let cool completely.

Discard the thyme sprigs. Peel the garlic and put in a large bowl. Scoop the squash flesh from the skins and add it to the garlic. Mash with a fork until smooth. Season to taste with salt and pepper.

Melt 3 tablespoons of butter in a sauté pan over medium heat. Add onions and 2 teaspoons of thyme leaves, reduce heat to medium-low and cook until golden brown and caramelized, about 45 minutes. Set aside.

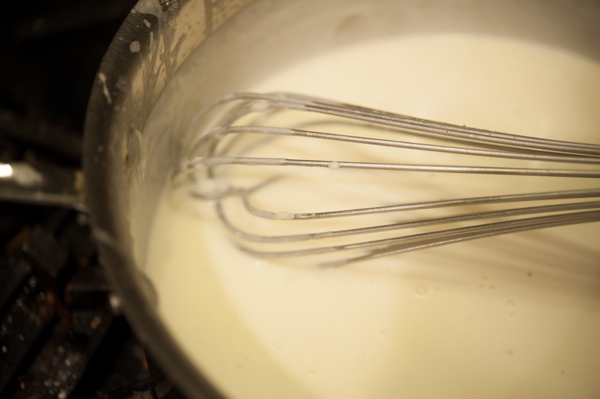
Melt 5 tablespoons of  butter in a 3-quart saucepan over medium heat. Add the flour and whisk until smooth and golden, about 2 minutes. Gradually whisk in the milk and cook, whisking occasionally, until thickened enough to coat the back of a spoon, about 15 minutes. Stir in the goat cheese, pecorino, 1 teaspoon salt, and a few grinds of pepper. Season to taste with more salt and pepper.

In a large bowl, add the cheese sauce, the squash/garlic mixture, crumbled bacon and caramelized onions. Stir to combine thoroughly and taste for seasoning.

Spread 1/2 cup of the squash/cheese sauce over the bottom of a 9x13 inch baking dish. Cover the sauce with a slightly overlapping layer of cooked noodles, cutting them as needed to fill any gaps. Spread 1 cup of the cheese/squash mixture evenly over the noodles and sprinkle with the shredded Parmesan. Add another layer of noodles and repeat the layers as instructed above, to make a total of 4 squash layers and 5 pasta layers. Spread the remaining cheese/squash sauce evenly over the top. Sprinkle with the remaining Parmesan cheese.

Heat oven to 350 degrees. Cover the baking dish with foil and bake for 40 minutes. Remove the foil and bake until the top is browned and bubbly, 15 to 20 minutes. Cool for at least 10 minutes before serving.

Make Ahead Instructions You can make the roasted squash mixture up to 1 day ahead of assembling the lasagna. You can assemble the lasagna up to 2 days ahead of baking it. Tightly wrap the baking dish in plastic and refrigerate it. Let the lasagna come to room temperature before baking it.
The World Beneath Our Feet

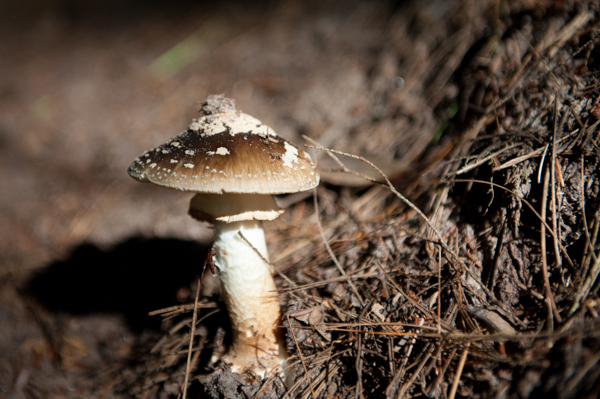
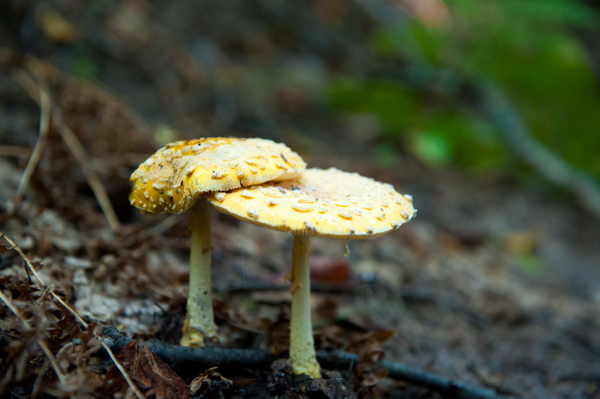
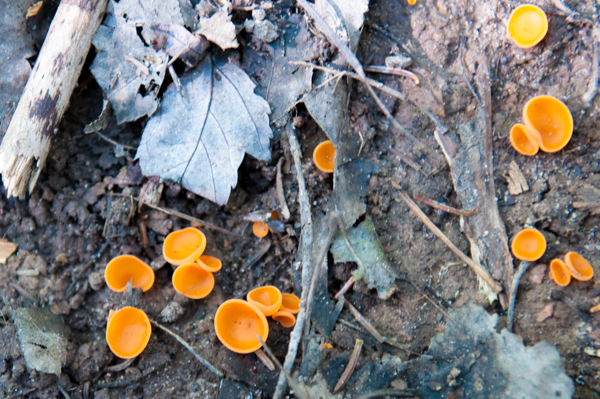
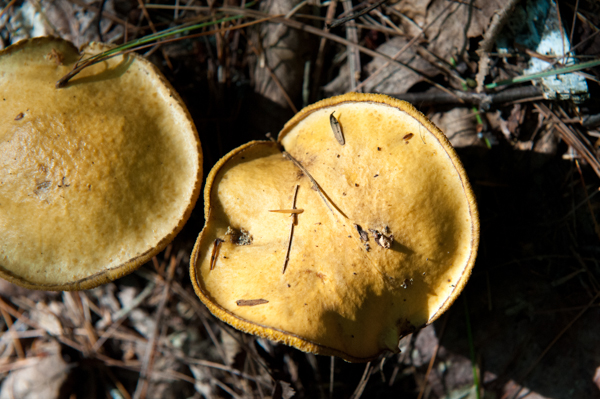
It's been a banner year for mushrooms and conditions were ripe for a fungi photo safari at Houghton Falls. Time flew as I spent my morning on my hands and knees amongst the inhabitants of the forest floor. It's good for the soul to spend a few hours bathed in wonderment—it's as easy as looking down.

In a hole in the ground there lived a hobbit. Not a nasty, dirty, wet hole, filled with the ends of worms and an oozy smell, nor yet a dry, bare, sandy hole with nothing in it to sit down on or to eat: it was a hobbit-hole, and that means comfort.

J.R.R. Tolkien, The Hobbit

 A safe fairyland is untrue to all worlds.

J.R.R. Tolkien, The Hobbit

 There is nothing like looking, if you want to find something. You certainly usually find something, if you look, but it is not always quite the something you were after.

J.R.R. Tolkien, The Hobbit

 I know. It's all wrong. By rights we shouldn't even be here. But we are. It's like in the great stories, Mr. Frodo. The ones that really mattered. Full of darkness and danger, they were. And sometimes you didn't want to know the end. Because how could the end be happy? How could the world go back to the way it was when so much bad had happened? But in the end, it's only a passing thing, this shadow. Even darkness must pass. A new day will come. And when the sun shines it will shine out the clearer. Those were the stories that stayed with you. That meant something, even if you were too small to understand why. But I think, Mr. Frodo, I do understand. I know now. Folk in those stories had lots of chances of turning back, only they didn't. They kept going. Because they were holding on to something.

J.R.R. Tolkien, The Two Towers

Yet such is oft the course of deeds that move the wheels of the world; small hands do them because they must, while the eyes of the great are elsewhere.

J.R.R. Tolkien, The Fellowship of the Ring

There is more in you of good than you know, child of the kindly West. Some courage and some wisdom, blended in measure. If more of us valued food and cheer and song above hoarded gold, it would be a merrier world.

J.R.R. Tolkien, The Hobbit

There are no safe paths in this part of the world. Remember you are over the Edge of the Wild now, and in for all sorts of fun wherever you go.

J.R.R. Tolkien, The Hobbit

DSC_2127.jpg

He used often to say there was only one Road; that it was like a great river: its springs were at every doorstep, and every path was its tributary. 'It's a dangerous business, Frodo, going out of your door,' he used to say. 'You step into the Road, and if you don't keep your feet, there is no knowing where you might be swept off to.

J.R.R. Tolkien, The Fellowship of the Ring

All that is gold does not glitter, Not all those who wander are lost; The old that is strong does not wither, Deep roots are not reached by the frost.

From the ashes a fire shall be woken, A light from the shadows shall spring; Renewed shall be blade that was broken, The crownless again shall be king.

J.R.R. Tolkien, The Fellowship of the Ring

The Best Of Summer...In A Quiche

Nothing says summer like Corn Man corn and nothing says 'summer is over' than bags of his corn, freshly shucked, in my freezer and a kitchen full of tomatoes in various shades of green, yellow and red. Quiche is a quick and easy dinner option and since breakfast for dinner is a Dougherty family favorite, it was a no-brainer as I stared into the refrigerator, looking for inspiration. This quiche really shines with garden fresh tomatoes and sweet corn— although it won't be as good with grocery store tomatoes, it's still worth making. That corn cream is seriously good.

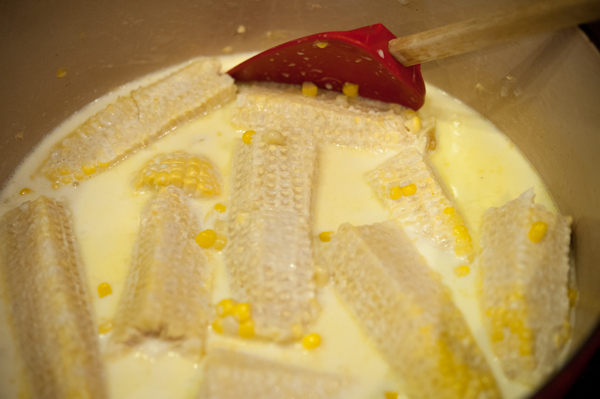
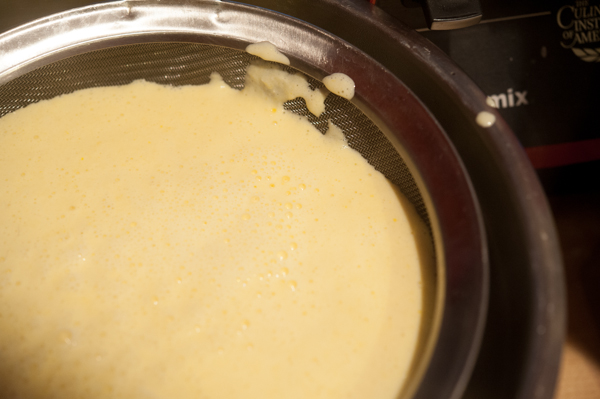
I've made lots of quiches over the years but this recipe had a technique I haven't used before, steeping the sweet corn in cream, and it was a revelation. The quiche is loaded with the essence of sweet corn without the kernels (you pass the cream/corn mixture through a fine mesh sieve and you end up with a seriously delicious corny cream). I added a few corn cobs to the cream and corn mixture to guarantee an intensely flavored custard. If you don't have any cobs, don't worry about it— the corn kernels will flavor the cream just fine on their own.

I used dried beans and parchment when I blind baked the crust— an important step if you like a flaky pastry home for your quiche.

The corn cream is out of this world delicious and it's the most beautiful color of light yellow.

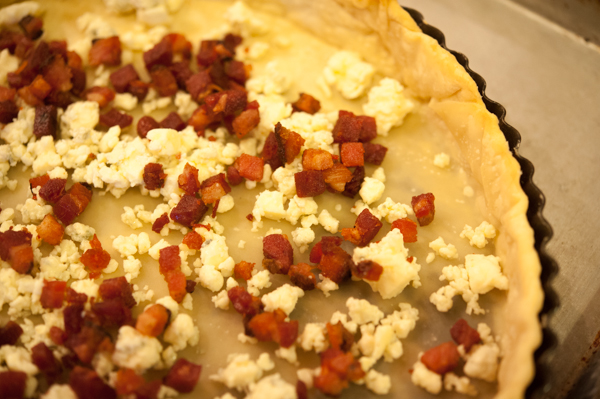
I added pancetta and Gorgonzola to the original recipe— nothing like gilding the lily, right?

Tomato & Sweet Corn Quiche (adapted from FreshTartSteph & Minnesota Monthly September 10, 2013)

1 9-inch pie crust (I used Pillsbury pie crust from the grocery store)
2 teaspoons butter
3 ears peak-season sweet corn, shucked, kernels sliced off cob (about 2 1/2 cups)
3 - 6 corn cobs (optional)
1 cup whole milk
1 cup heavy cream
1 teaspoon salt
1/2 teaspoon black pepper
3 large eggs
1/2 cup Gorgonzola, crumbled
1/2 cup pancetta or bacon, cooked and crumbled
2 cups assorted garden-ripe tomatoes, cut into 1/2-inch slices 9-inch pie plate, nonstick cake pan, or fluted tart pan

Preheat oven to 350 degrees F.

Roll out the crust and fit into baking pan. Trim and crimp the edges. Gently set a large piece of foil or parchment paper into and on top of the crust and fill with pie weights or dried beans. Bake crust for 15 minutes. Remove foil and pie weights and set crust aside while you prepare the filling.

In a sauté pan over medium heat, cook the pancetta or bacon until crisp. Remove from the pan and set aside.

In a Dutch oven, heat butter over medium heat. When butter is melted, stir in the corn. Saute the corn, stirring a couple of times, for 5 minutes. Stir the milk, cream and corn cobs into the corn. Bring the mixture to a boil, then turn heat to low and simmer corn for 20 minutes. Remove from the heat and discard the corn cobs.

Set out a colander placed over a medium bowl.

In the bowl of a blender, purée the corn and cream together (use caution when blending hot liquids). Pour the pureed corn and cream into the colander to strain out the cream. Press down on the corn to extract as much of the cream as possible. Discard the corn. Measure out and 1 1/2 c. of the cream and return it to the bowl.

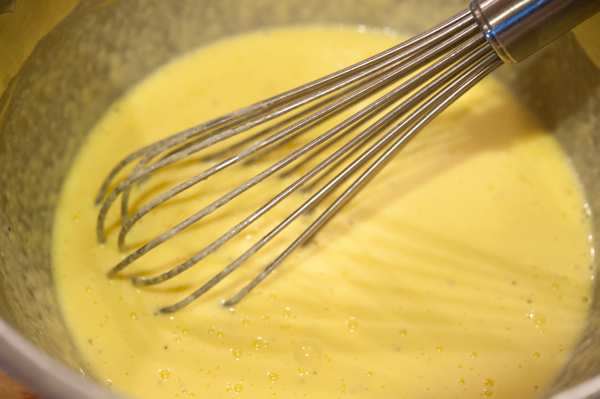
Add salt, pepper and eggs to the corn cream and whisk to combine.

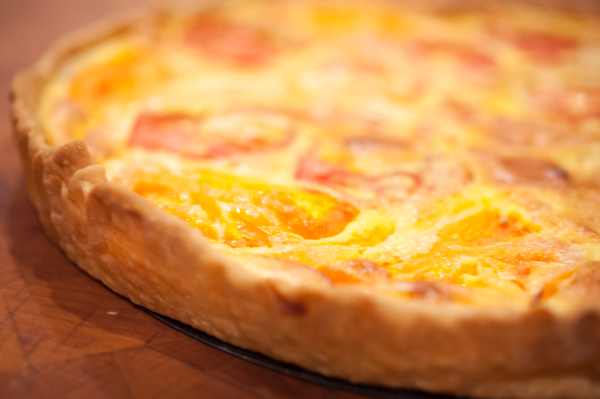
Sprinkle the pancetta and Gorgonzola over the bottom of crust. Pour egg mixture into crust, stopping 1/2-inch from top of crust. Arrange tomato slices over the top of the egg mixture. Bake quiche for 40-45 minutes, until edges of crust are golden brown and center of quiche is just-set. Cool on a wire rack for 15 minutes before serving warm.

DSC_1779
DSC_1779
DSC_1785
DSC_1785

Lost Creek Falls With M & M

“There are these two young fish swimming along and they happen to meet an older fish swimming the other way, who nods at them and says "Morning, boys. How's the water?" And the two young fish swim on for a bit, and then eventually one of them looks over at the other and goes "What the hell is water?".....

It is about the real value of a real education, which has almost nothing to do with knowledge, and everything to do with simple awareness; awareness of what is so real and essential, so hidden in plain sight all around us, all the time, that we have to keep reminding ourselves over and over:

This is water."

"This is water.”

David Foster Wallace, This Is Water

It snowed last night. Charlie was rejoicing, in the way only a snowboarding obsessed twelve-year-old can— with verve and volume. He was so disappointed when he woke up this morning and the snow had melted into the green grass. Thankfully, snow is on the menu for the next six months and Charlie will be bombing the hill in no time.

Last night, with the snow falling, I found these pictures in my Lightroom files and traveled back to this warm, sunny day in July. We hiked out to Lost Creek Falls with Mike and Mindy and these pictures are from that adventure. It was pretty amazing to have everyone together, in one place, for an afternoon and it made me so very happy to see Meg and Jack perched on rock, bathed in sunshine. Man, I miss that boy.

I'll never tire of sitting near, listening to or taking pictures of running water and waterfalls. They are the tether I grab when I need to find a way back to myself and towards, as Mary Oliver said, 'a silence where another voice may speak.'

Perched on a rock behind the waterfall, the 'awareness of what is so real and essential' settled into me like the water flowing over me. The lives we build with those we love are 'water', as essential as a heartbeat but easy to take for granted in the noise and busyness of life.

We spent a few hours in the company of Lost Creek, cedars, white and red pines, ancient rock and each other. It was about as good as it gets for an afternoon in July and I'll carry it with me until we all meet again among the trees and water at Lost Creek Falls.

Braised Pork Belly With An Asian Flair

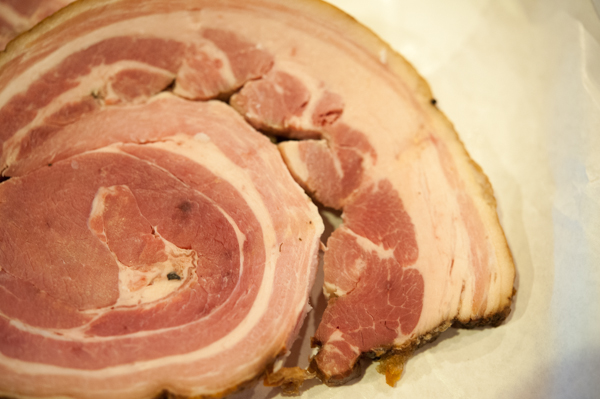
Pork belly— it's not just for bacon. In fact, it's extremely well-suited to a nice long bath in Asian spices, an equally long braise in the oven, a pile of Jasmine rice and a spoonful of quick pickled cucumbers. I bought my pork belly in hopes of making pancetta but the 'cut a hole in one corner and hang it to dry for a week' part of Michael Ruhlman's recipe was a deal breaker. There is no place in my house where 6 pounds of pork, suspended 5 feet off the ground, would be safe from harm or ingestion by the dogs. George already knows how to open peanut butter jars, unzipper lunch sacks and speak Spanish— pork hanging from the ceiling would be a breeze for his extraordinary yellow Lab intellect. An Asian braise was the safest way to cook the meat and foil George's amazing knack for commandeering food for his dinner.

Braised Asian Pork Belly (Adapted from Emeril Lagasse 2006)

One full pork belly, about 8 - 10 pounds (you can substitute pork shoulder)
2 cups orange juice
1/2 cup pineapple juice
1 1/4 cup soy sauce
1 cup light brown sugar
1/8 cup fish sauce
1/2 cup lime juice, freshly squeezed
1/2 cup lemon juice, freshly squeezed
1/3 cup garlic, minced
1/4 cup ginger, minced
1/4 cup green onion, minced
1/4 cup plus 3 tbsp sambal oelek (chile paste)
4 cups chicken broth

Preparation
Day 1
— Combine the orange juice, pineapple juice, soy sauce, fish sauce, brown sugar, lemon juice, lime juice, garlic, ginger, green onion and sambal oelek in a medium bowl and whisk to blend well. The pork belly will, most likely, be too large for your roasting pan so cut it in half and place it in a large (2 gallon size) plastic bag. Add the marinade to the plastic bag, squeeze all the air out and seal tightly. Place in the refrigerator overnight.

Day 2— Preheat the oven to 325 degrees. Remove the pork from the refrigerator and allow to sit at room temperature for an hour. Place the pork belly, fat side down, in a roasting pan, pour 3 cups of chicken broth and the marinade over and around the pork belly and place in oven. If your roasting pan is not wide enough to accommodate the pork bellies side by side, use two roasting pans and divide the chicken broth and marinade evenly between the pans.  Roast for an hour and then turn the pork belly over and roast for another 1 1/2 hours. Remove from the oven and allow to cool for an hour or so. Once cool enough to handle, cover with plastic wrap and refrigerate overnight.

Day 3— Preheat the oven to 400 degrees. Remove the pork from the refrigerator, uncover and skim off any congealed fat that rests on top of the cooking liquid. Add the remaining cup of chicken broth to the pan and place in the oven. Cook until the belly is slightly caramelized and warmed through, about 30 minutes. You can either shred it, as I did, or cut into slices and serve over rice with the pan juices.

DSC_1193
DSC_1193
DSC_1204
DSC_1204