Cookery Maven Blog

When Life Gives You Green Tomatoes, Part One

_DSC9820.jpg
_DSC9825.jpg
_DSC9831.jpg

My tomatoes had a rough summer and I've come to the conclusion I had better expand my green tomato reportoire beyond  breaded and fried. The Sun Golds and Super Sweet 100's decided to make the best of it and ripen nicely but all the other tomato plants in the garden opted to stay green....so I started to research what to do with a pile of green tomatoes.  

_DSC9832.jpg
_DSC9838.jpg
_DSC9840.jpg

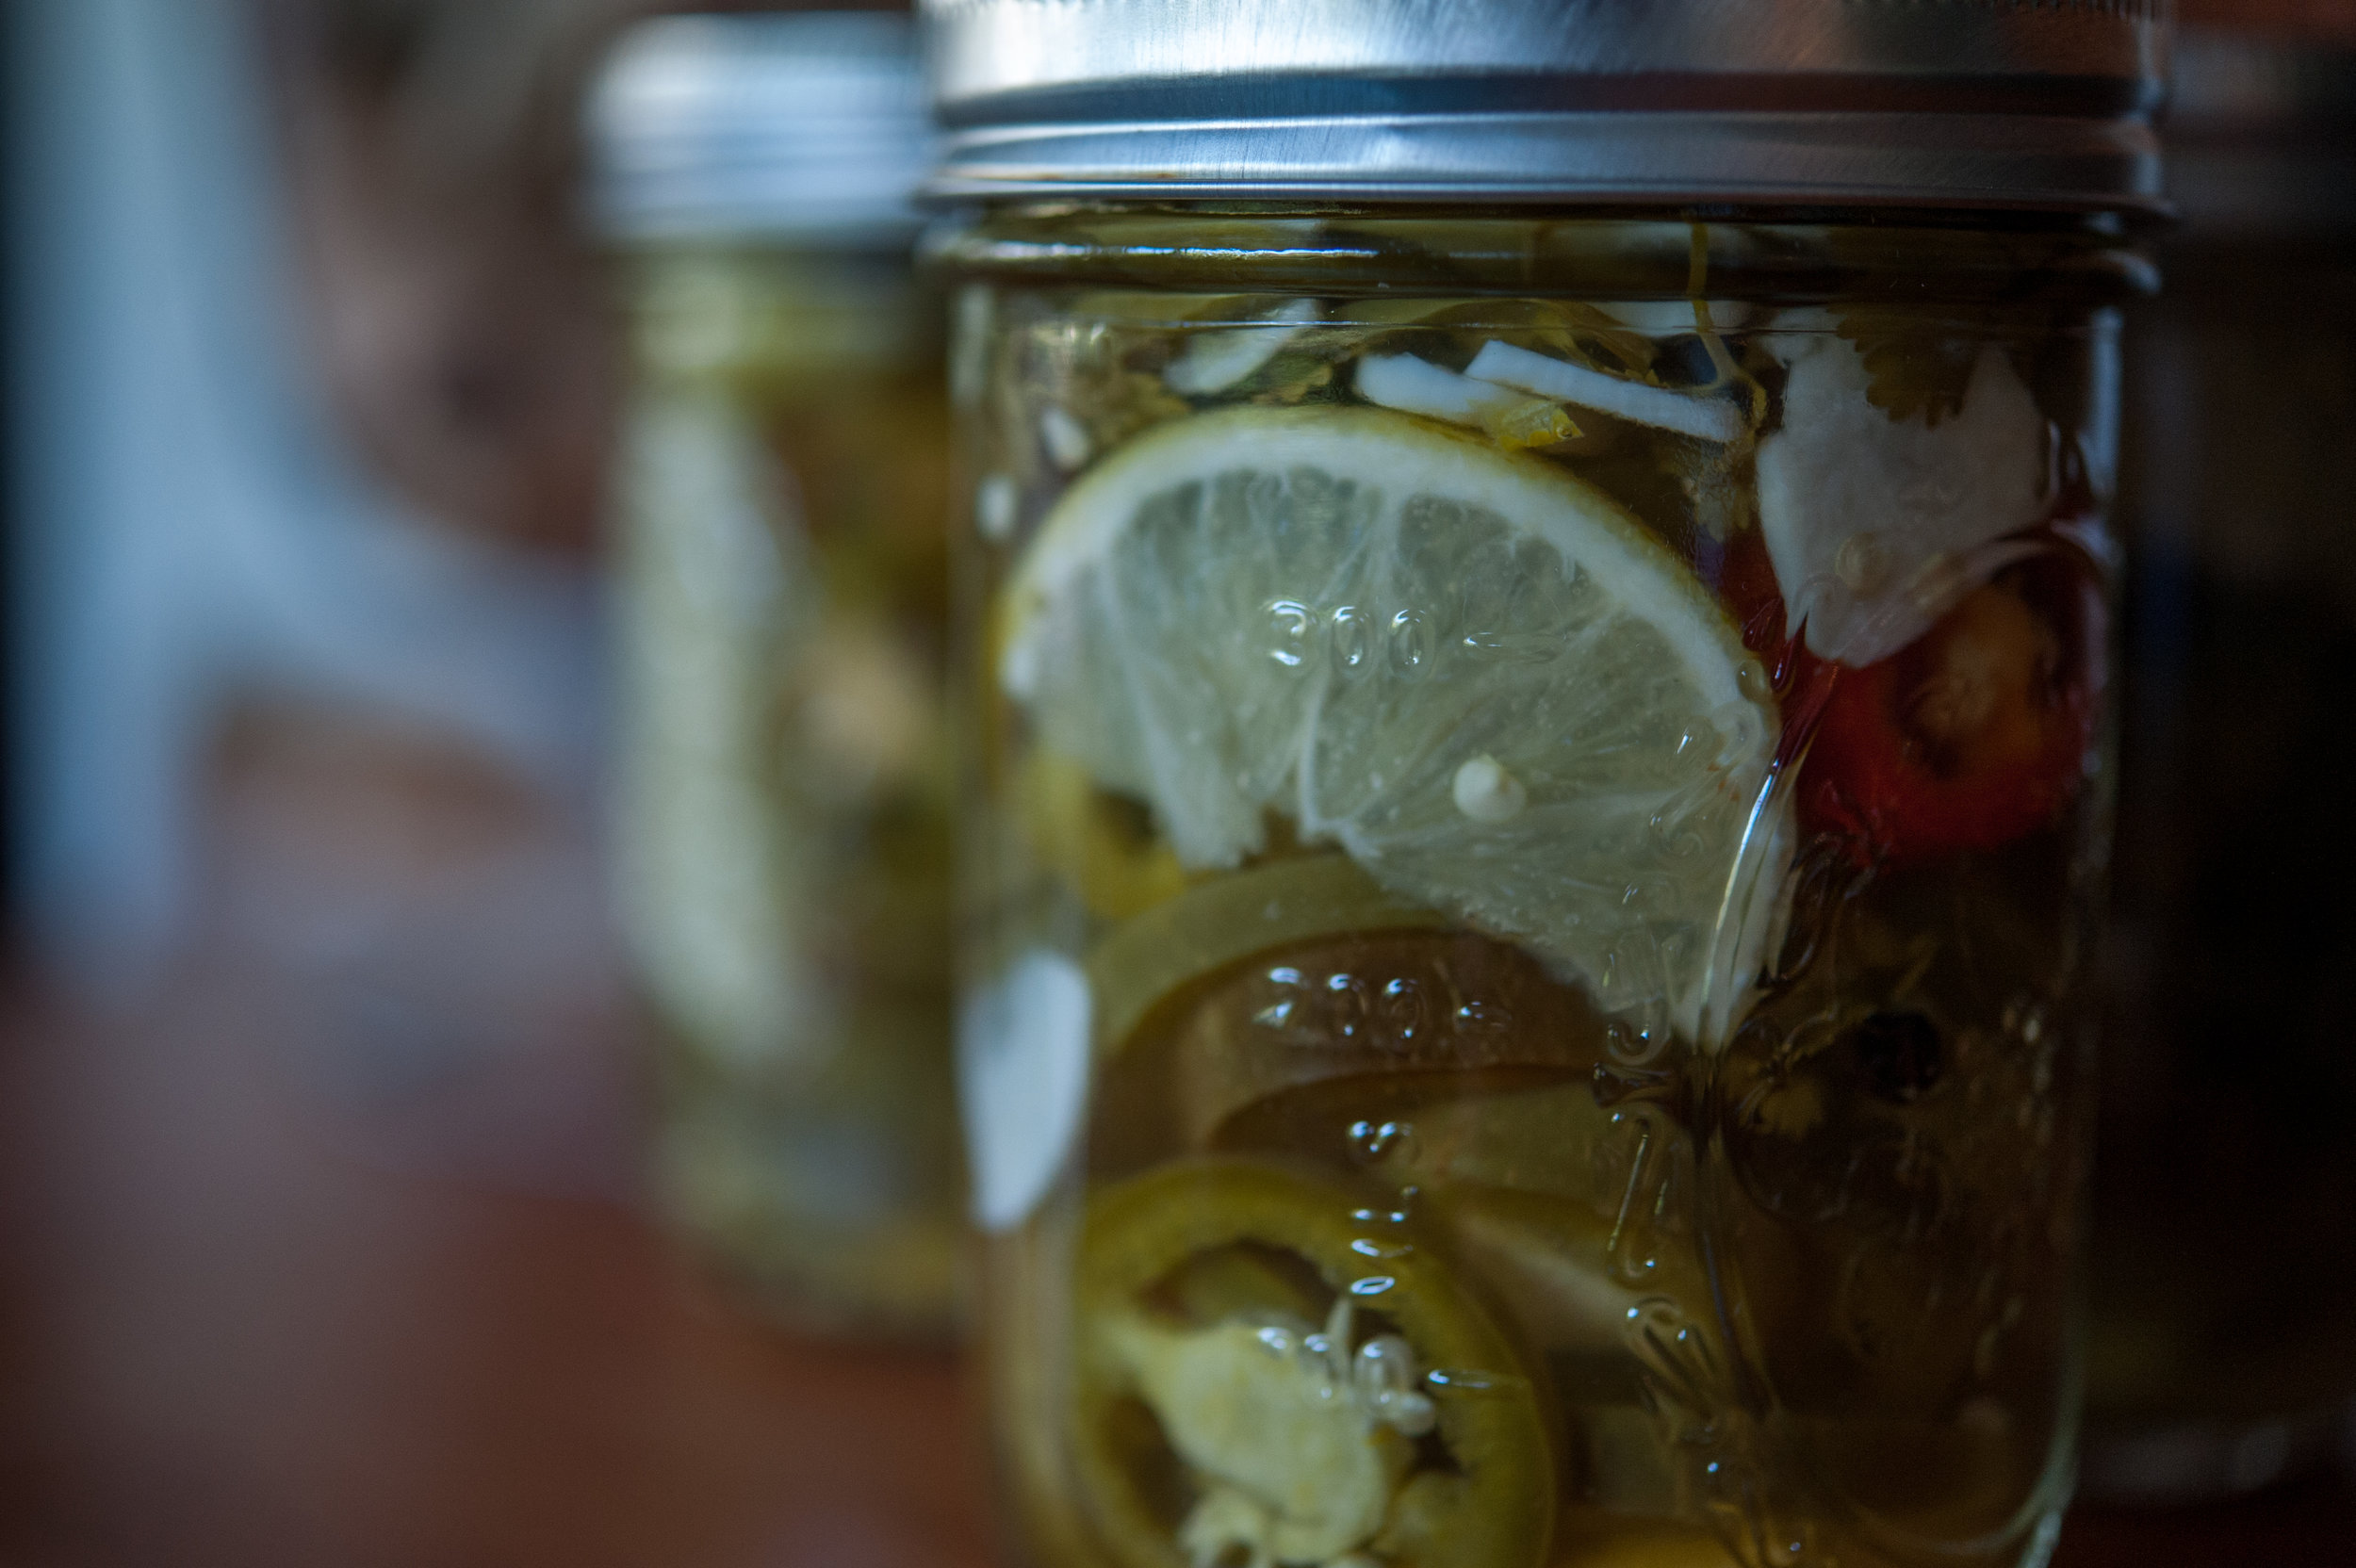
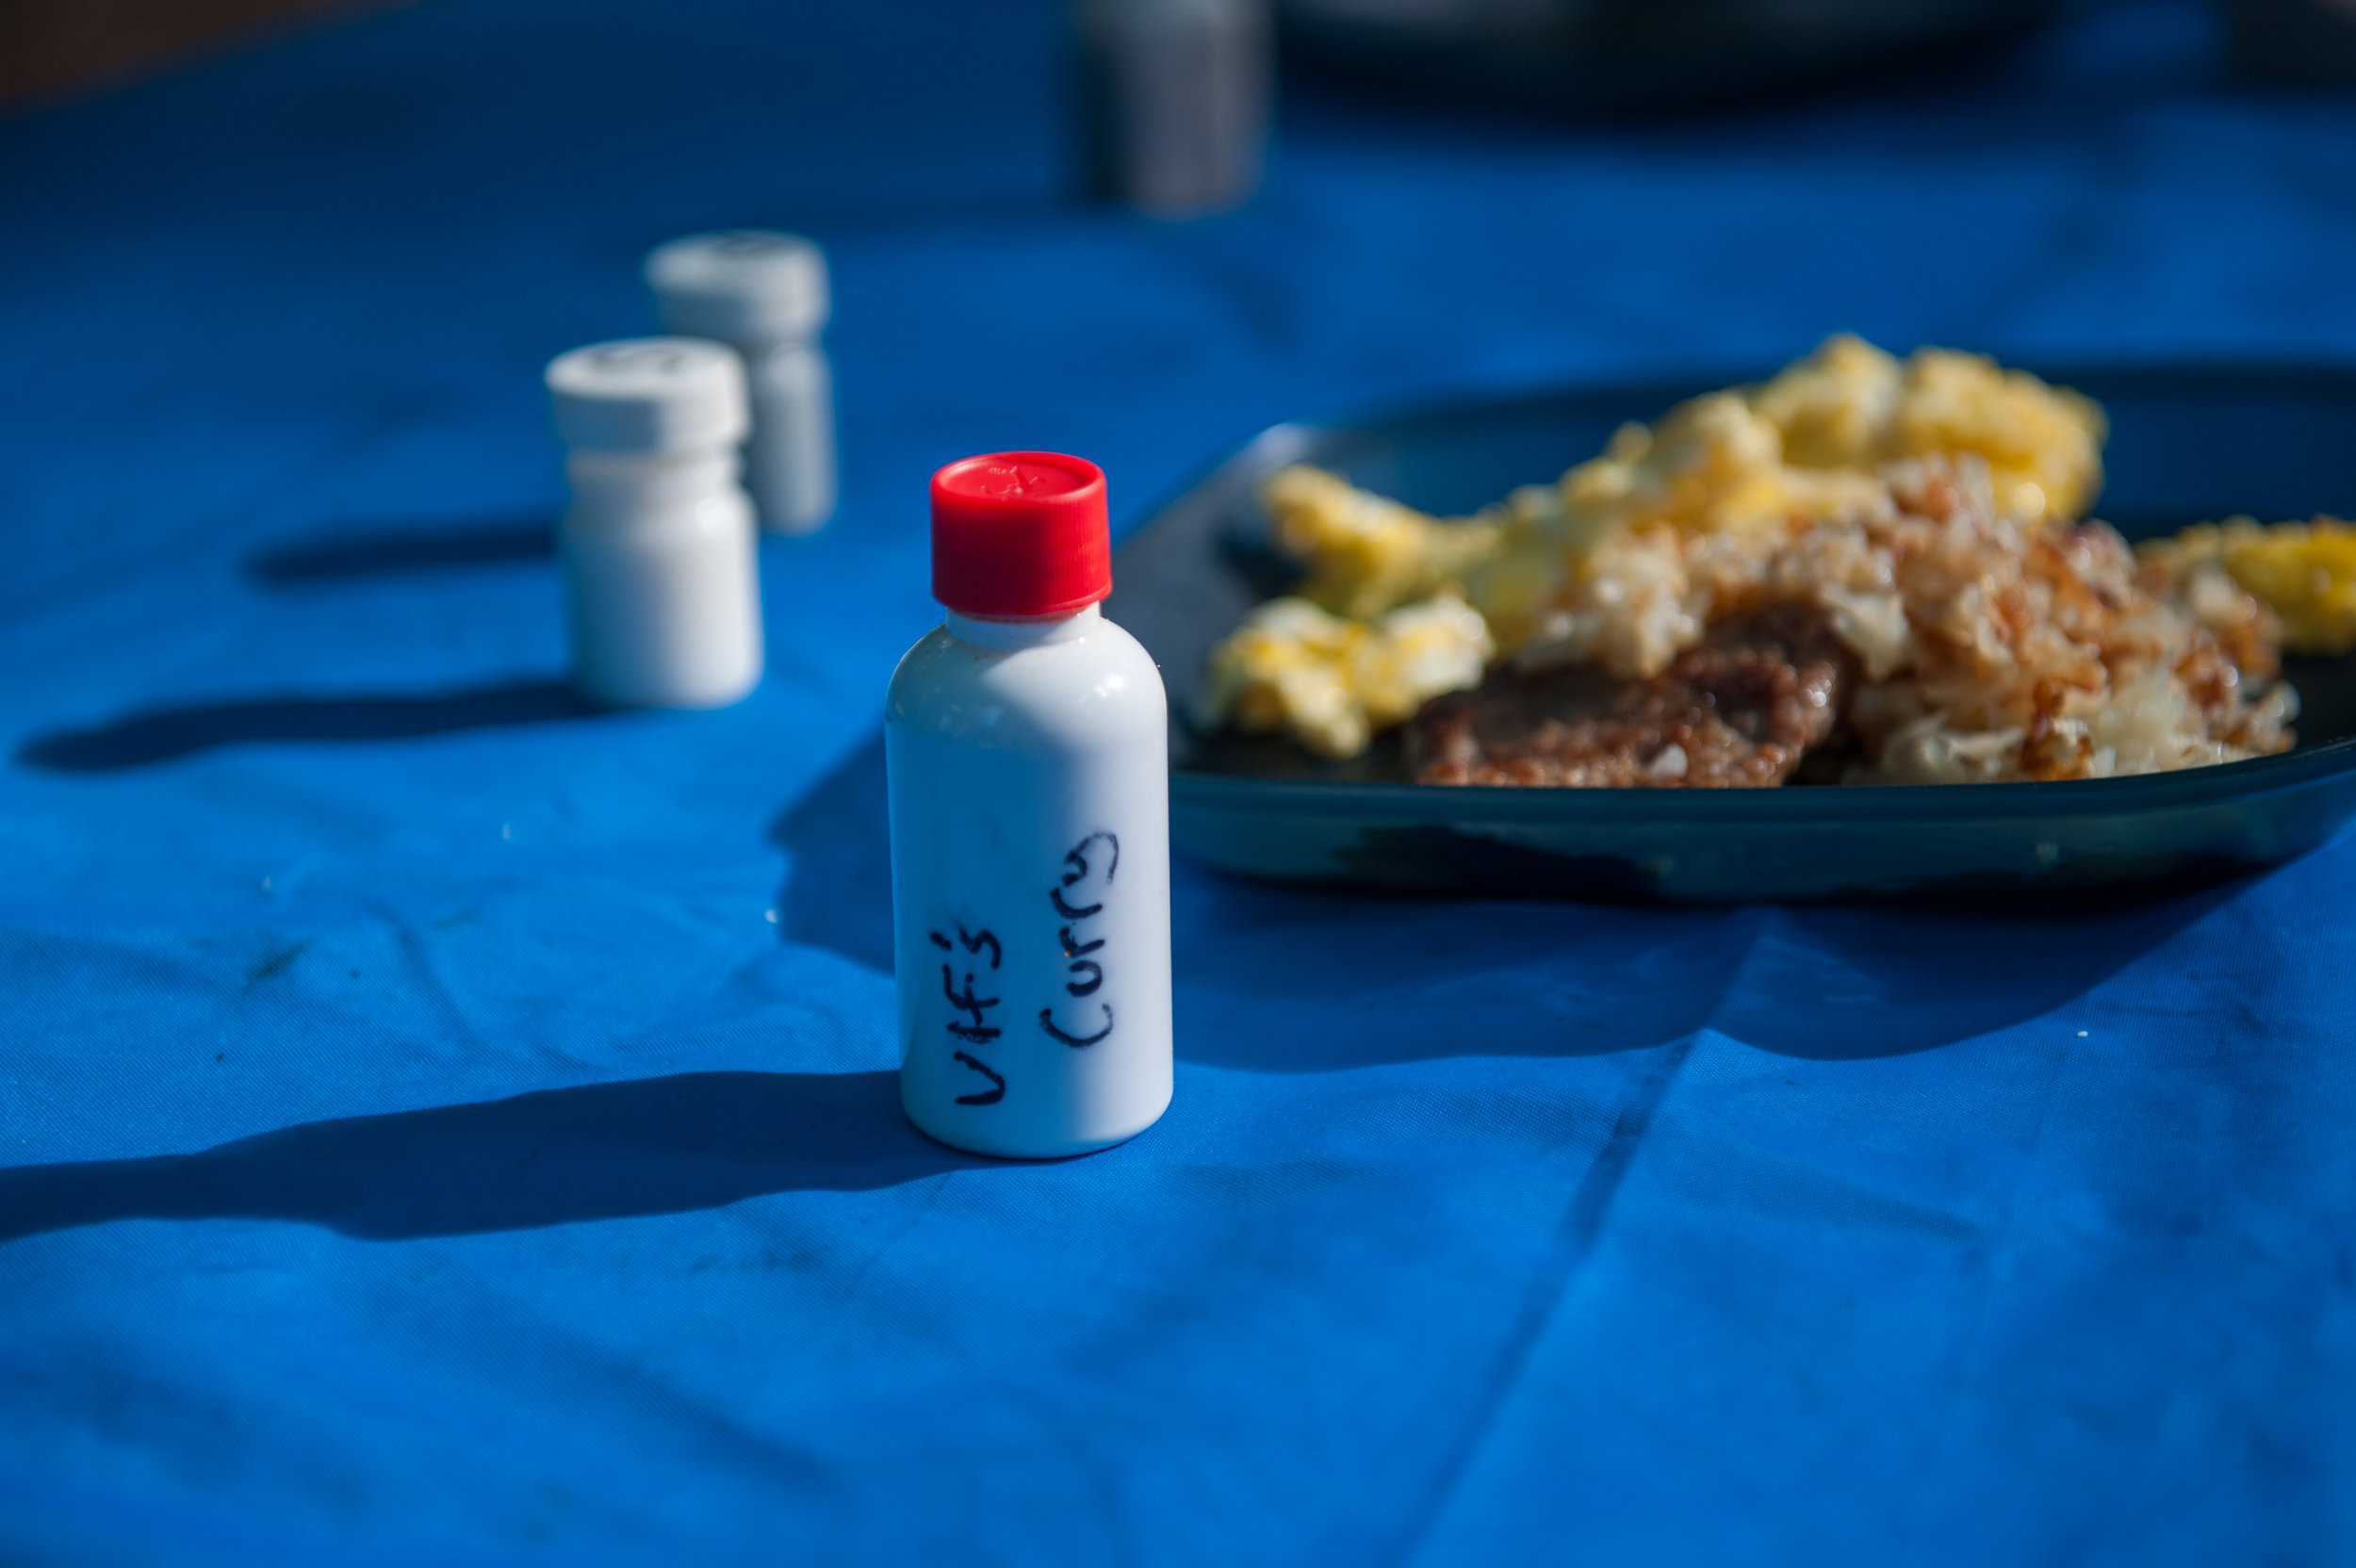
I figure any plant that puts forth the effort to produce food for us deserves a commitment on my part to use it....even it means under-ripe but perfectly formed little tomatoes. Green tomatoes have a crisp texture and a clean, tangy flavor that make them well-suited for pickling and I was hoping they would keep their crisp texture when they emerged from the water bath (and they did). I minced up a handful of them a few days ago and put them on top of a chicken curry -- perfect use of tomatoes grown in a cold northern town!

_DSC9853.jpg
_DSC9855.jpg
_DSC9857.jpg

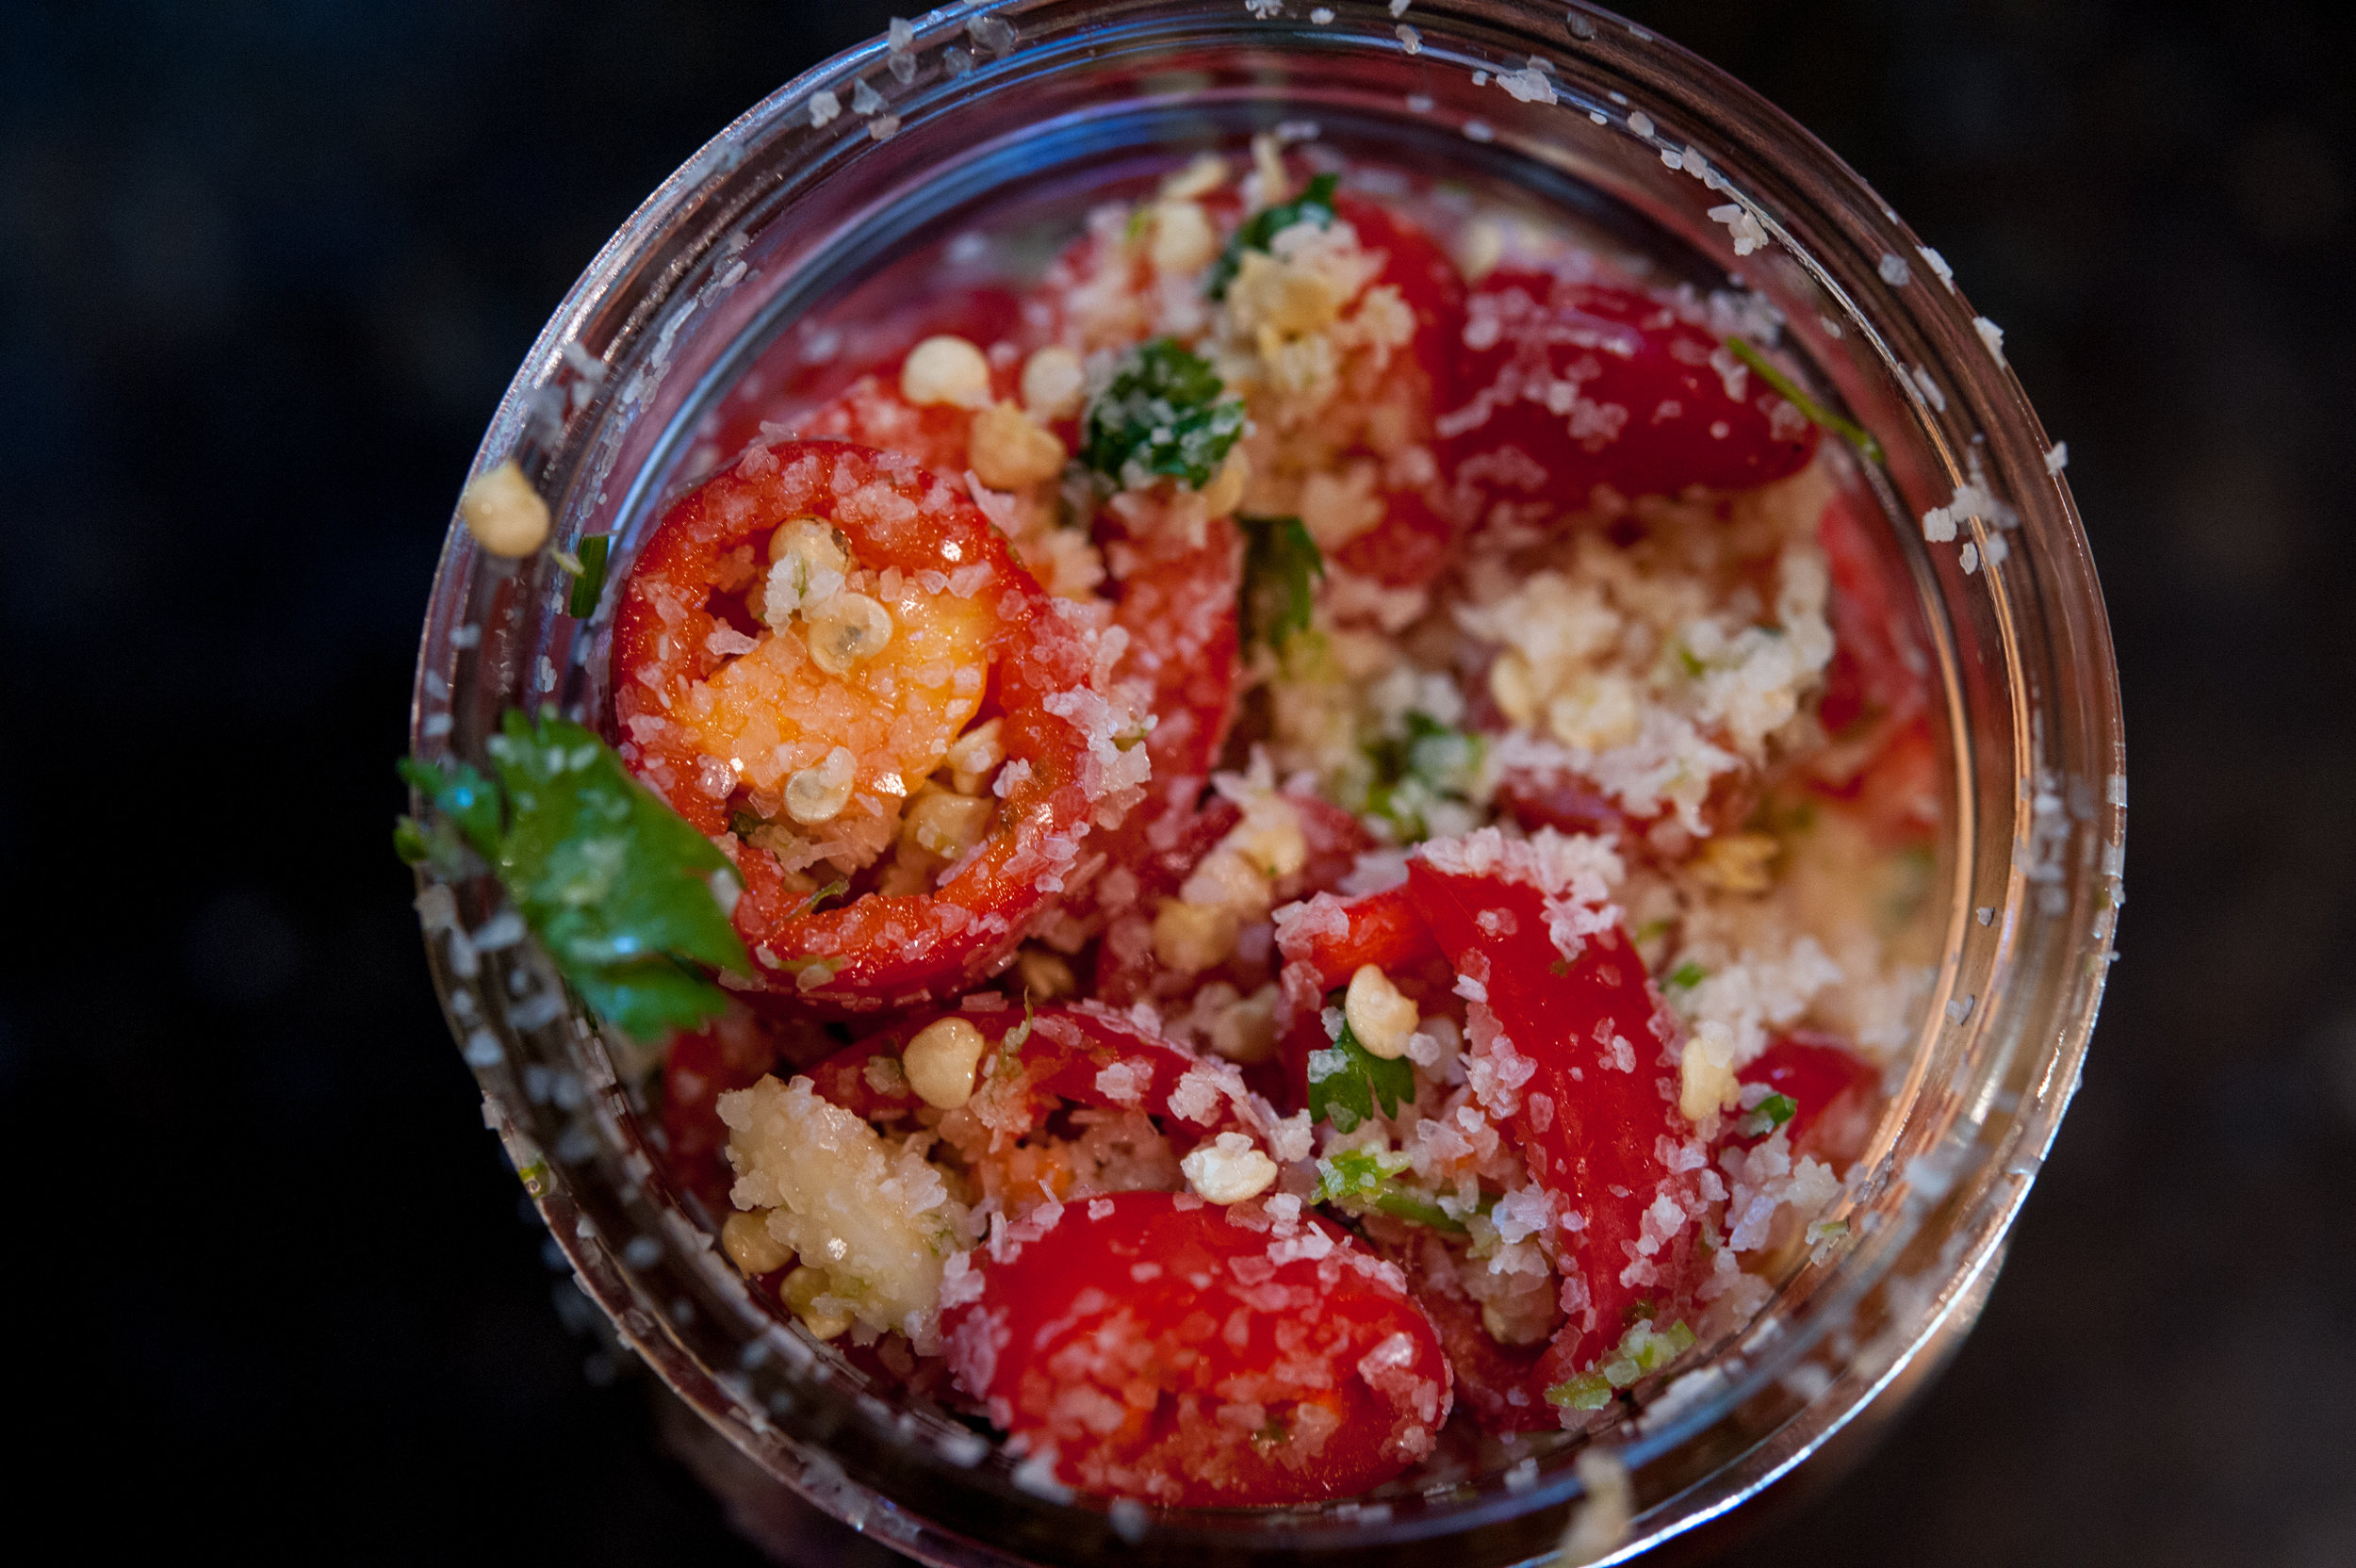
Curried and Pickled Green Tomatoes

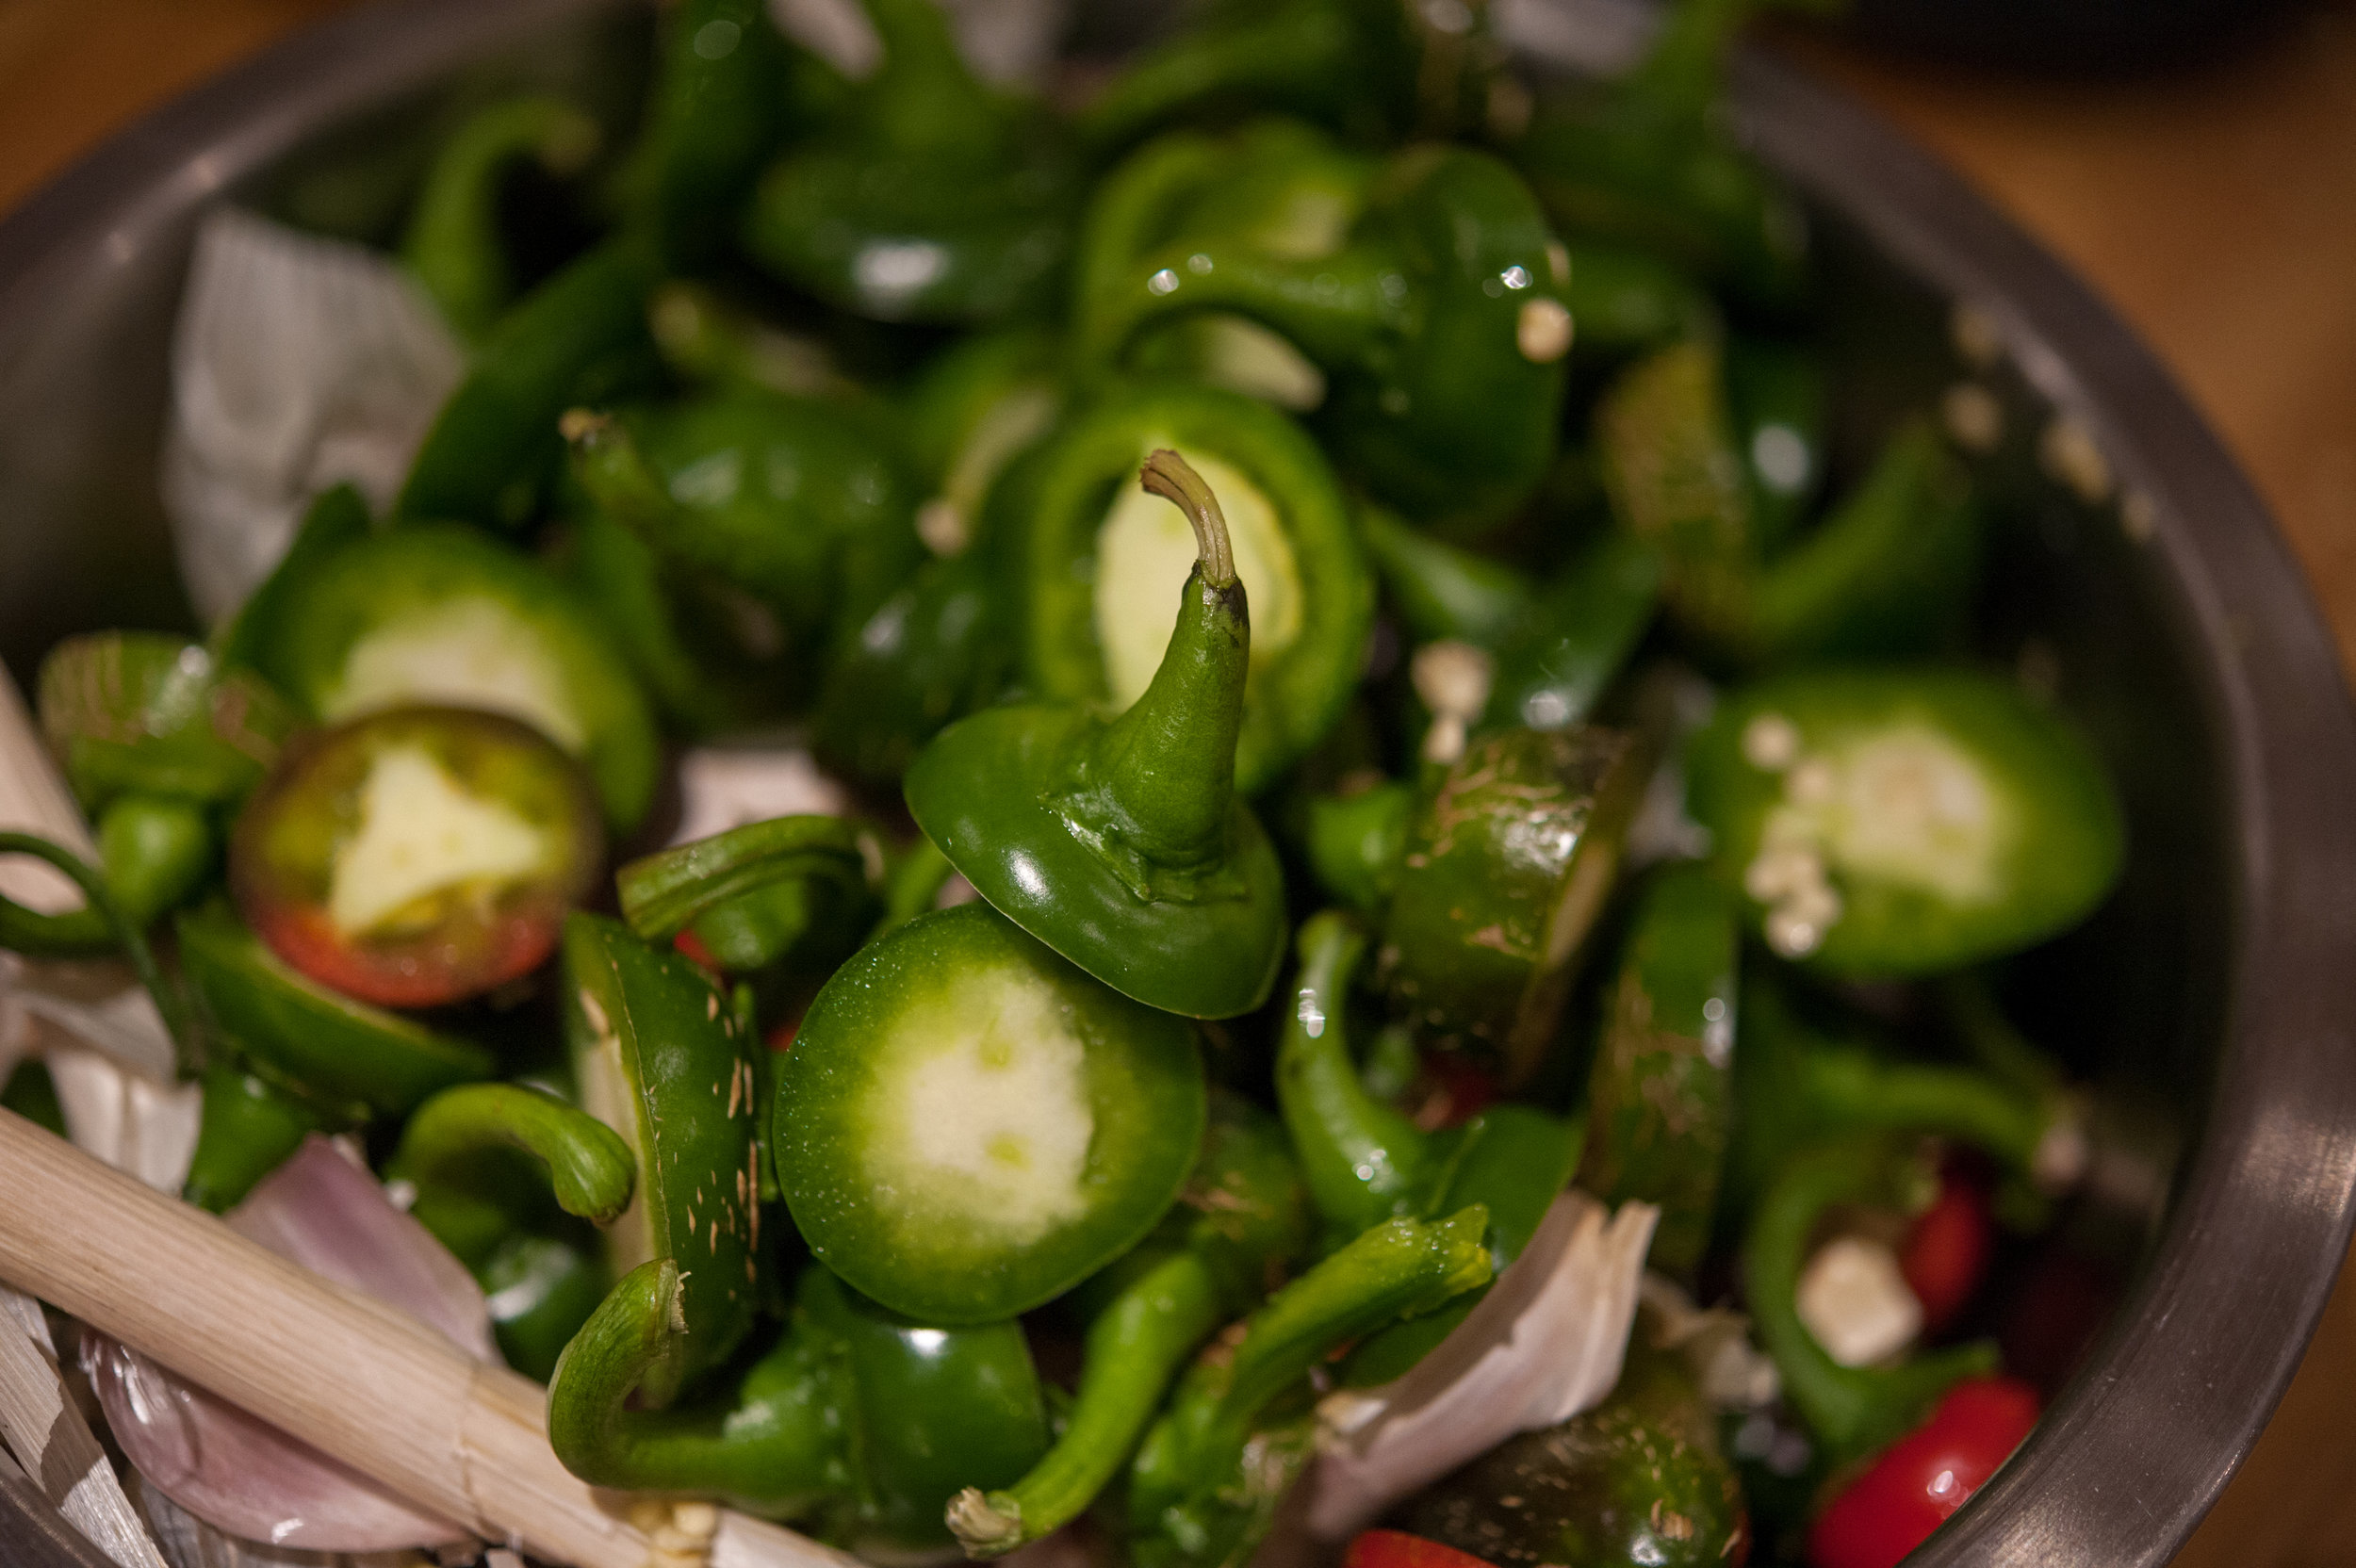
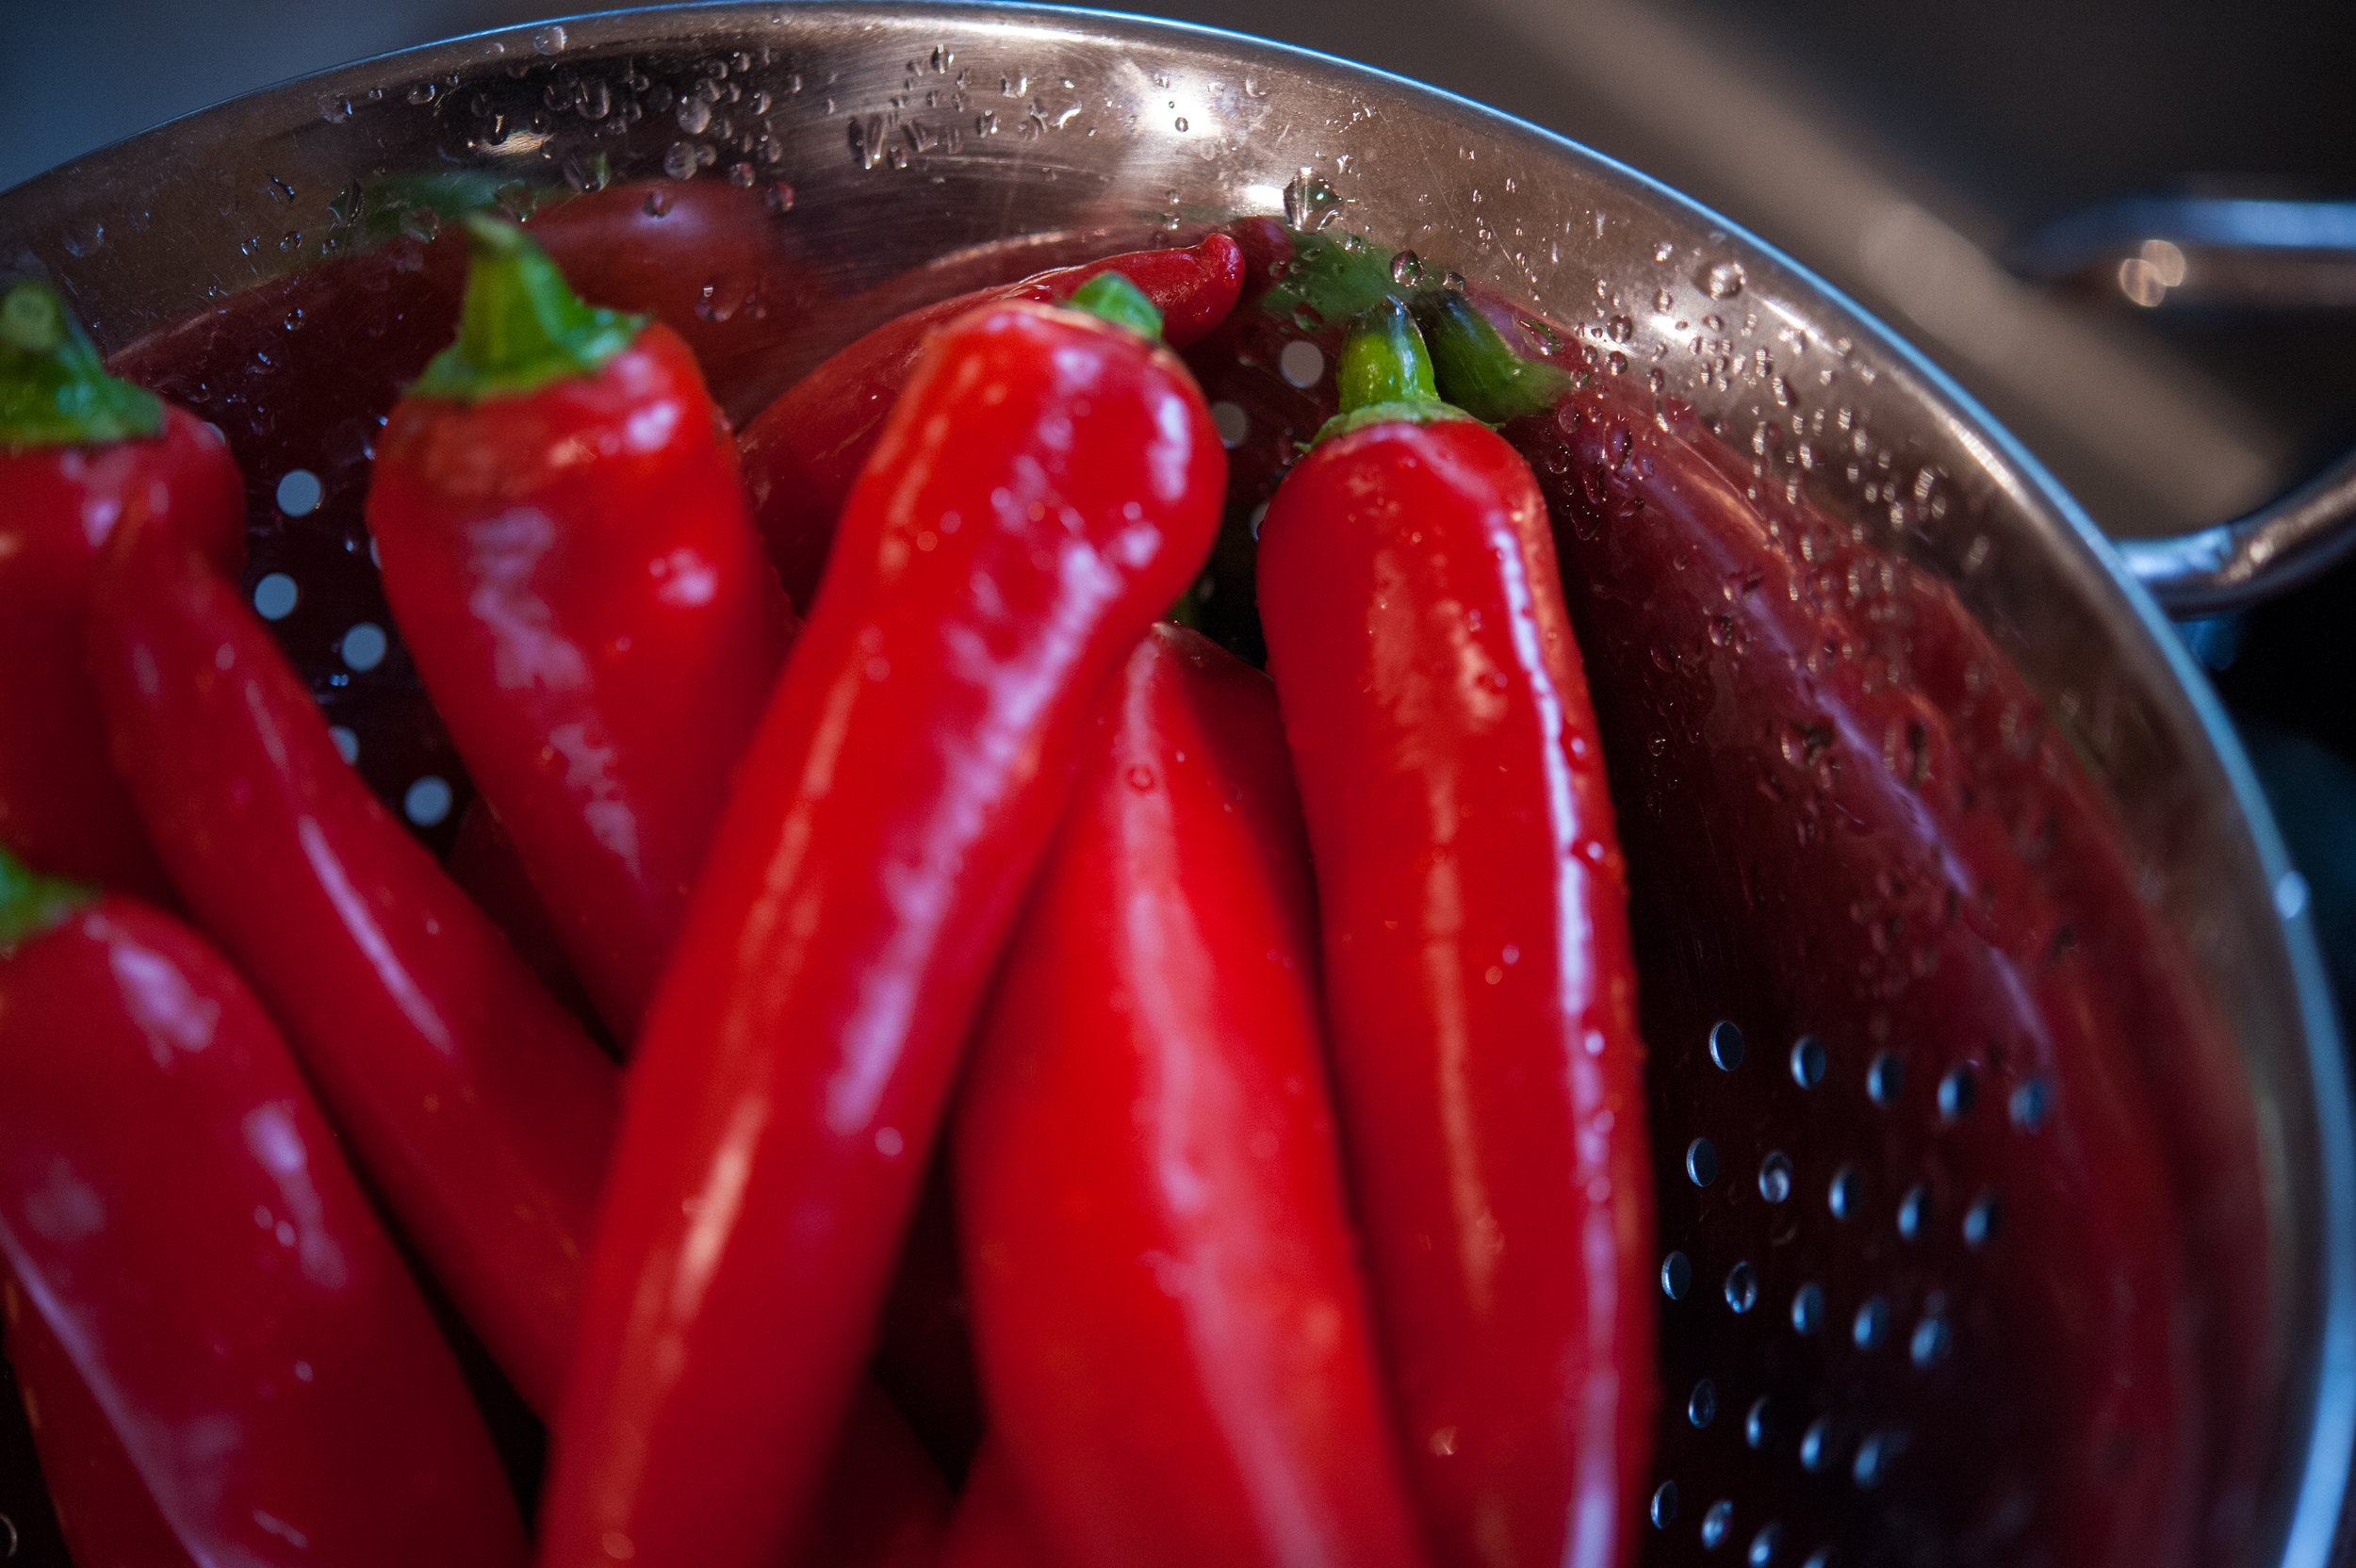
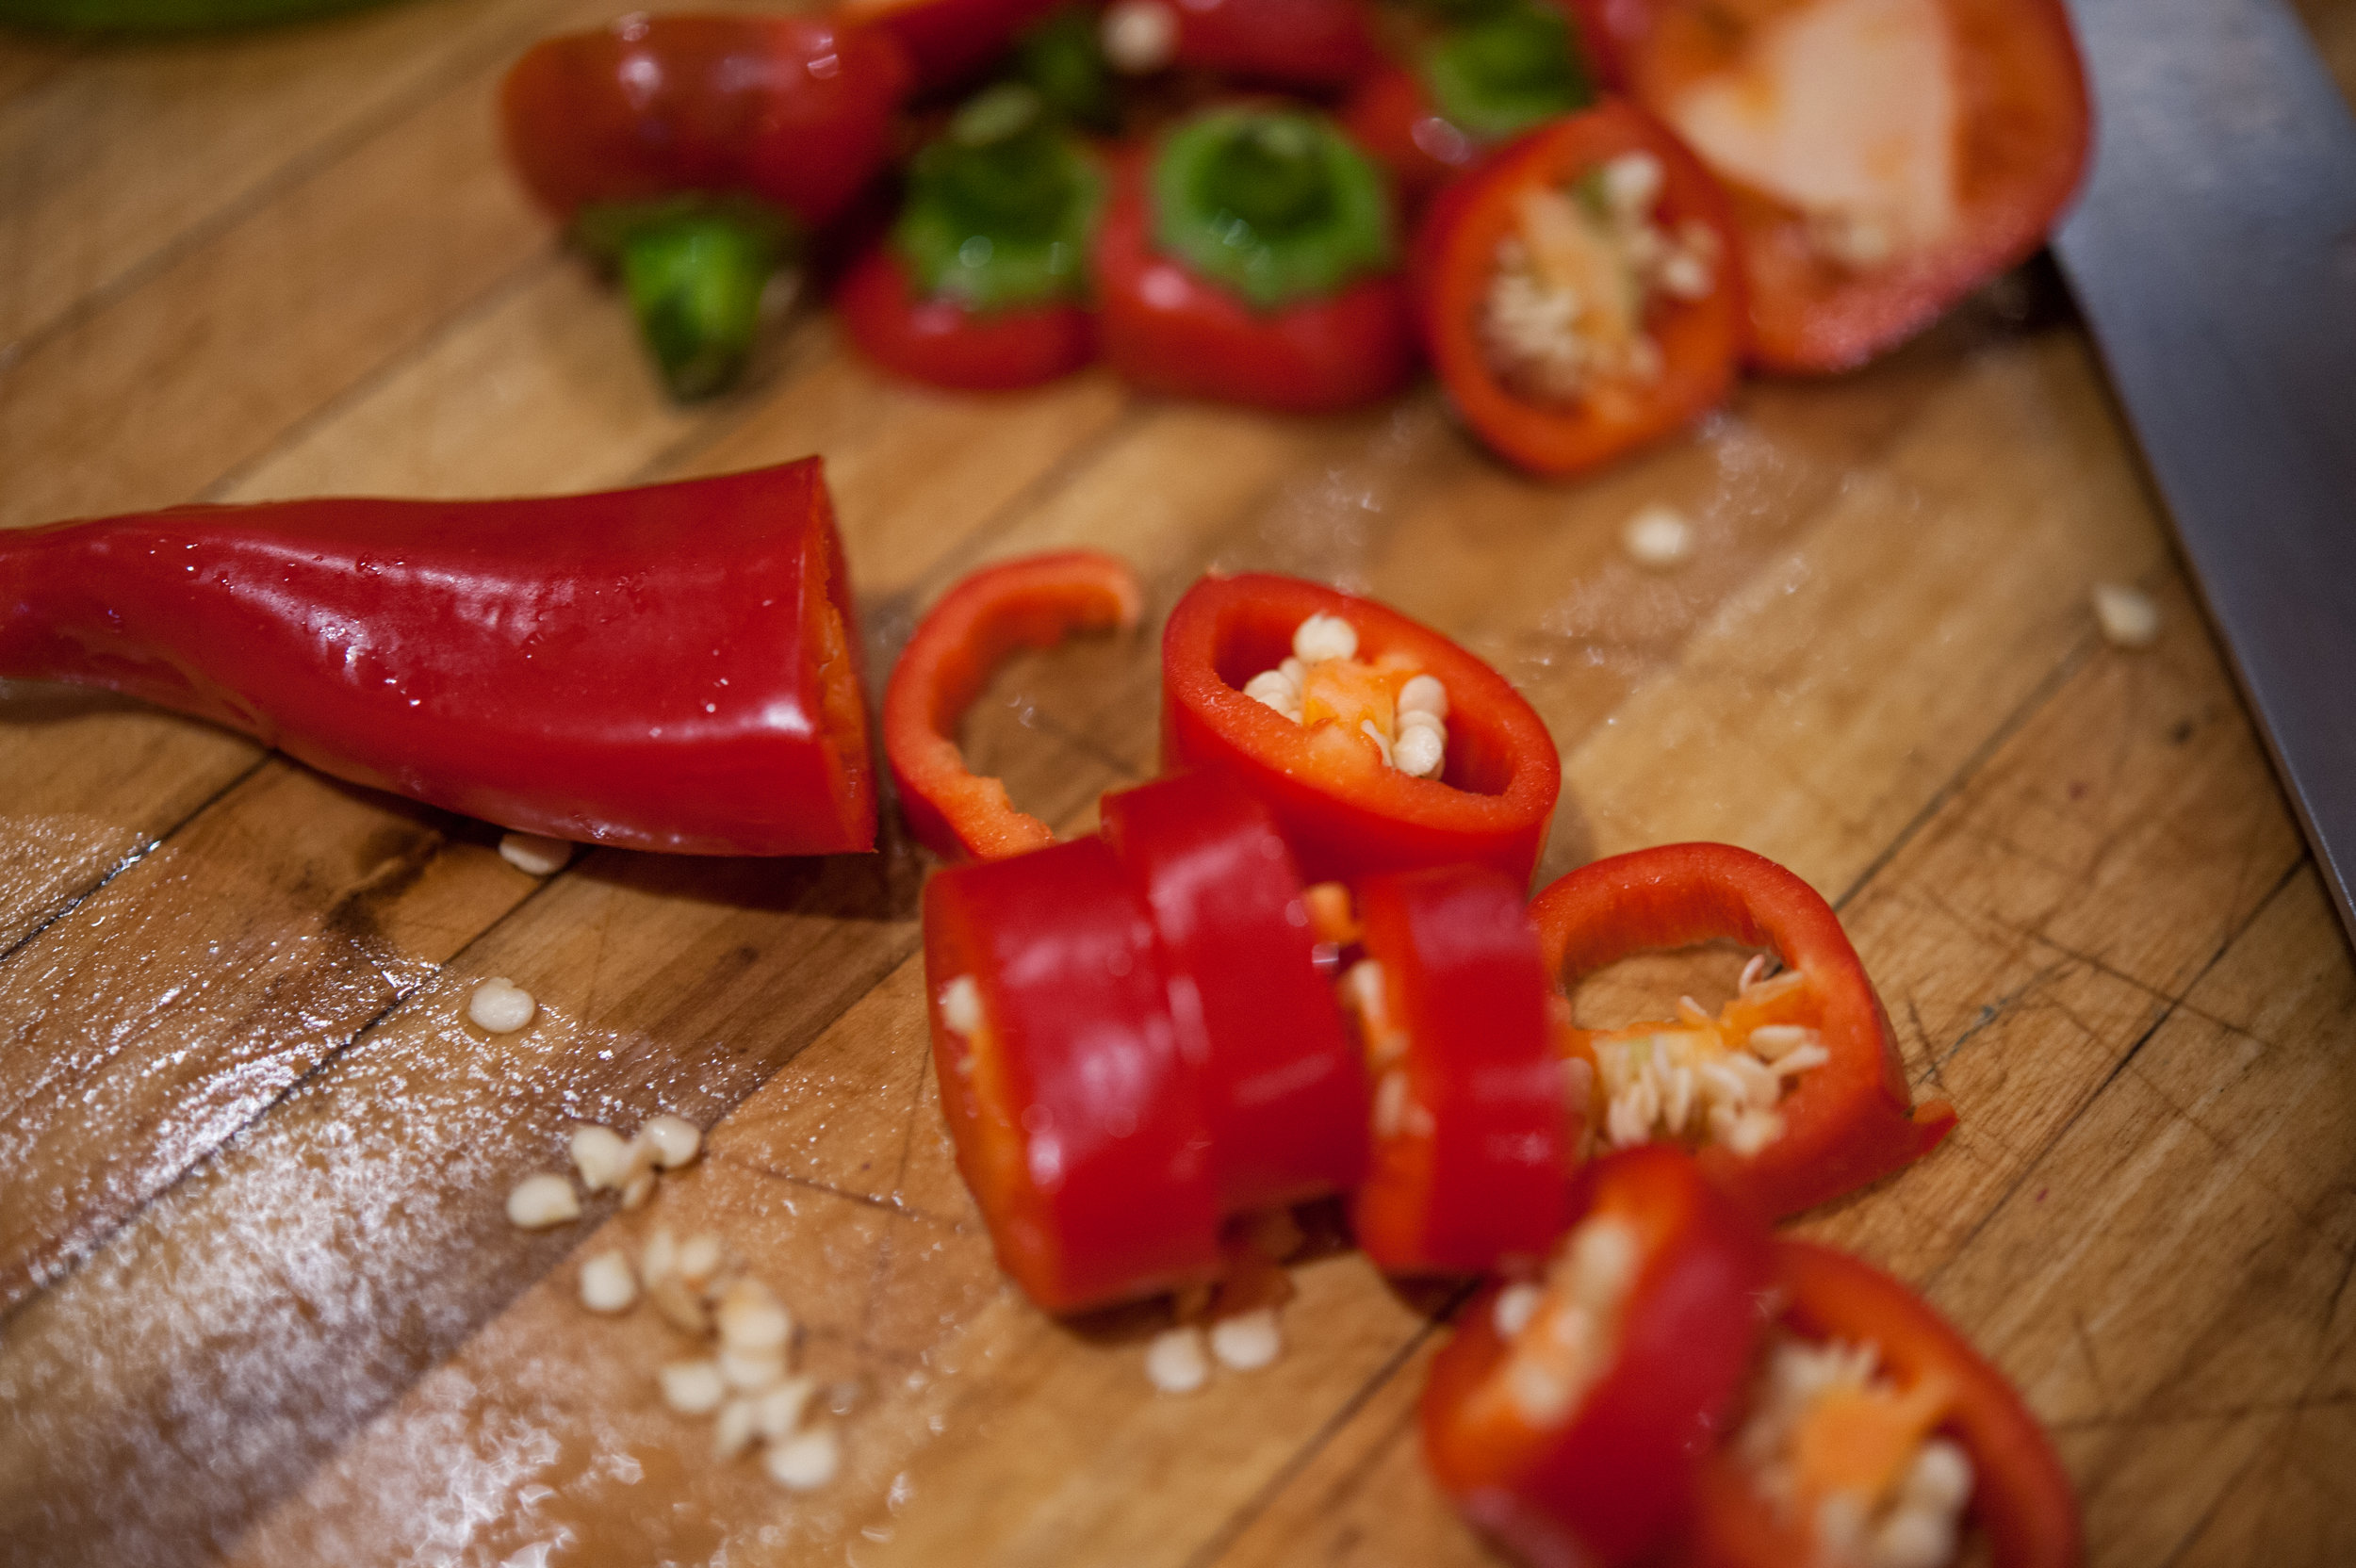
2 pounds green tomatoes, rinsed and sliced or quartered (depending on the size of your tomatoes)
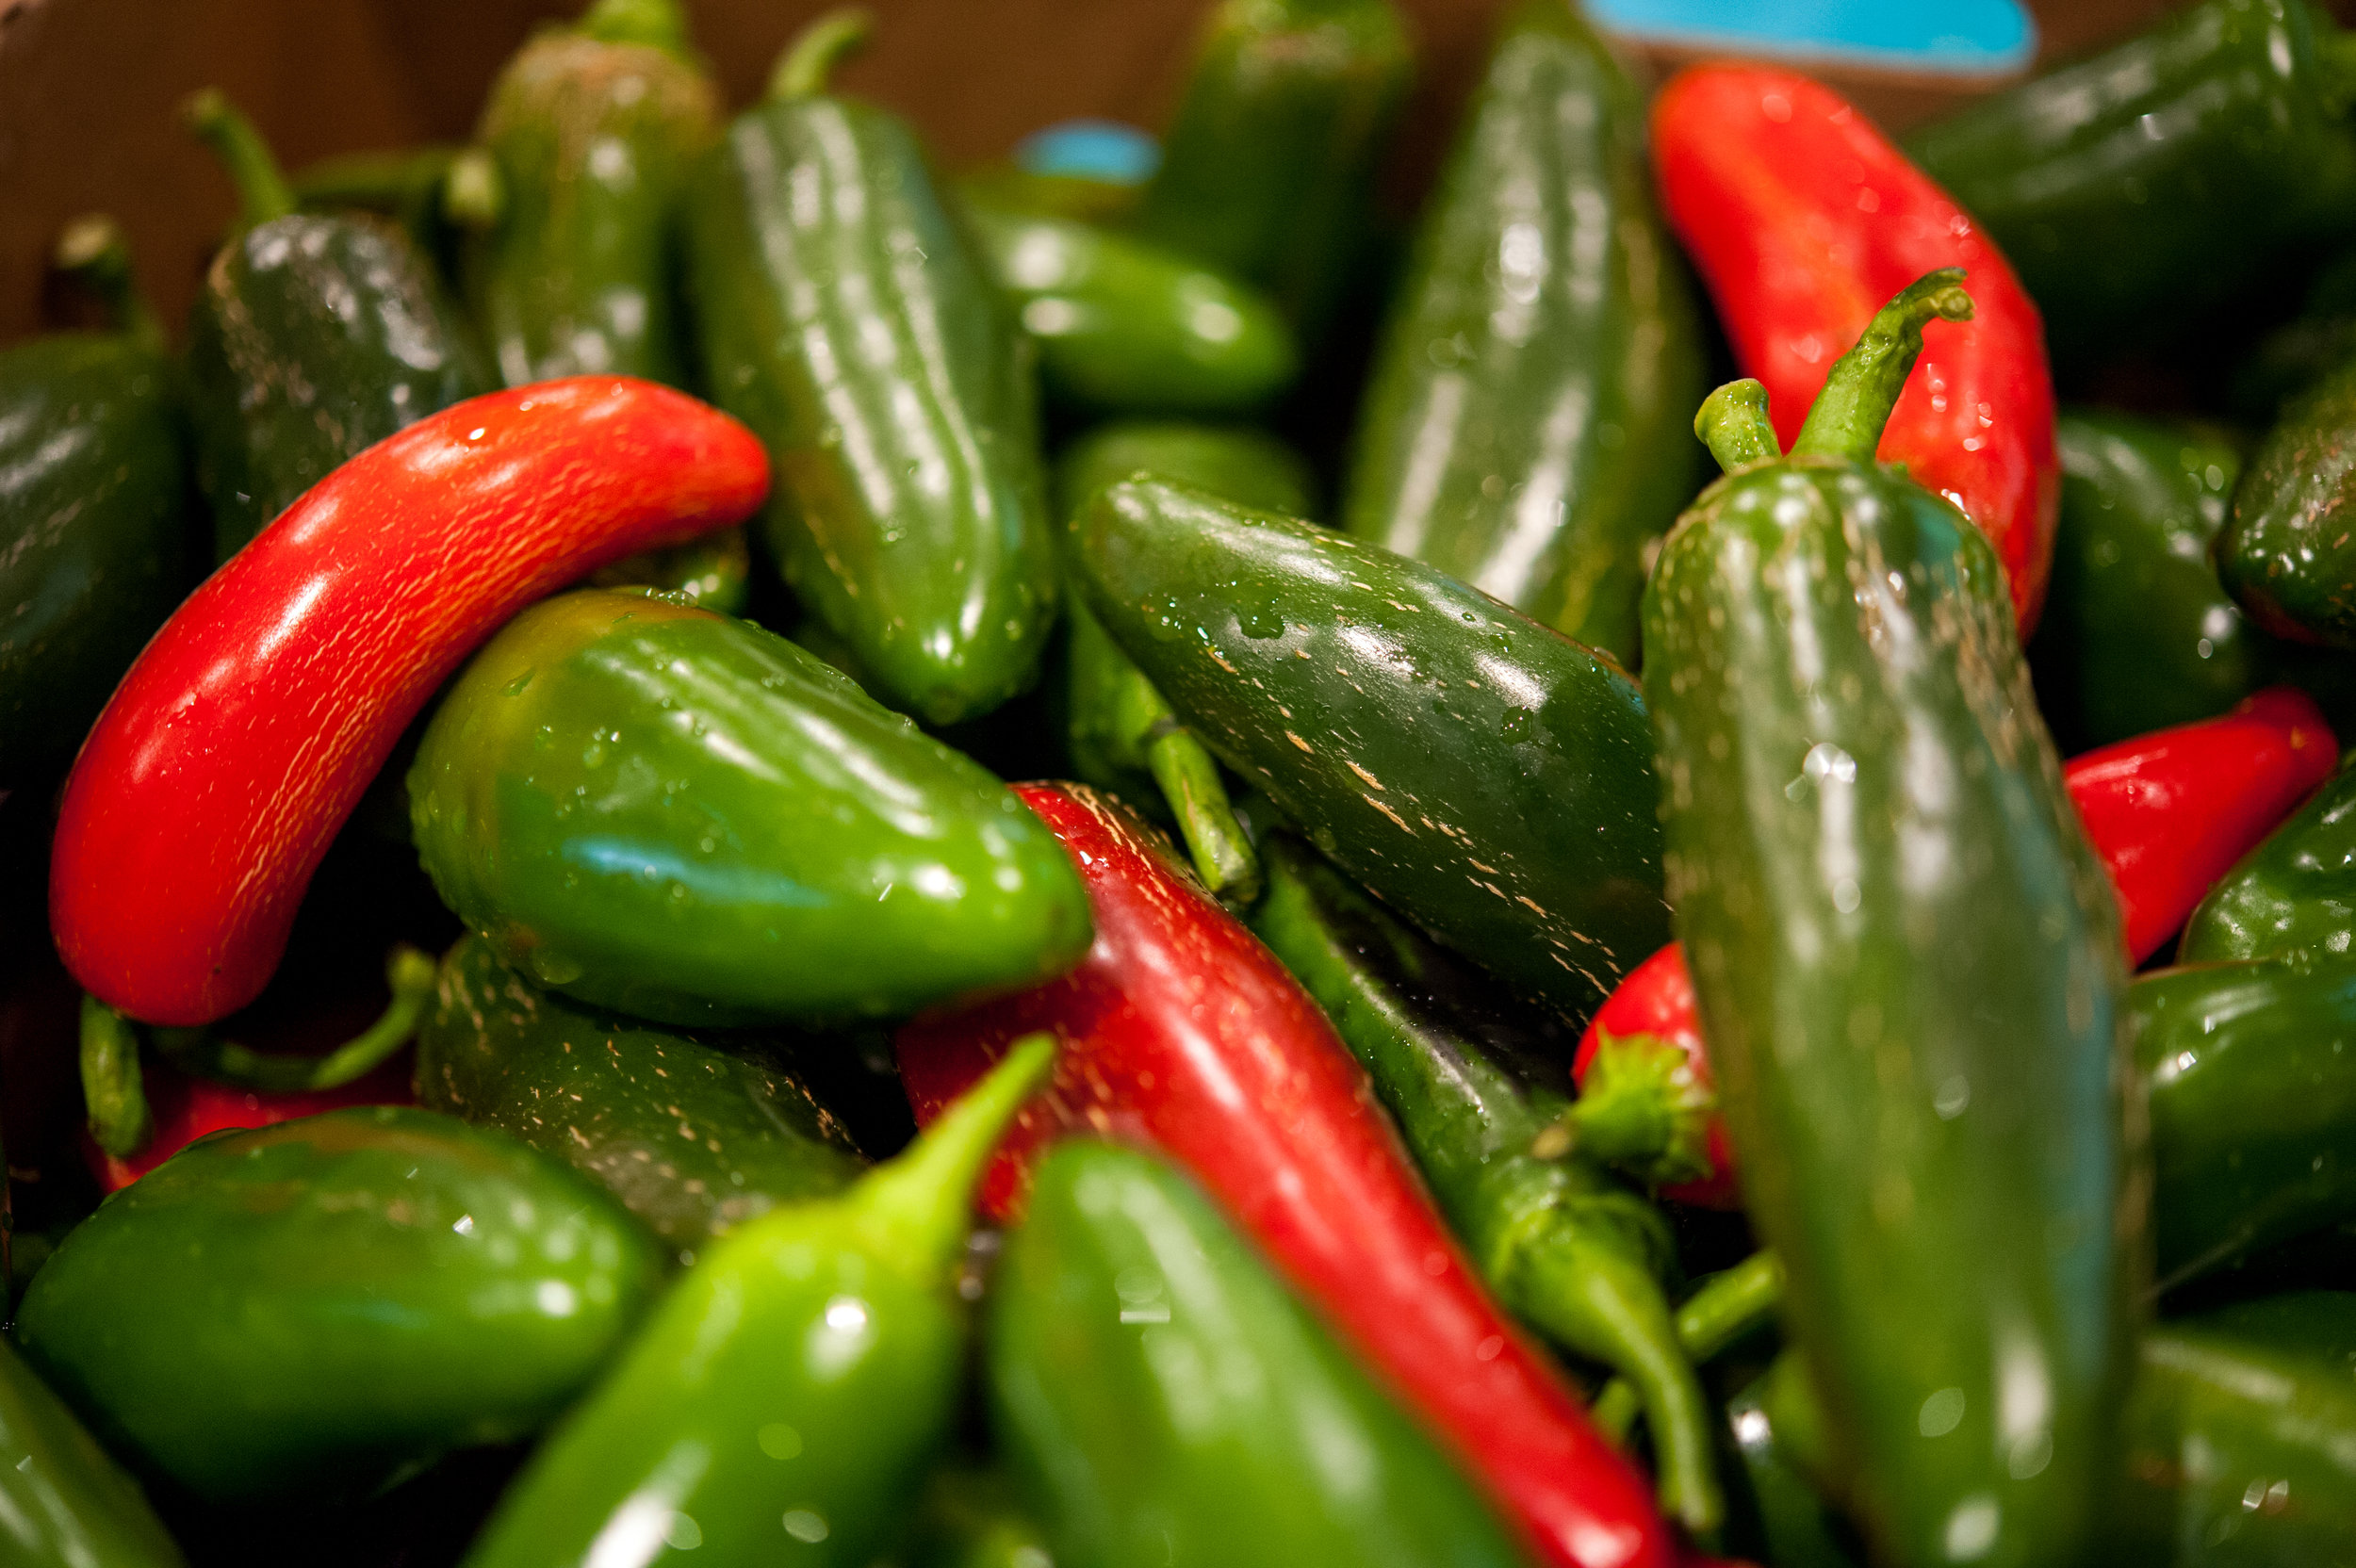
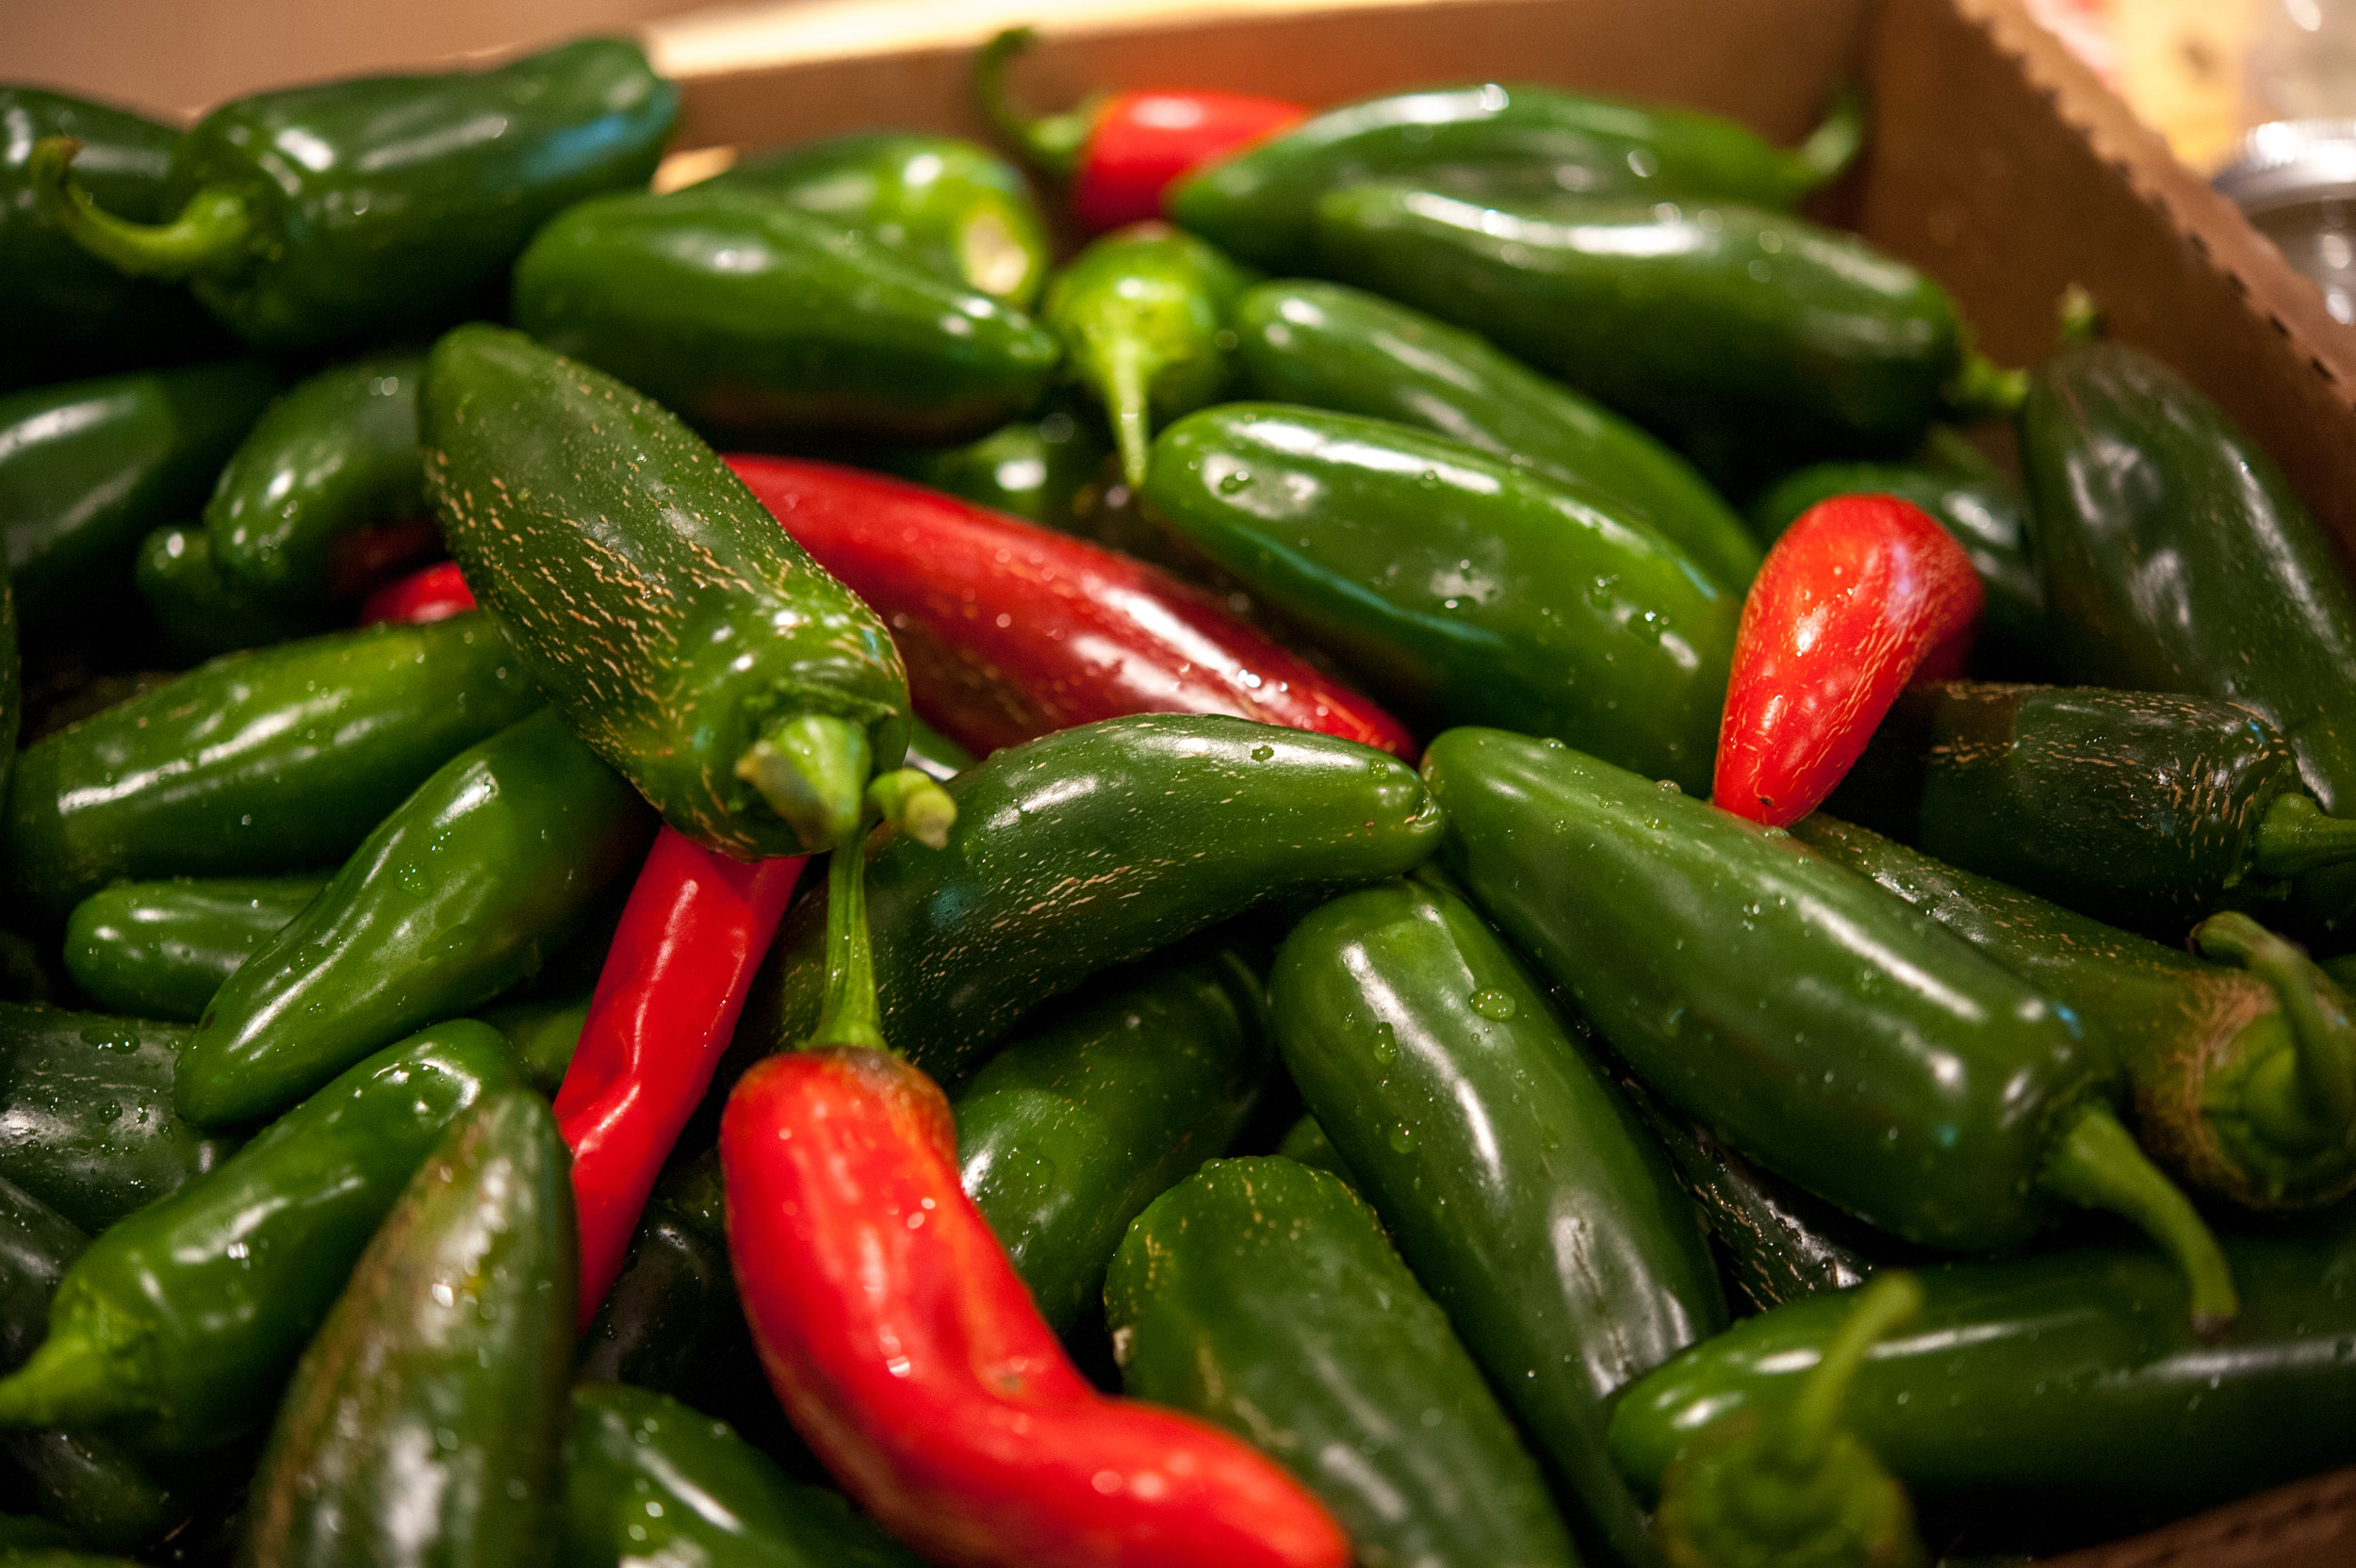
2 jalapeños, sliced
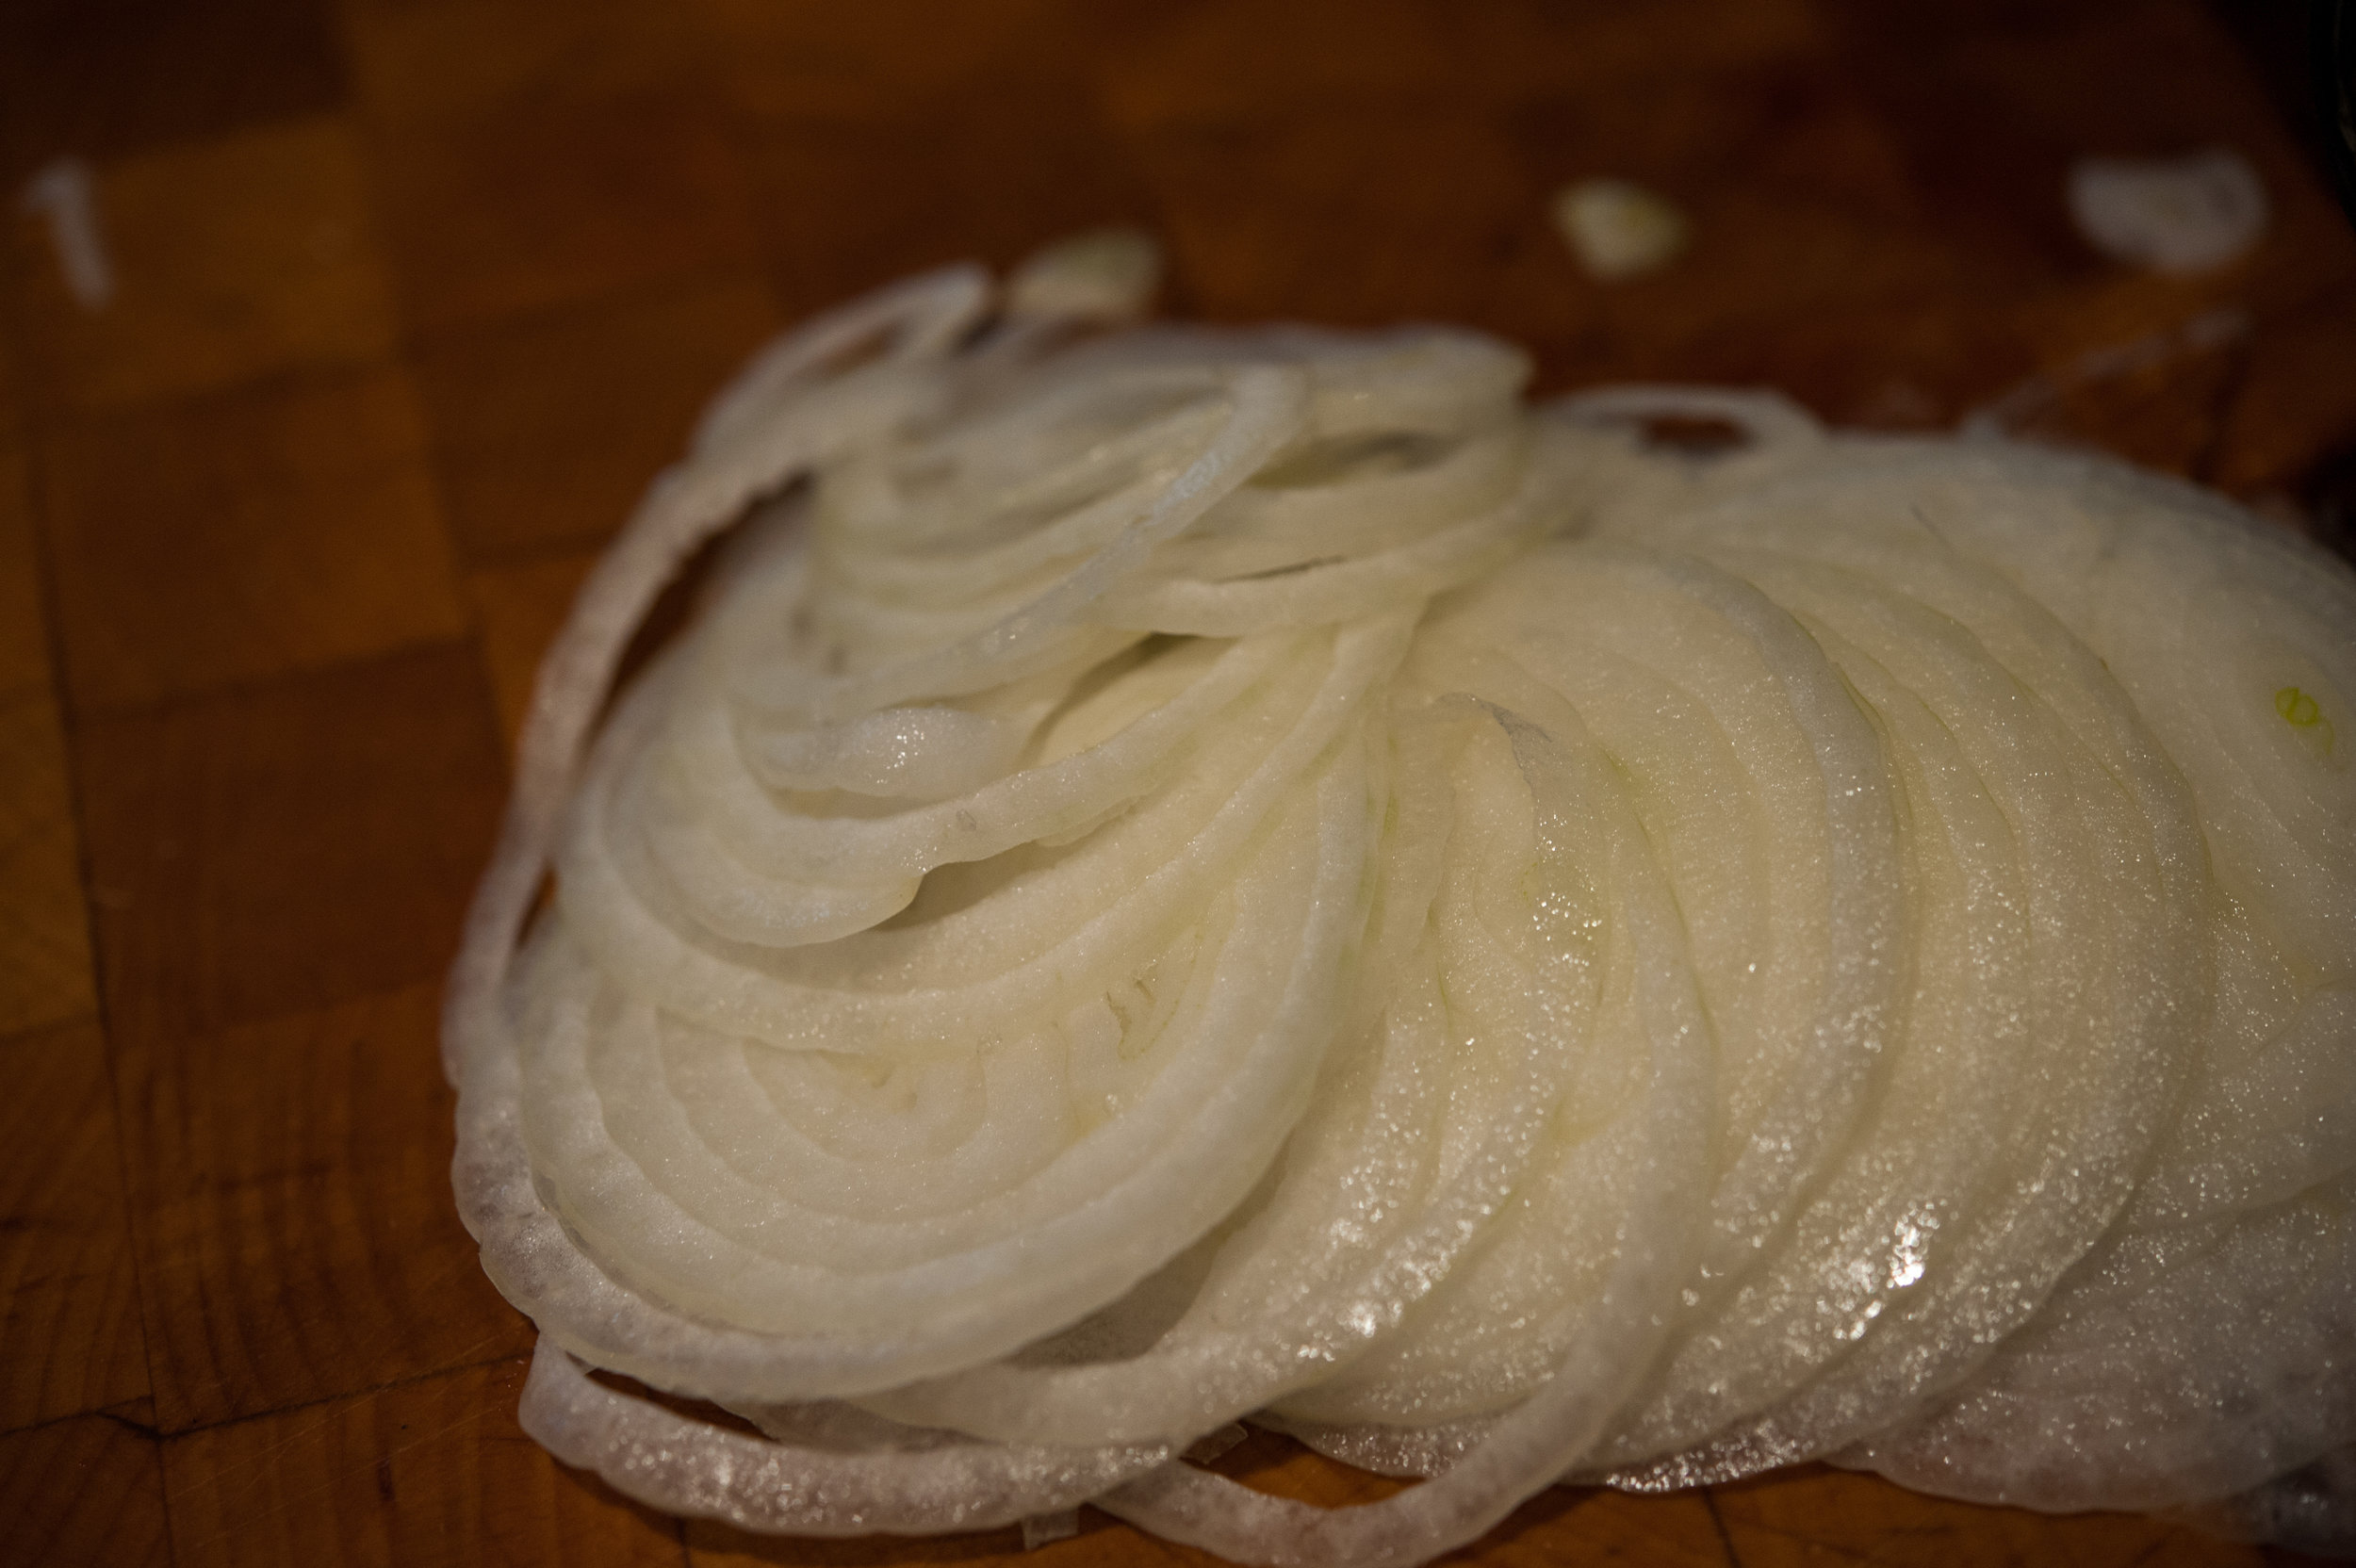
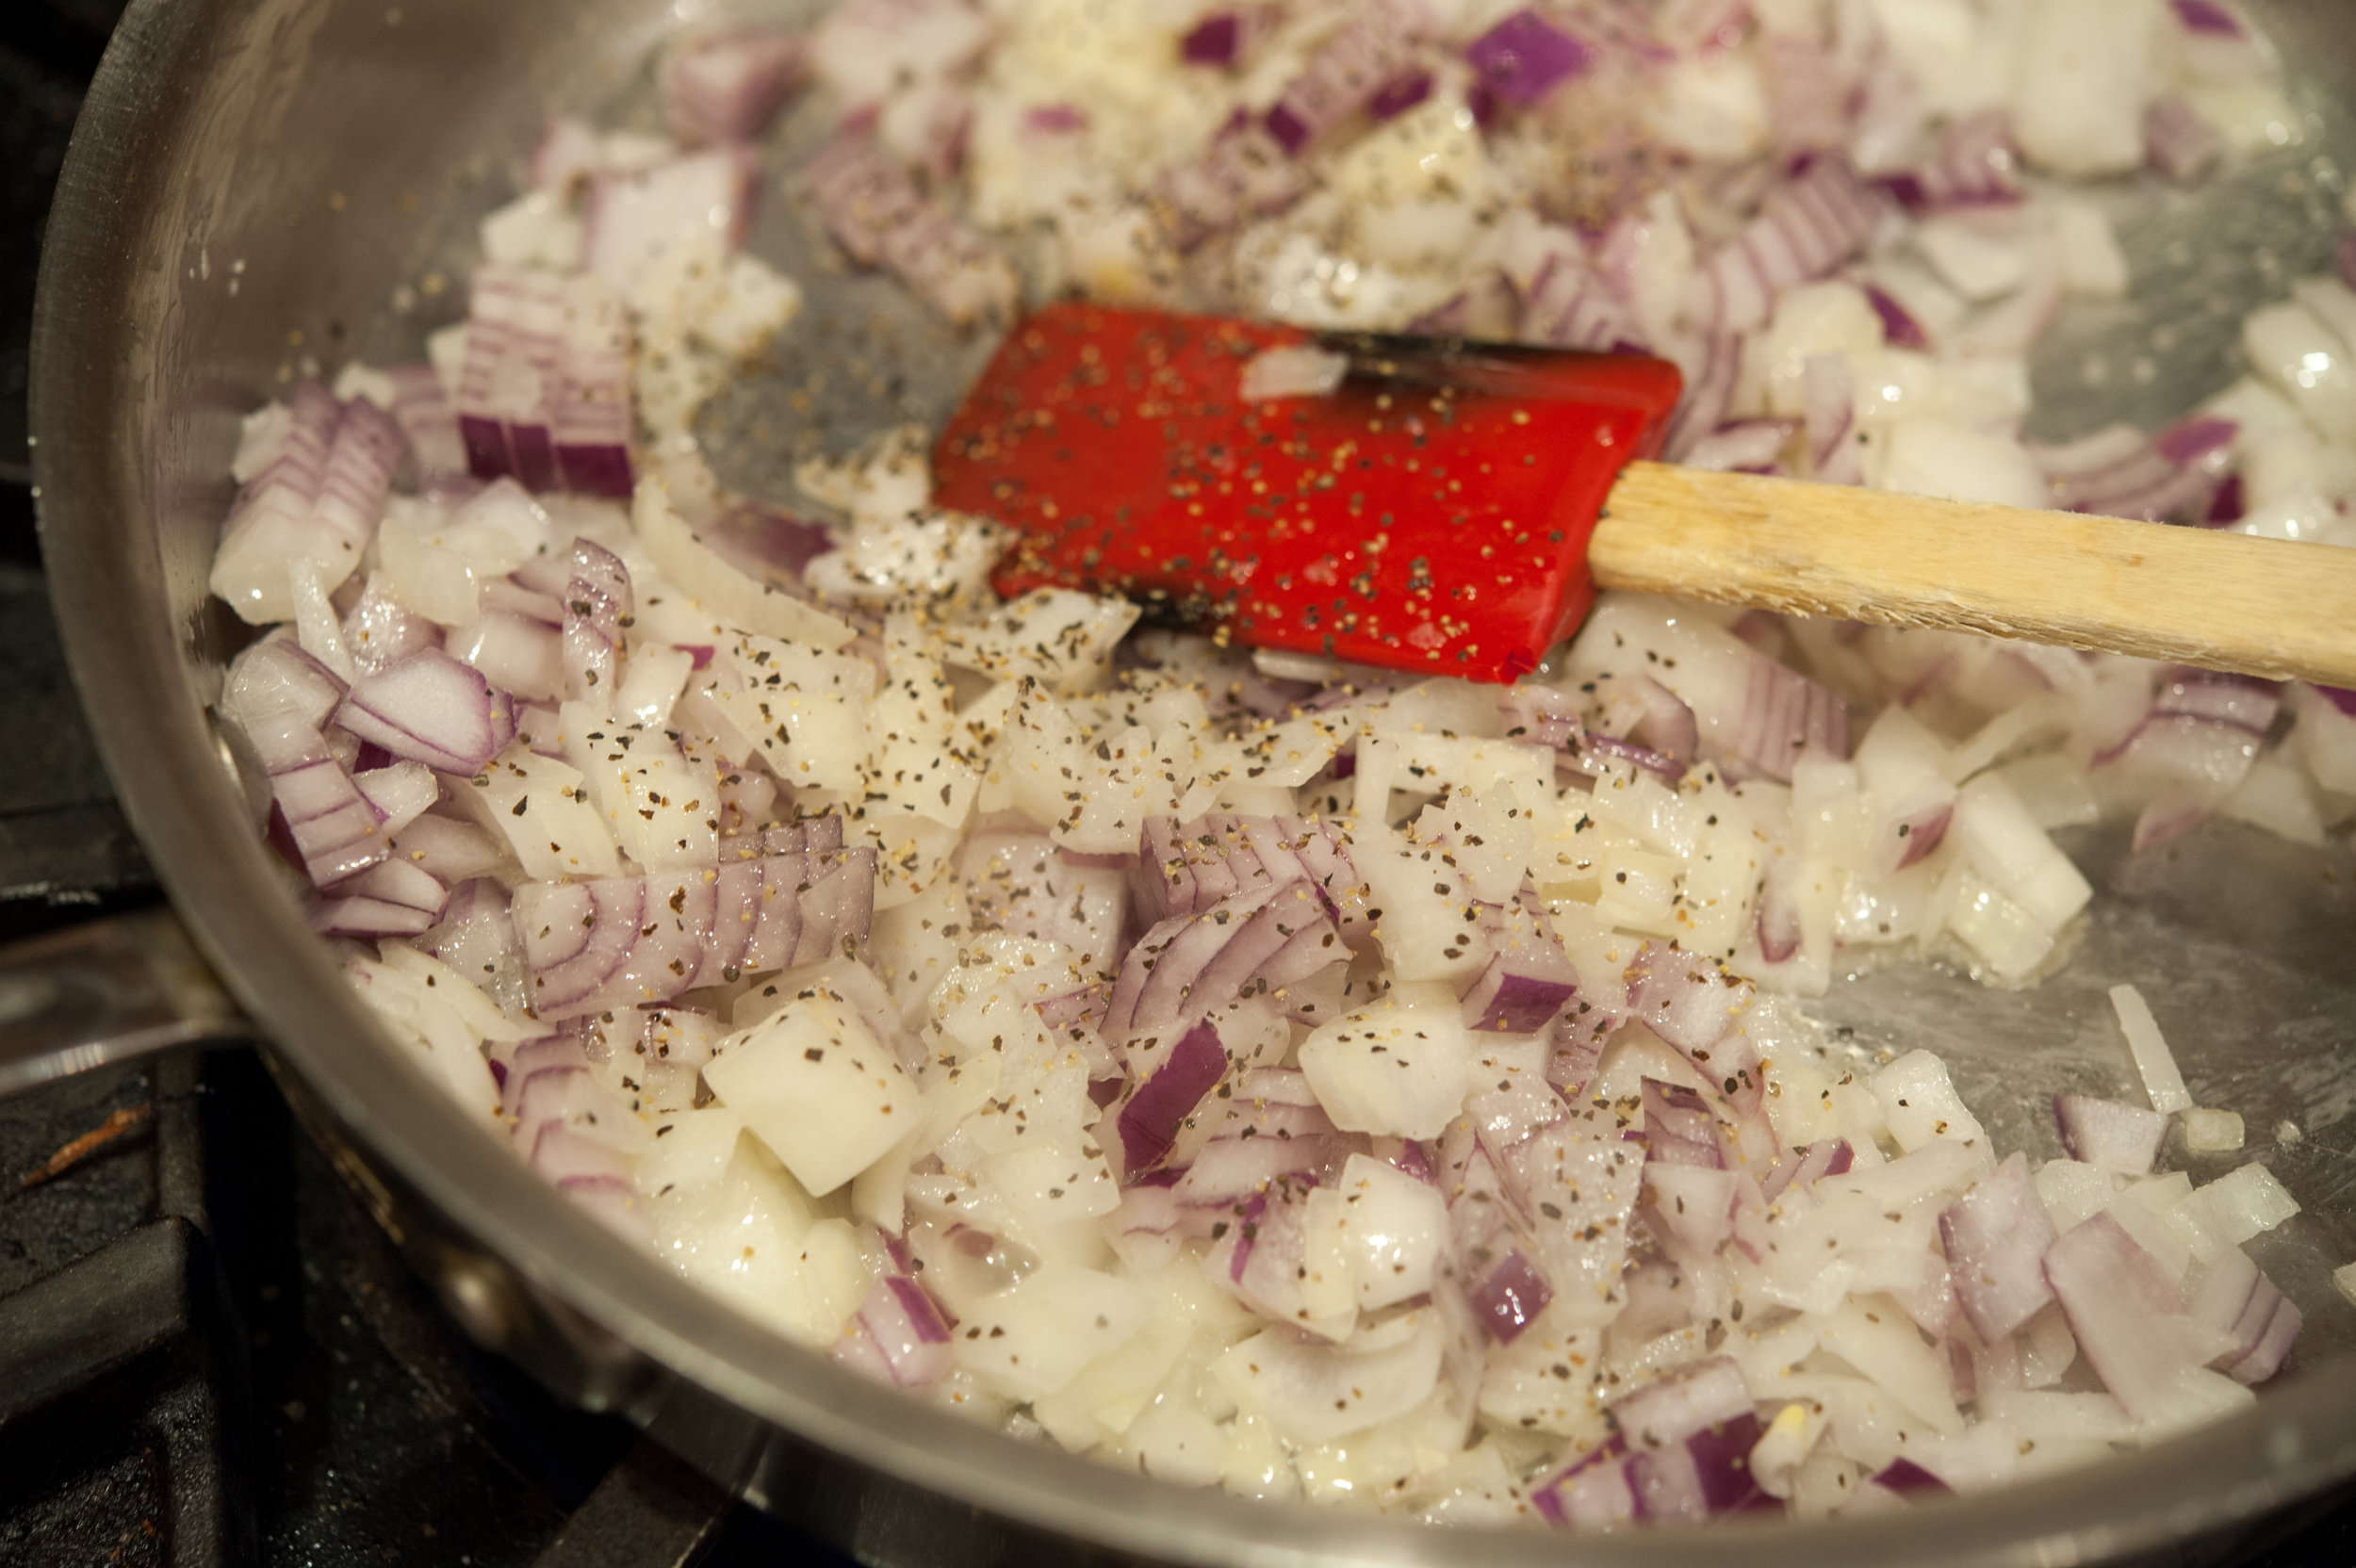
1/2 onion, peeled and sliced
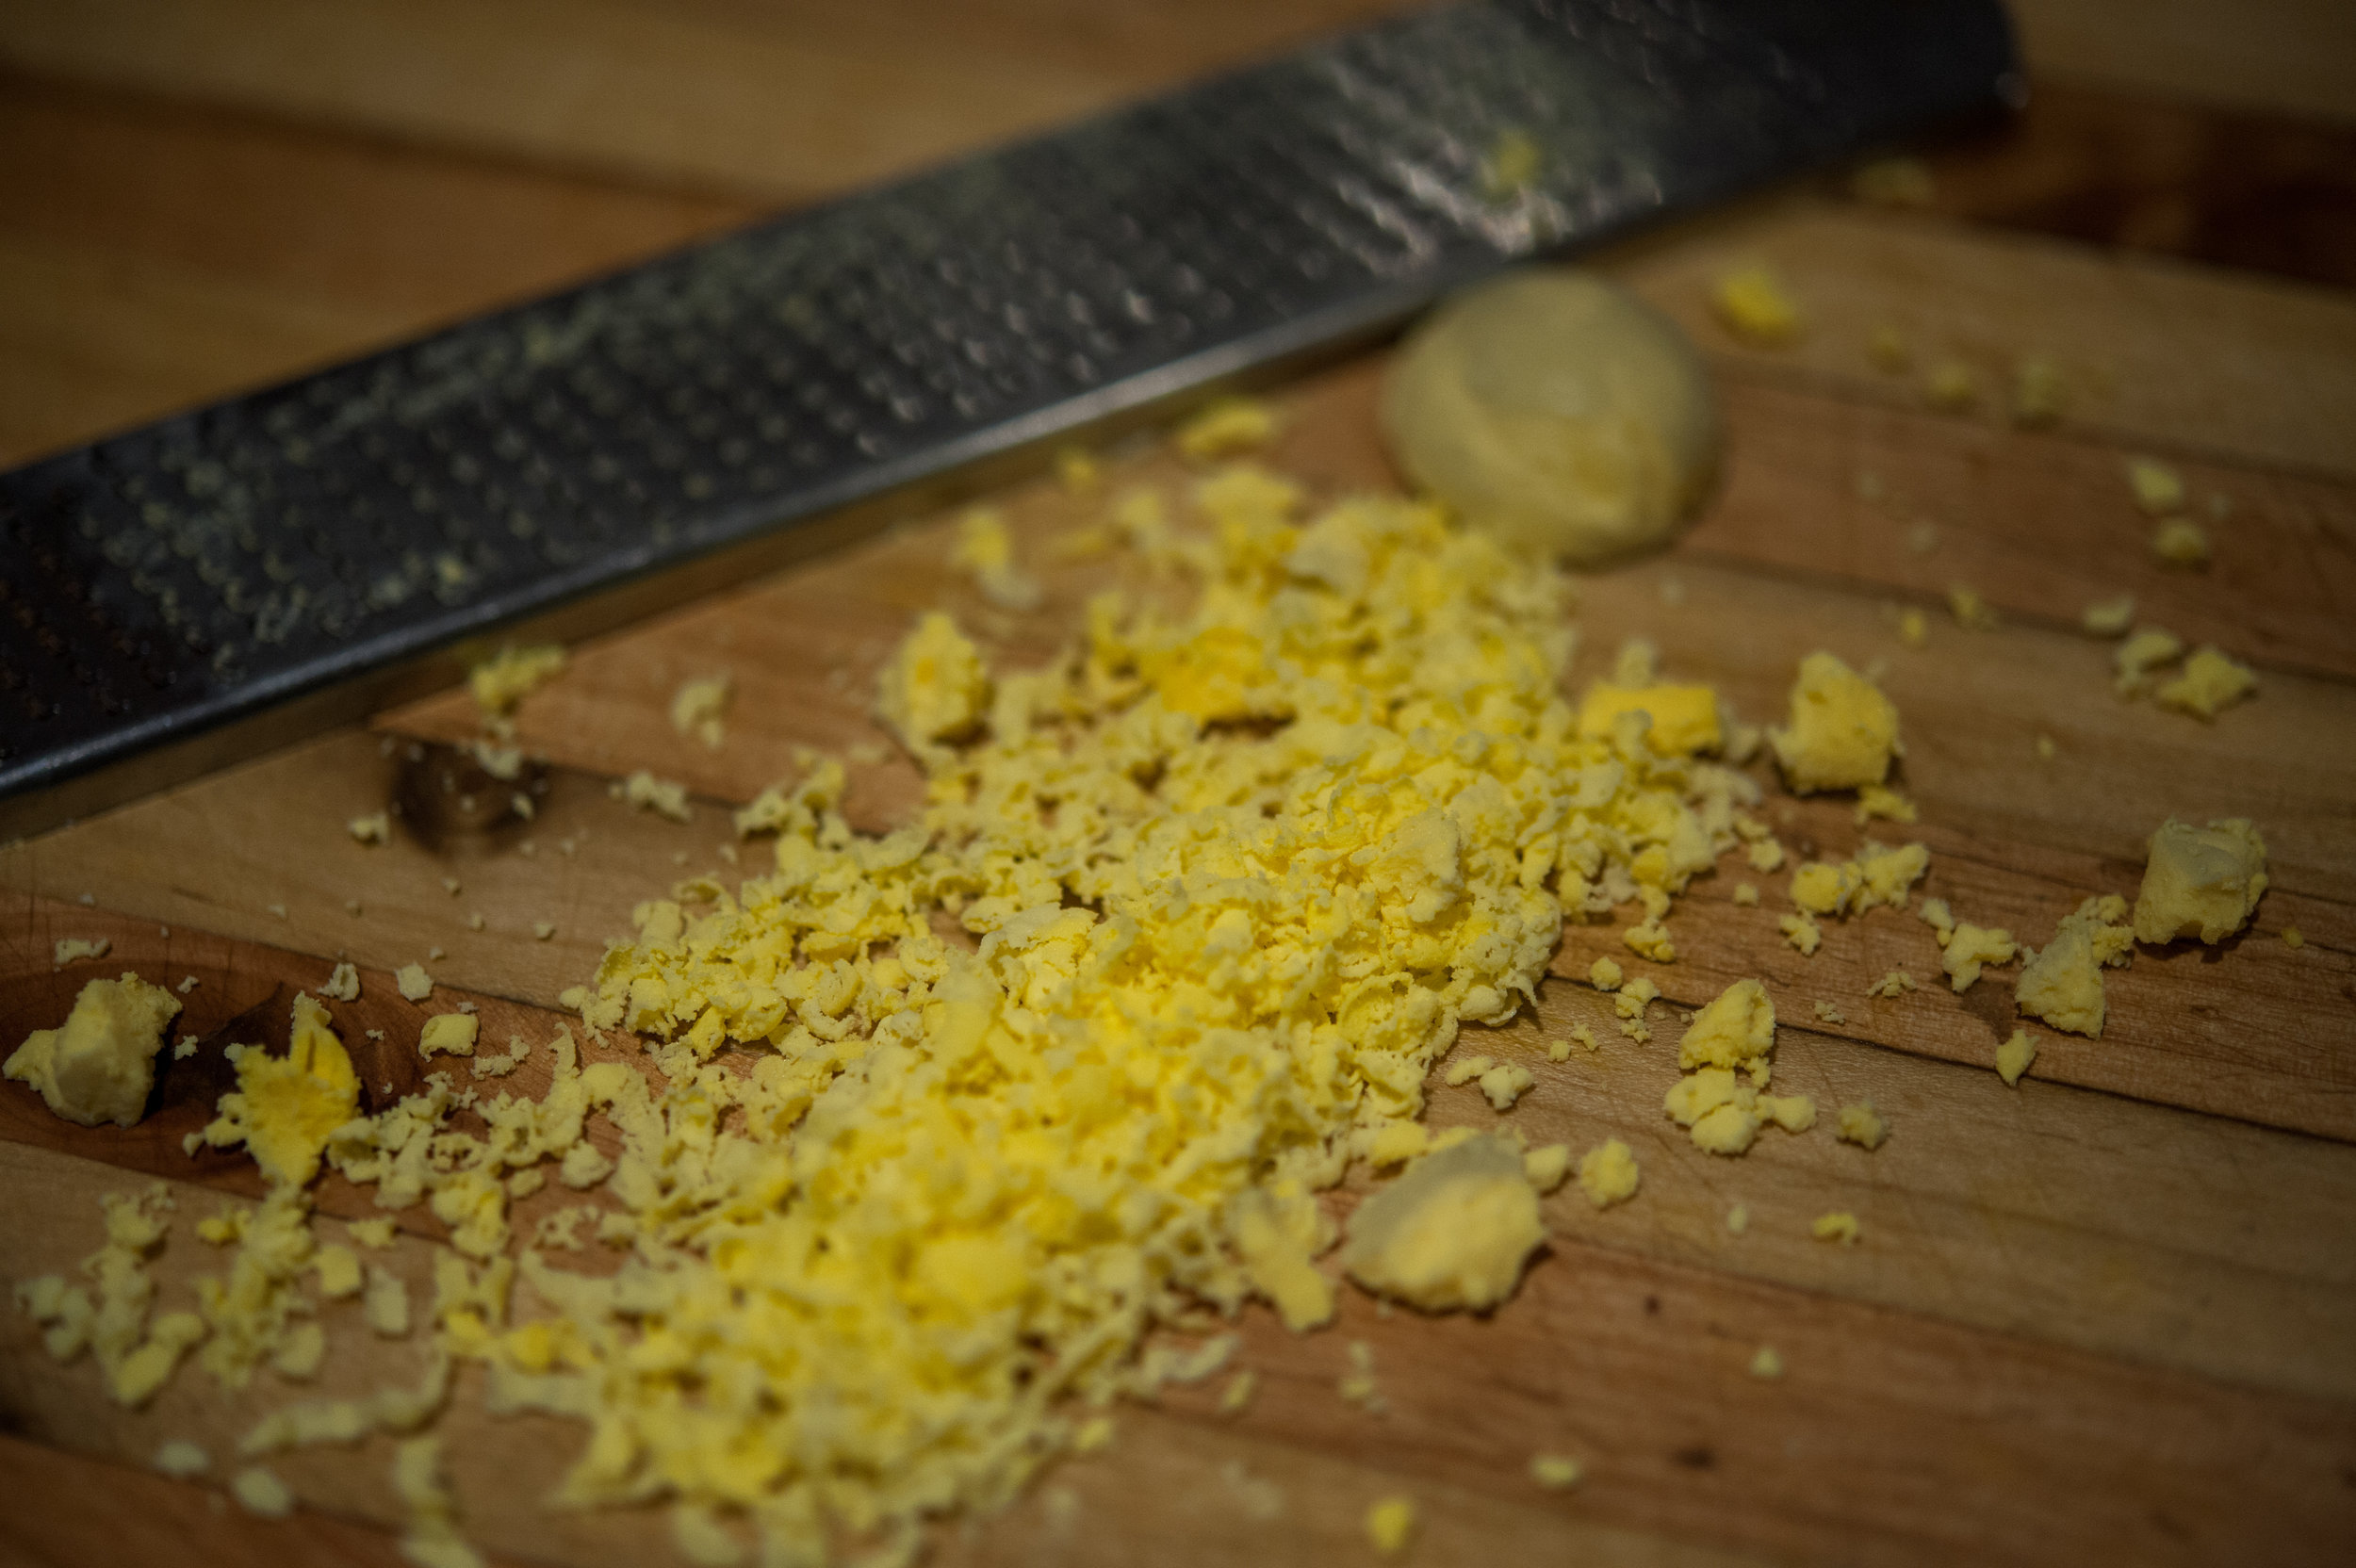
1 4-inch knob of ginger, peeled and sliced
I lime, zest cut into 1/2 inch pieces
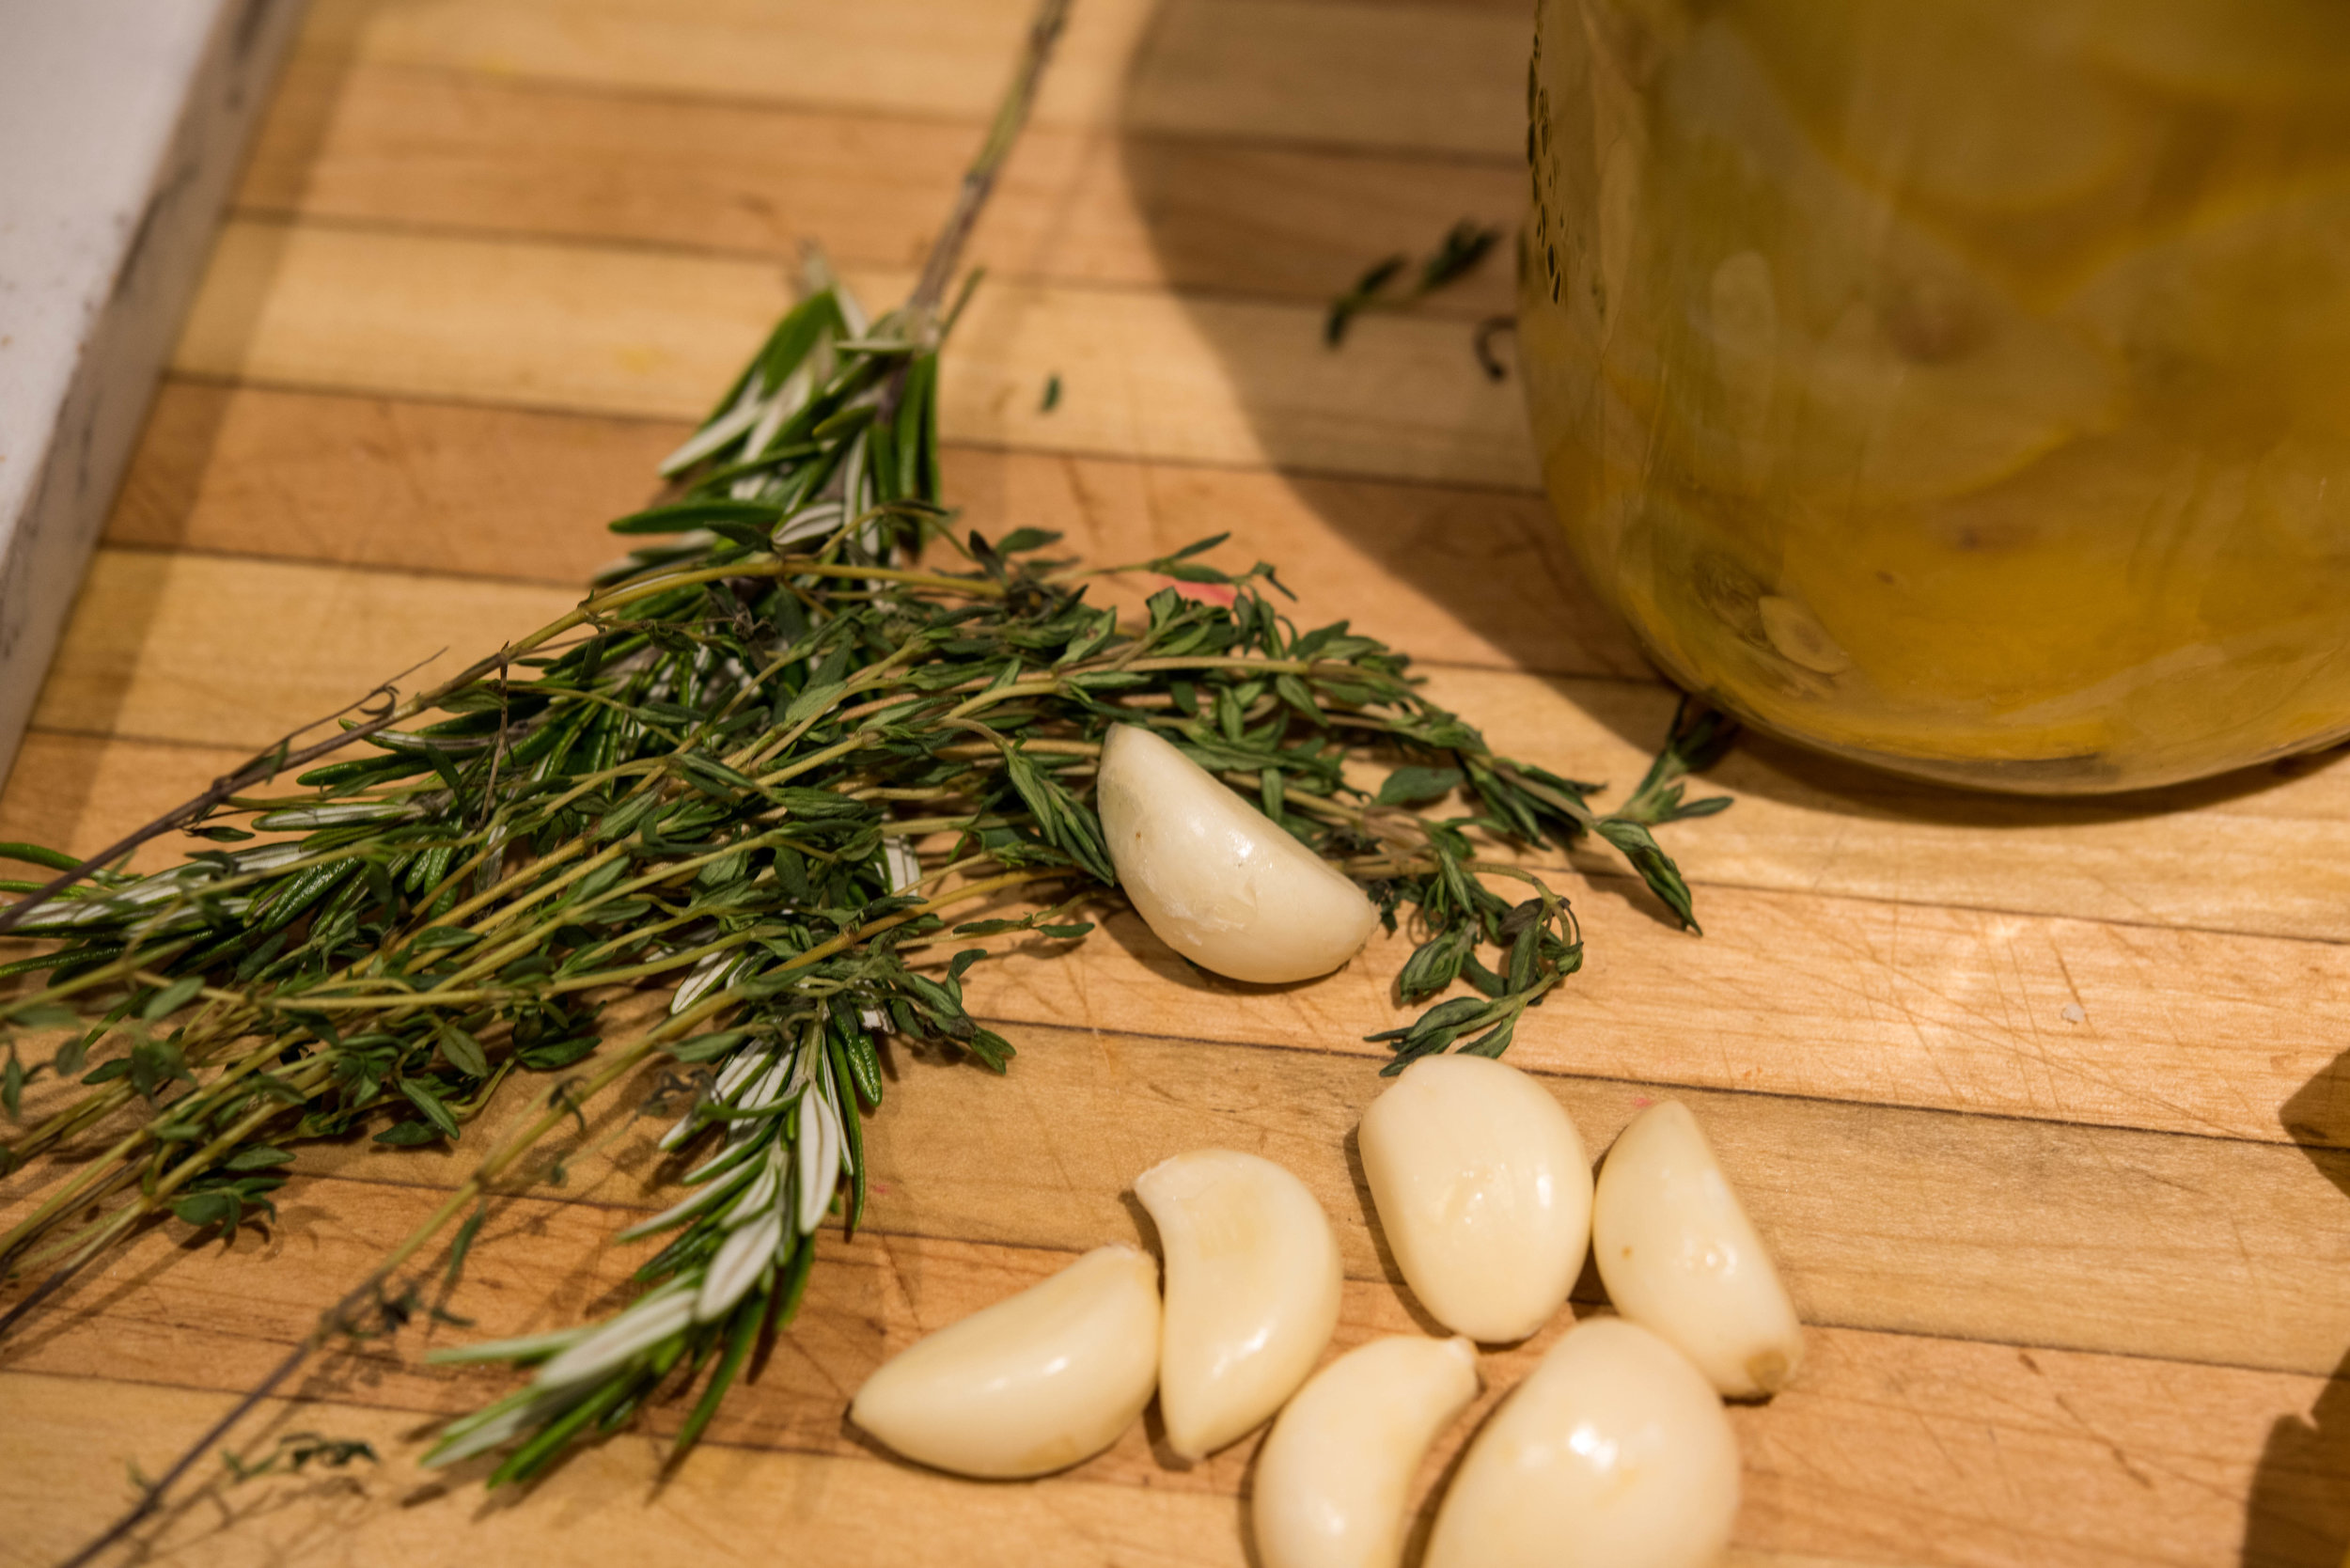
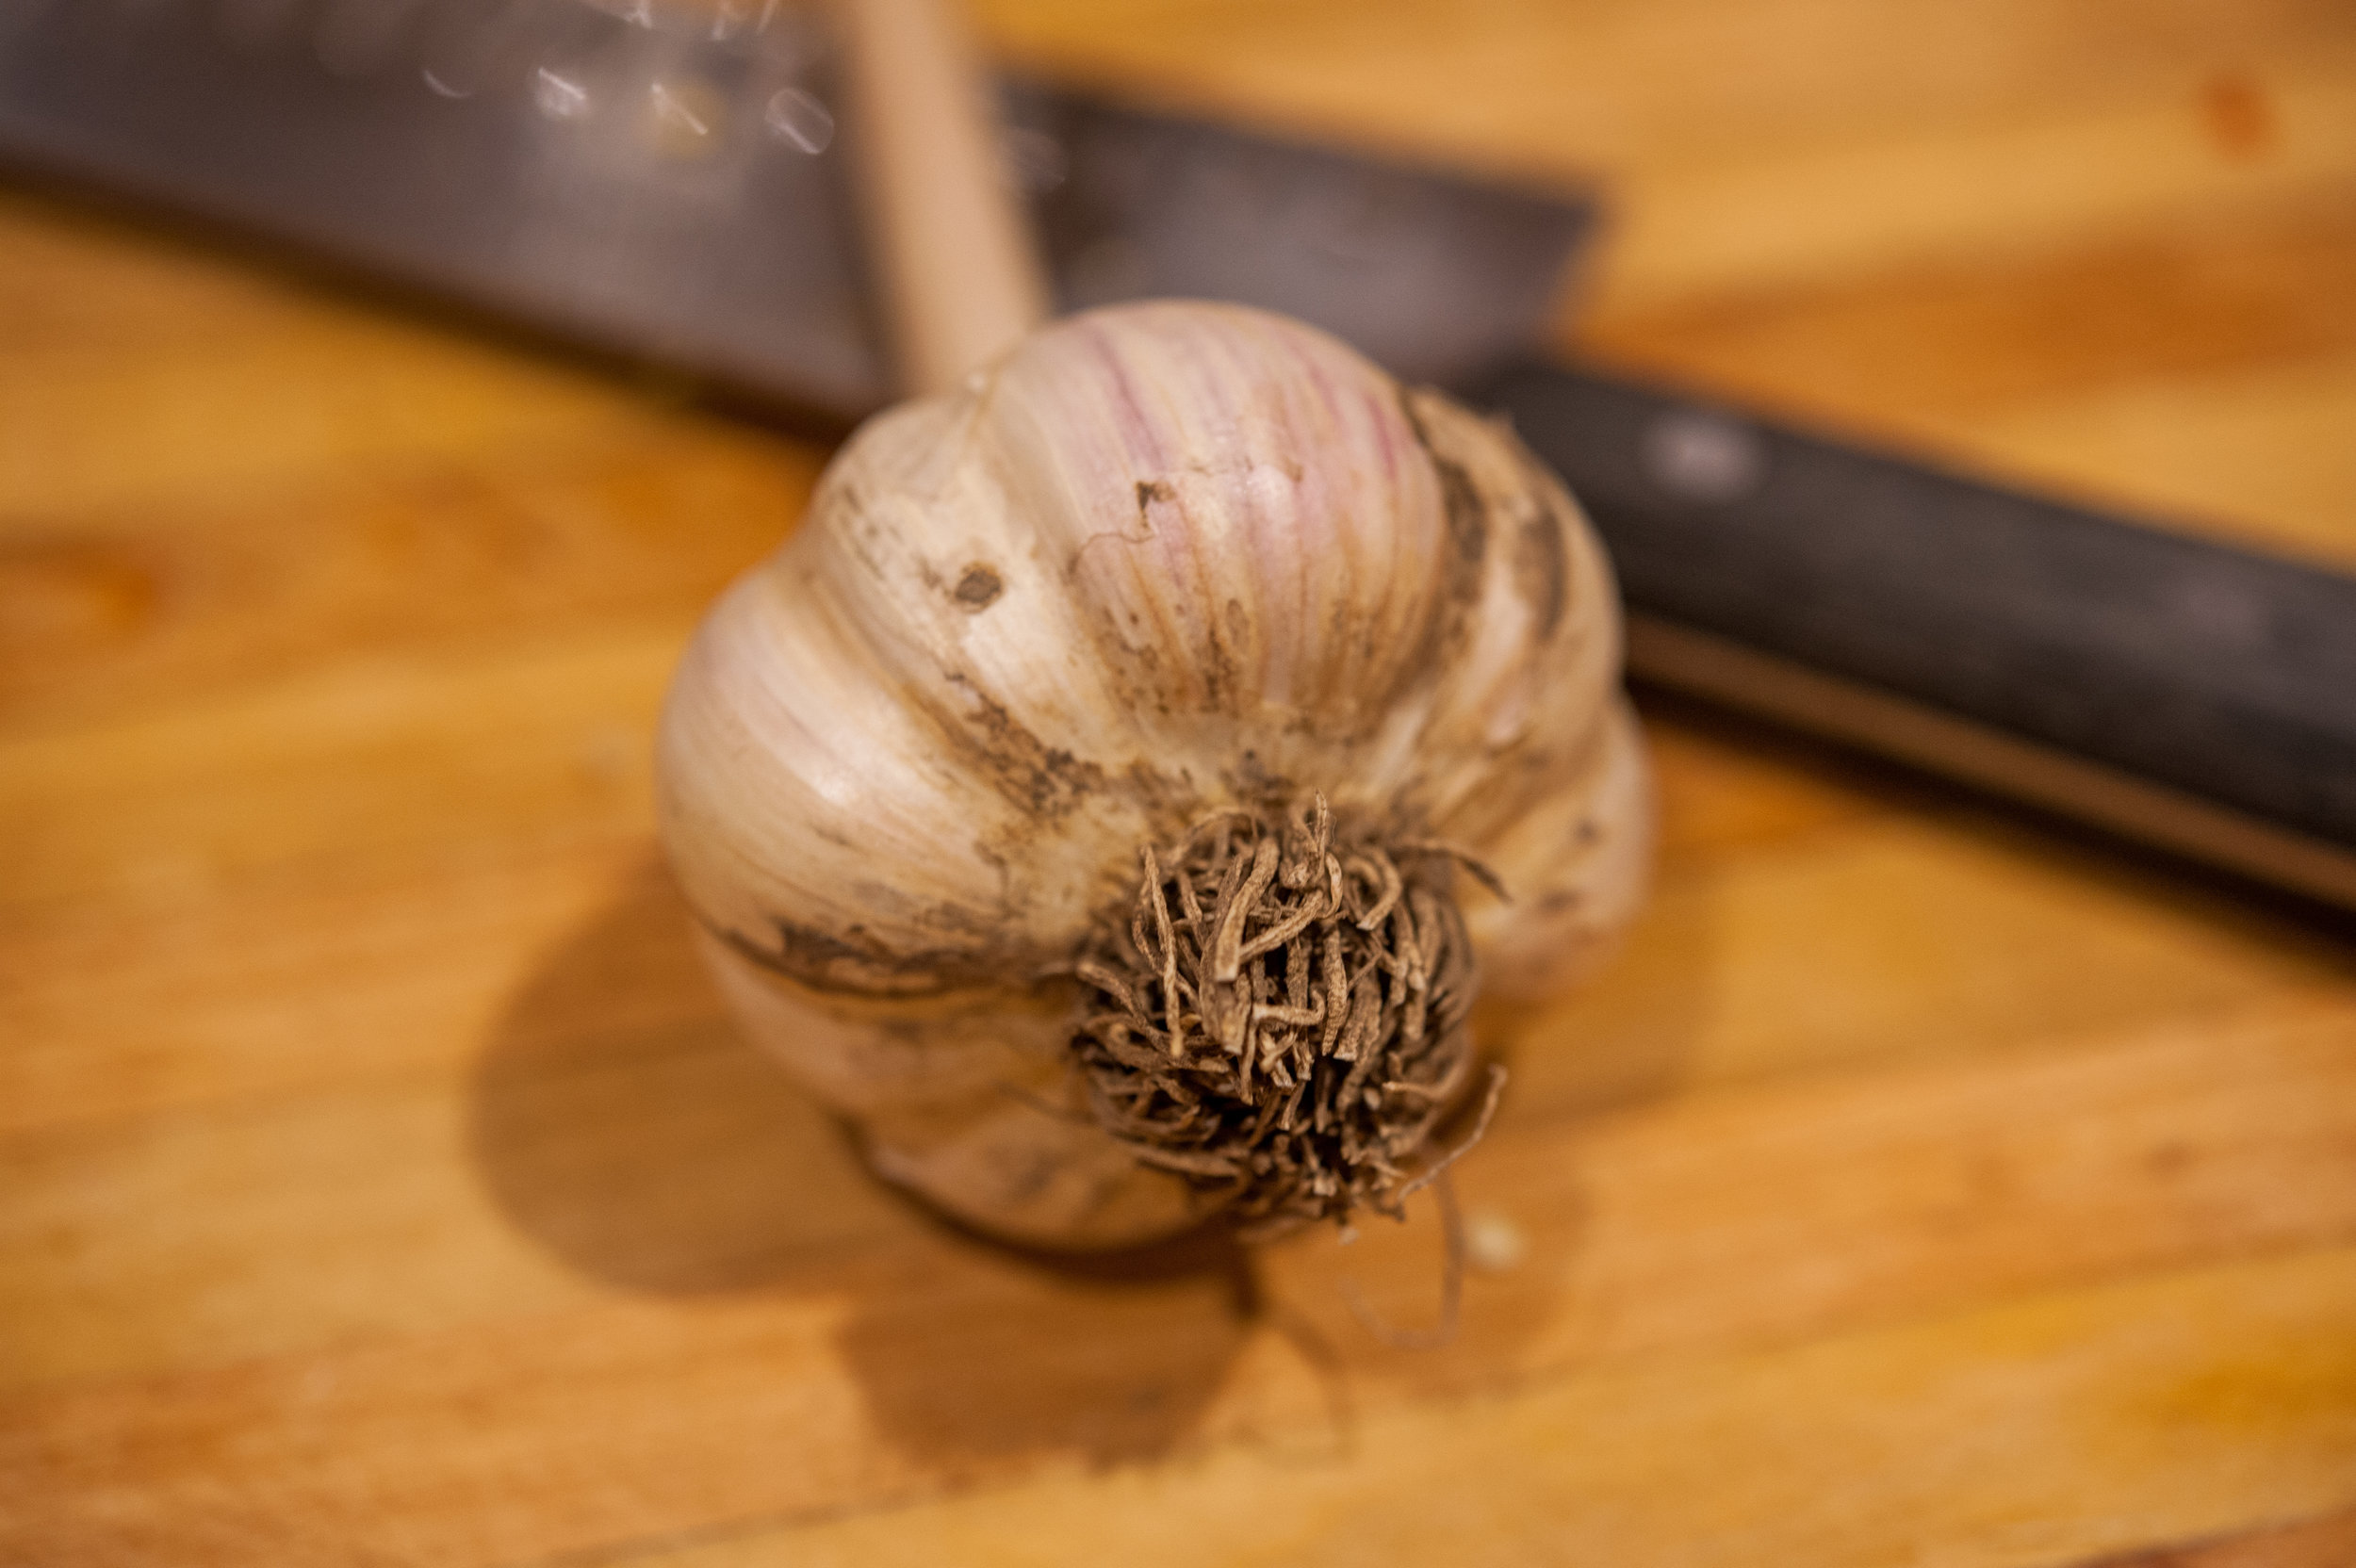
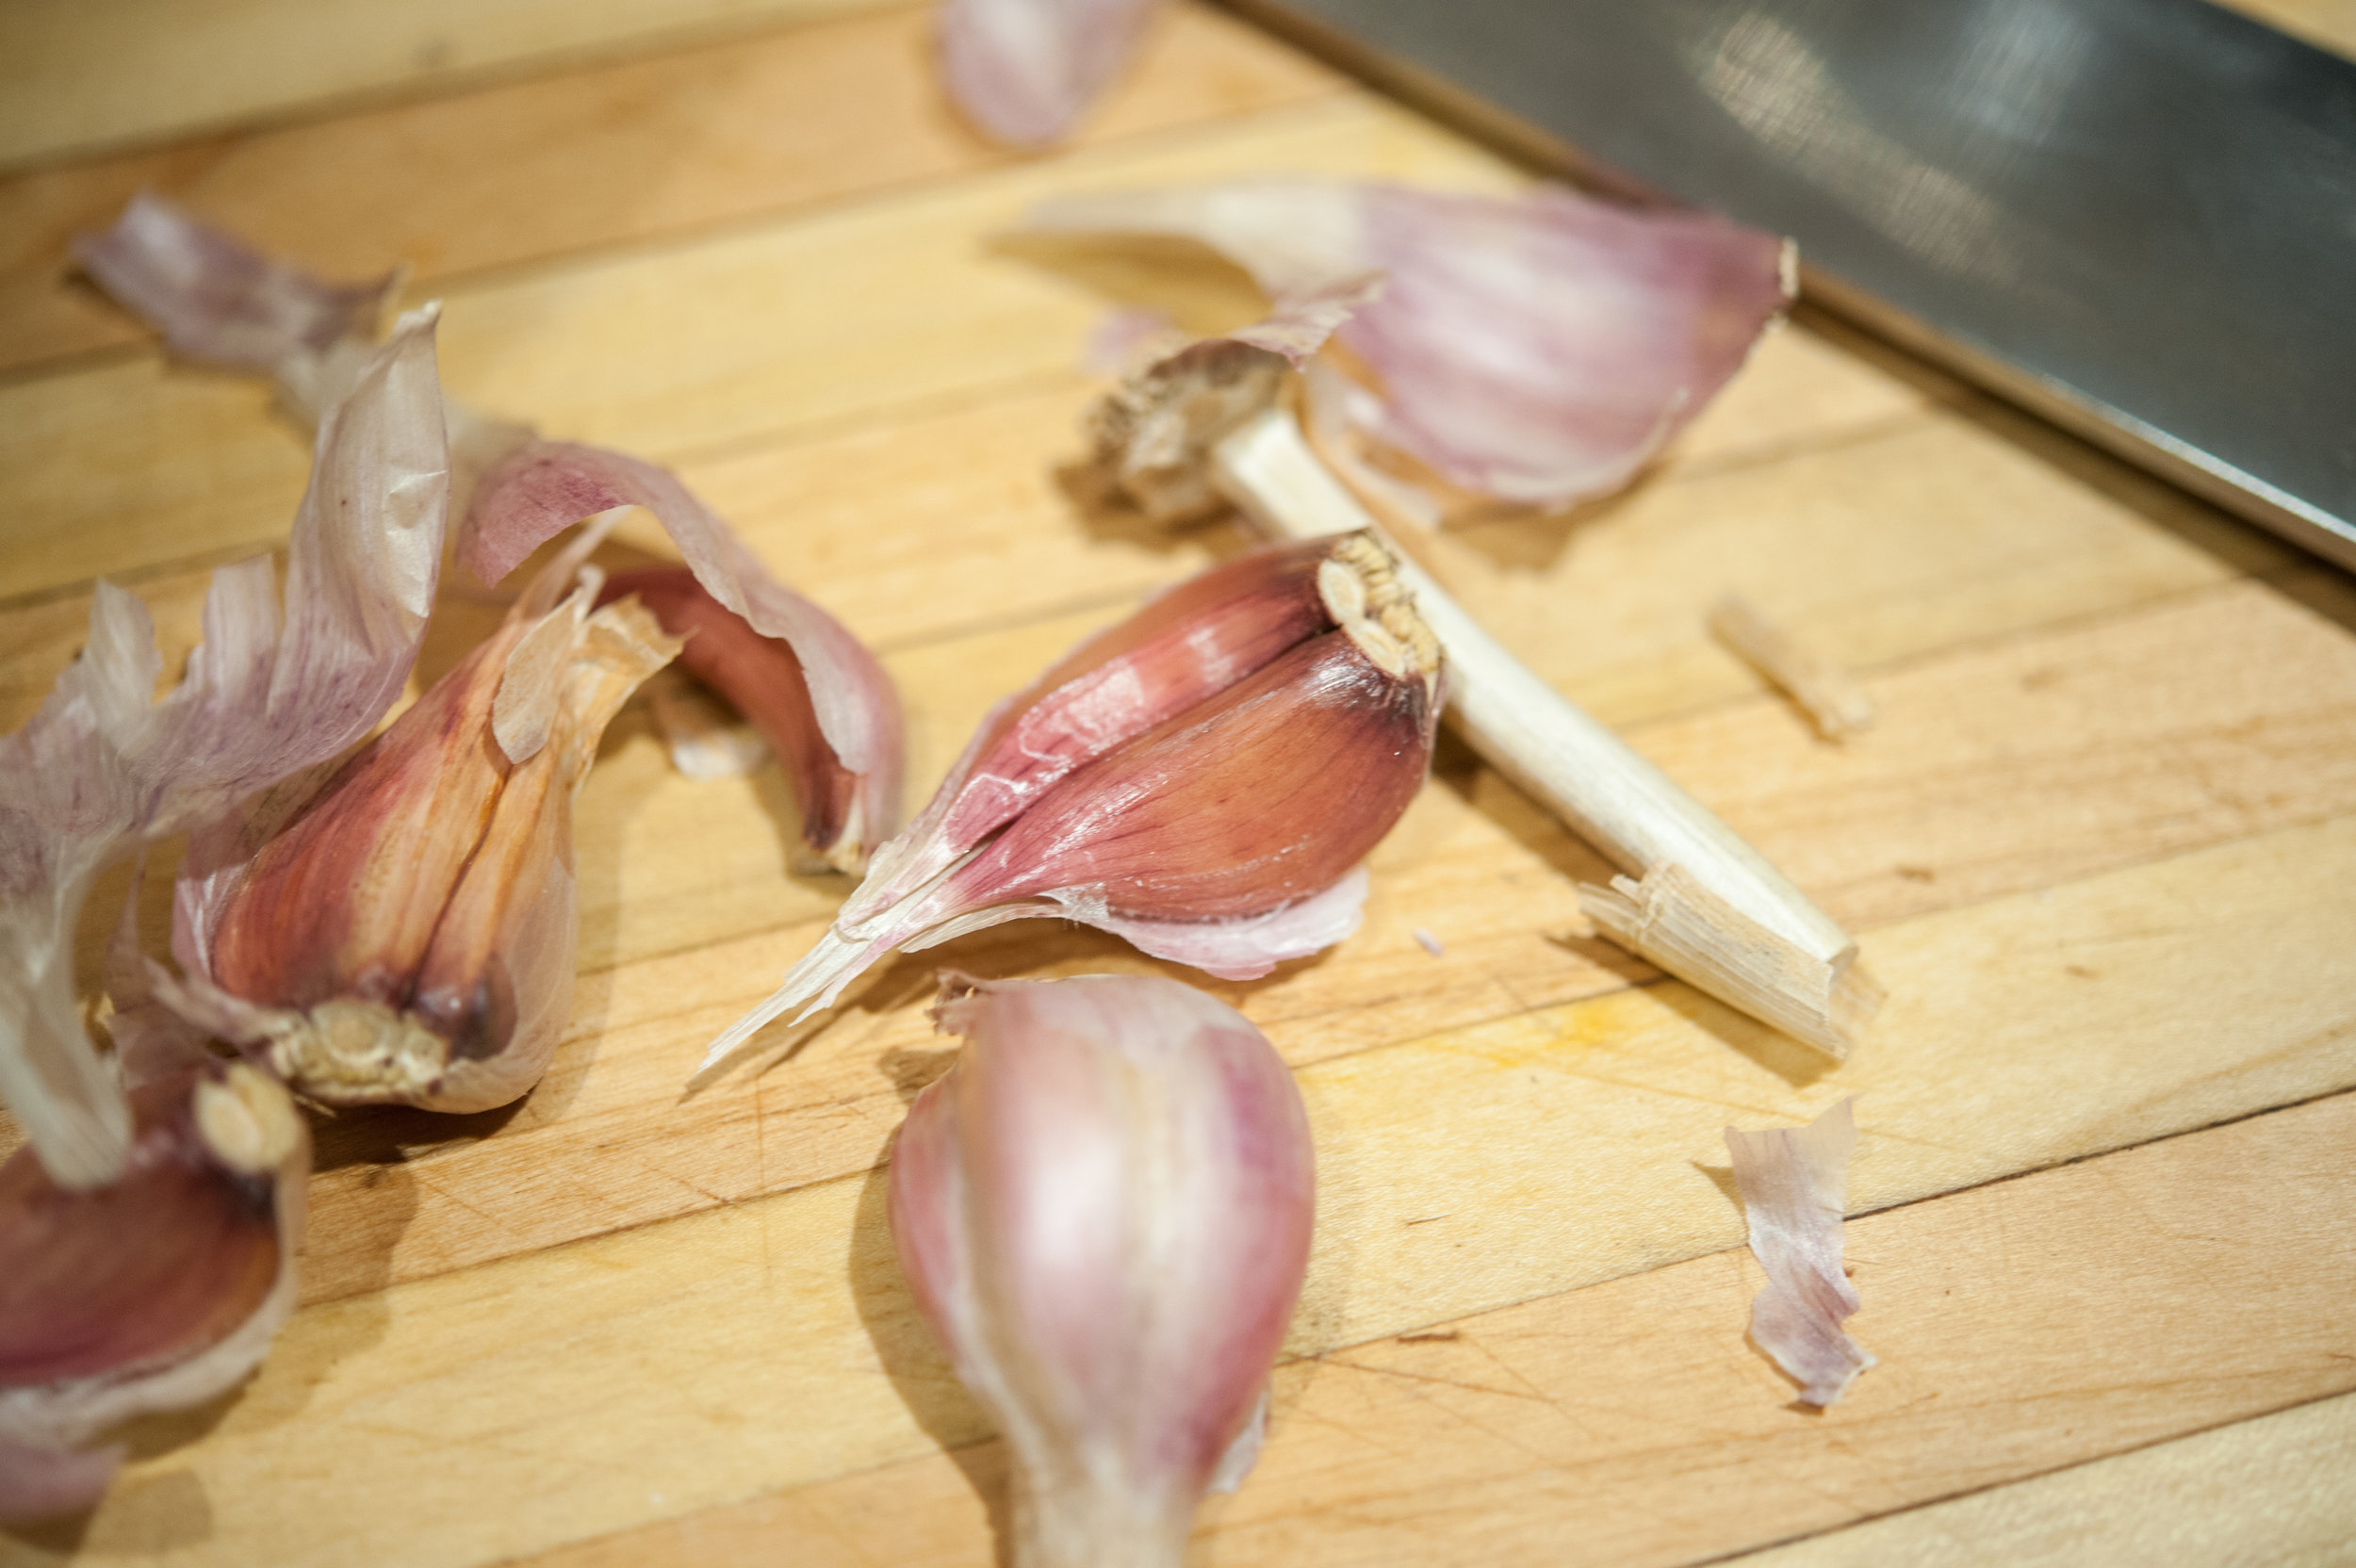
6 - 8 cloves of garlic, peeled
Handful of cilantro sprigs
1 1/2 cup white vinegar
1 1/2 cup water
1/3 cup kosher salt
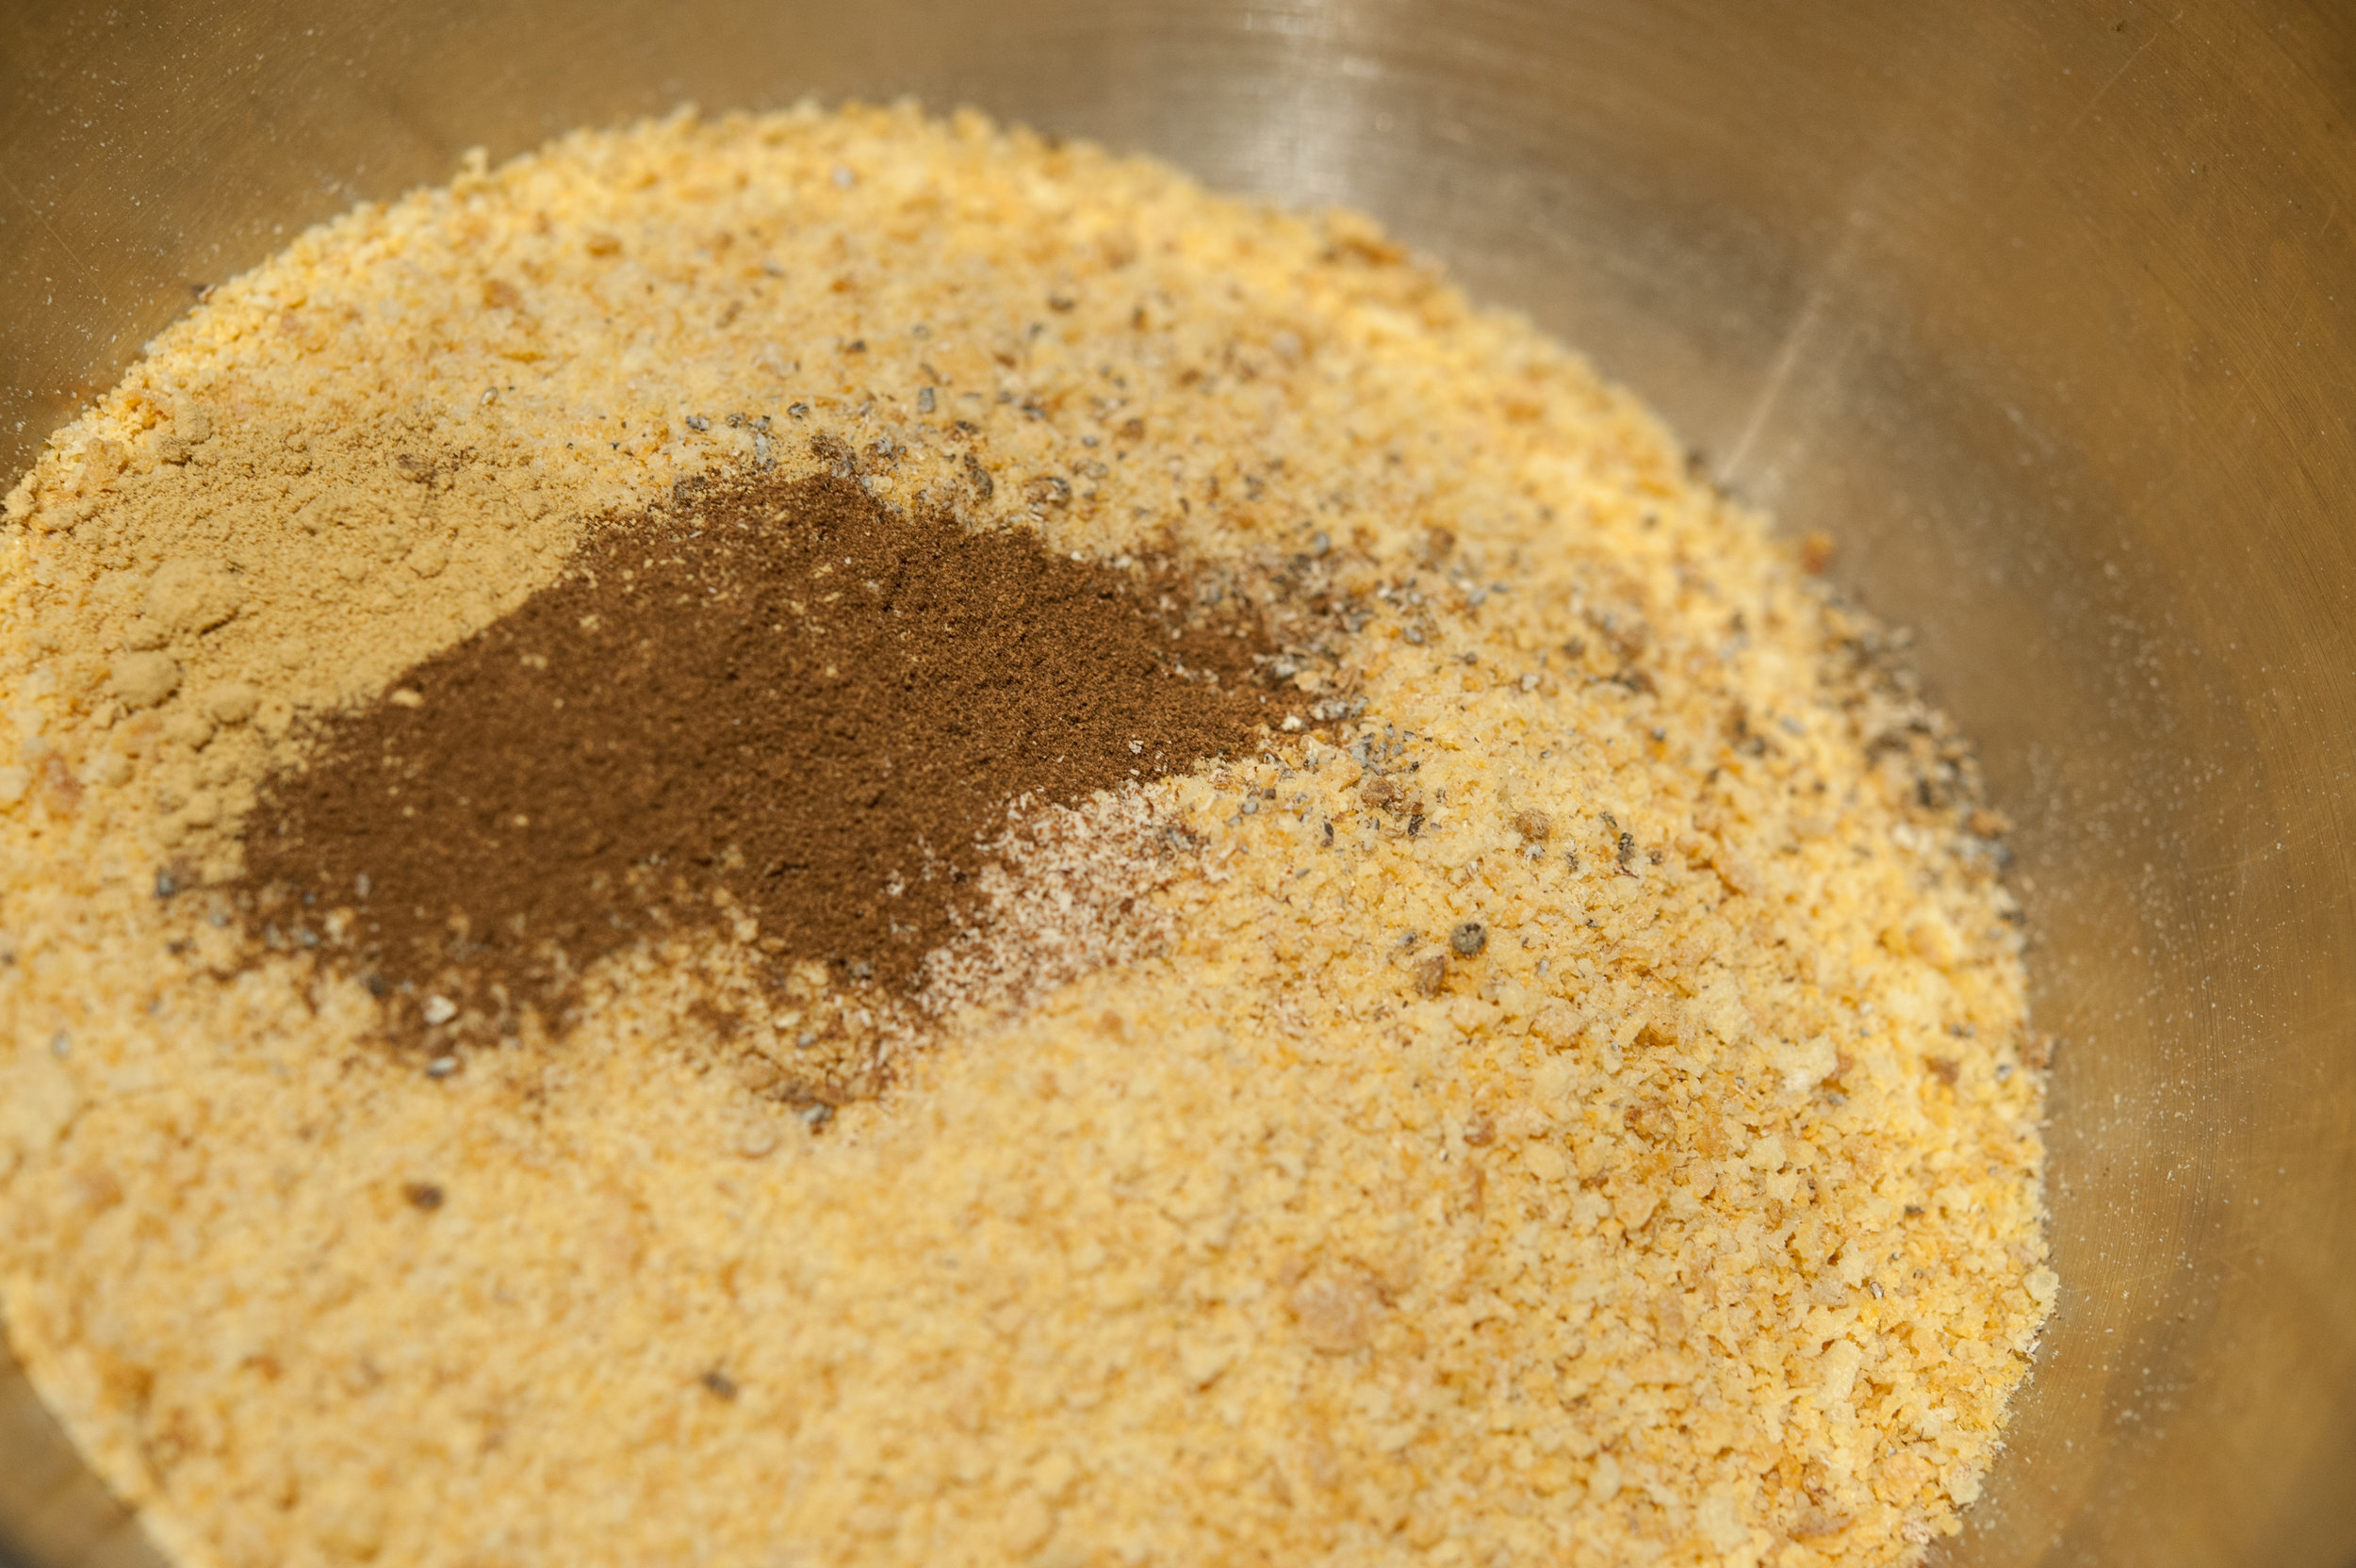
1 1/2 tablespoon curry powder
1/4 cup white sugar
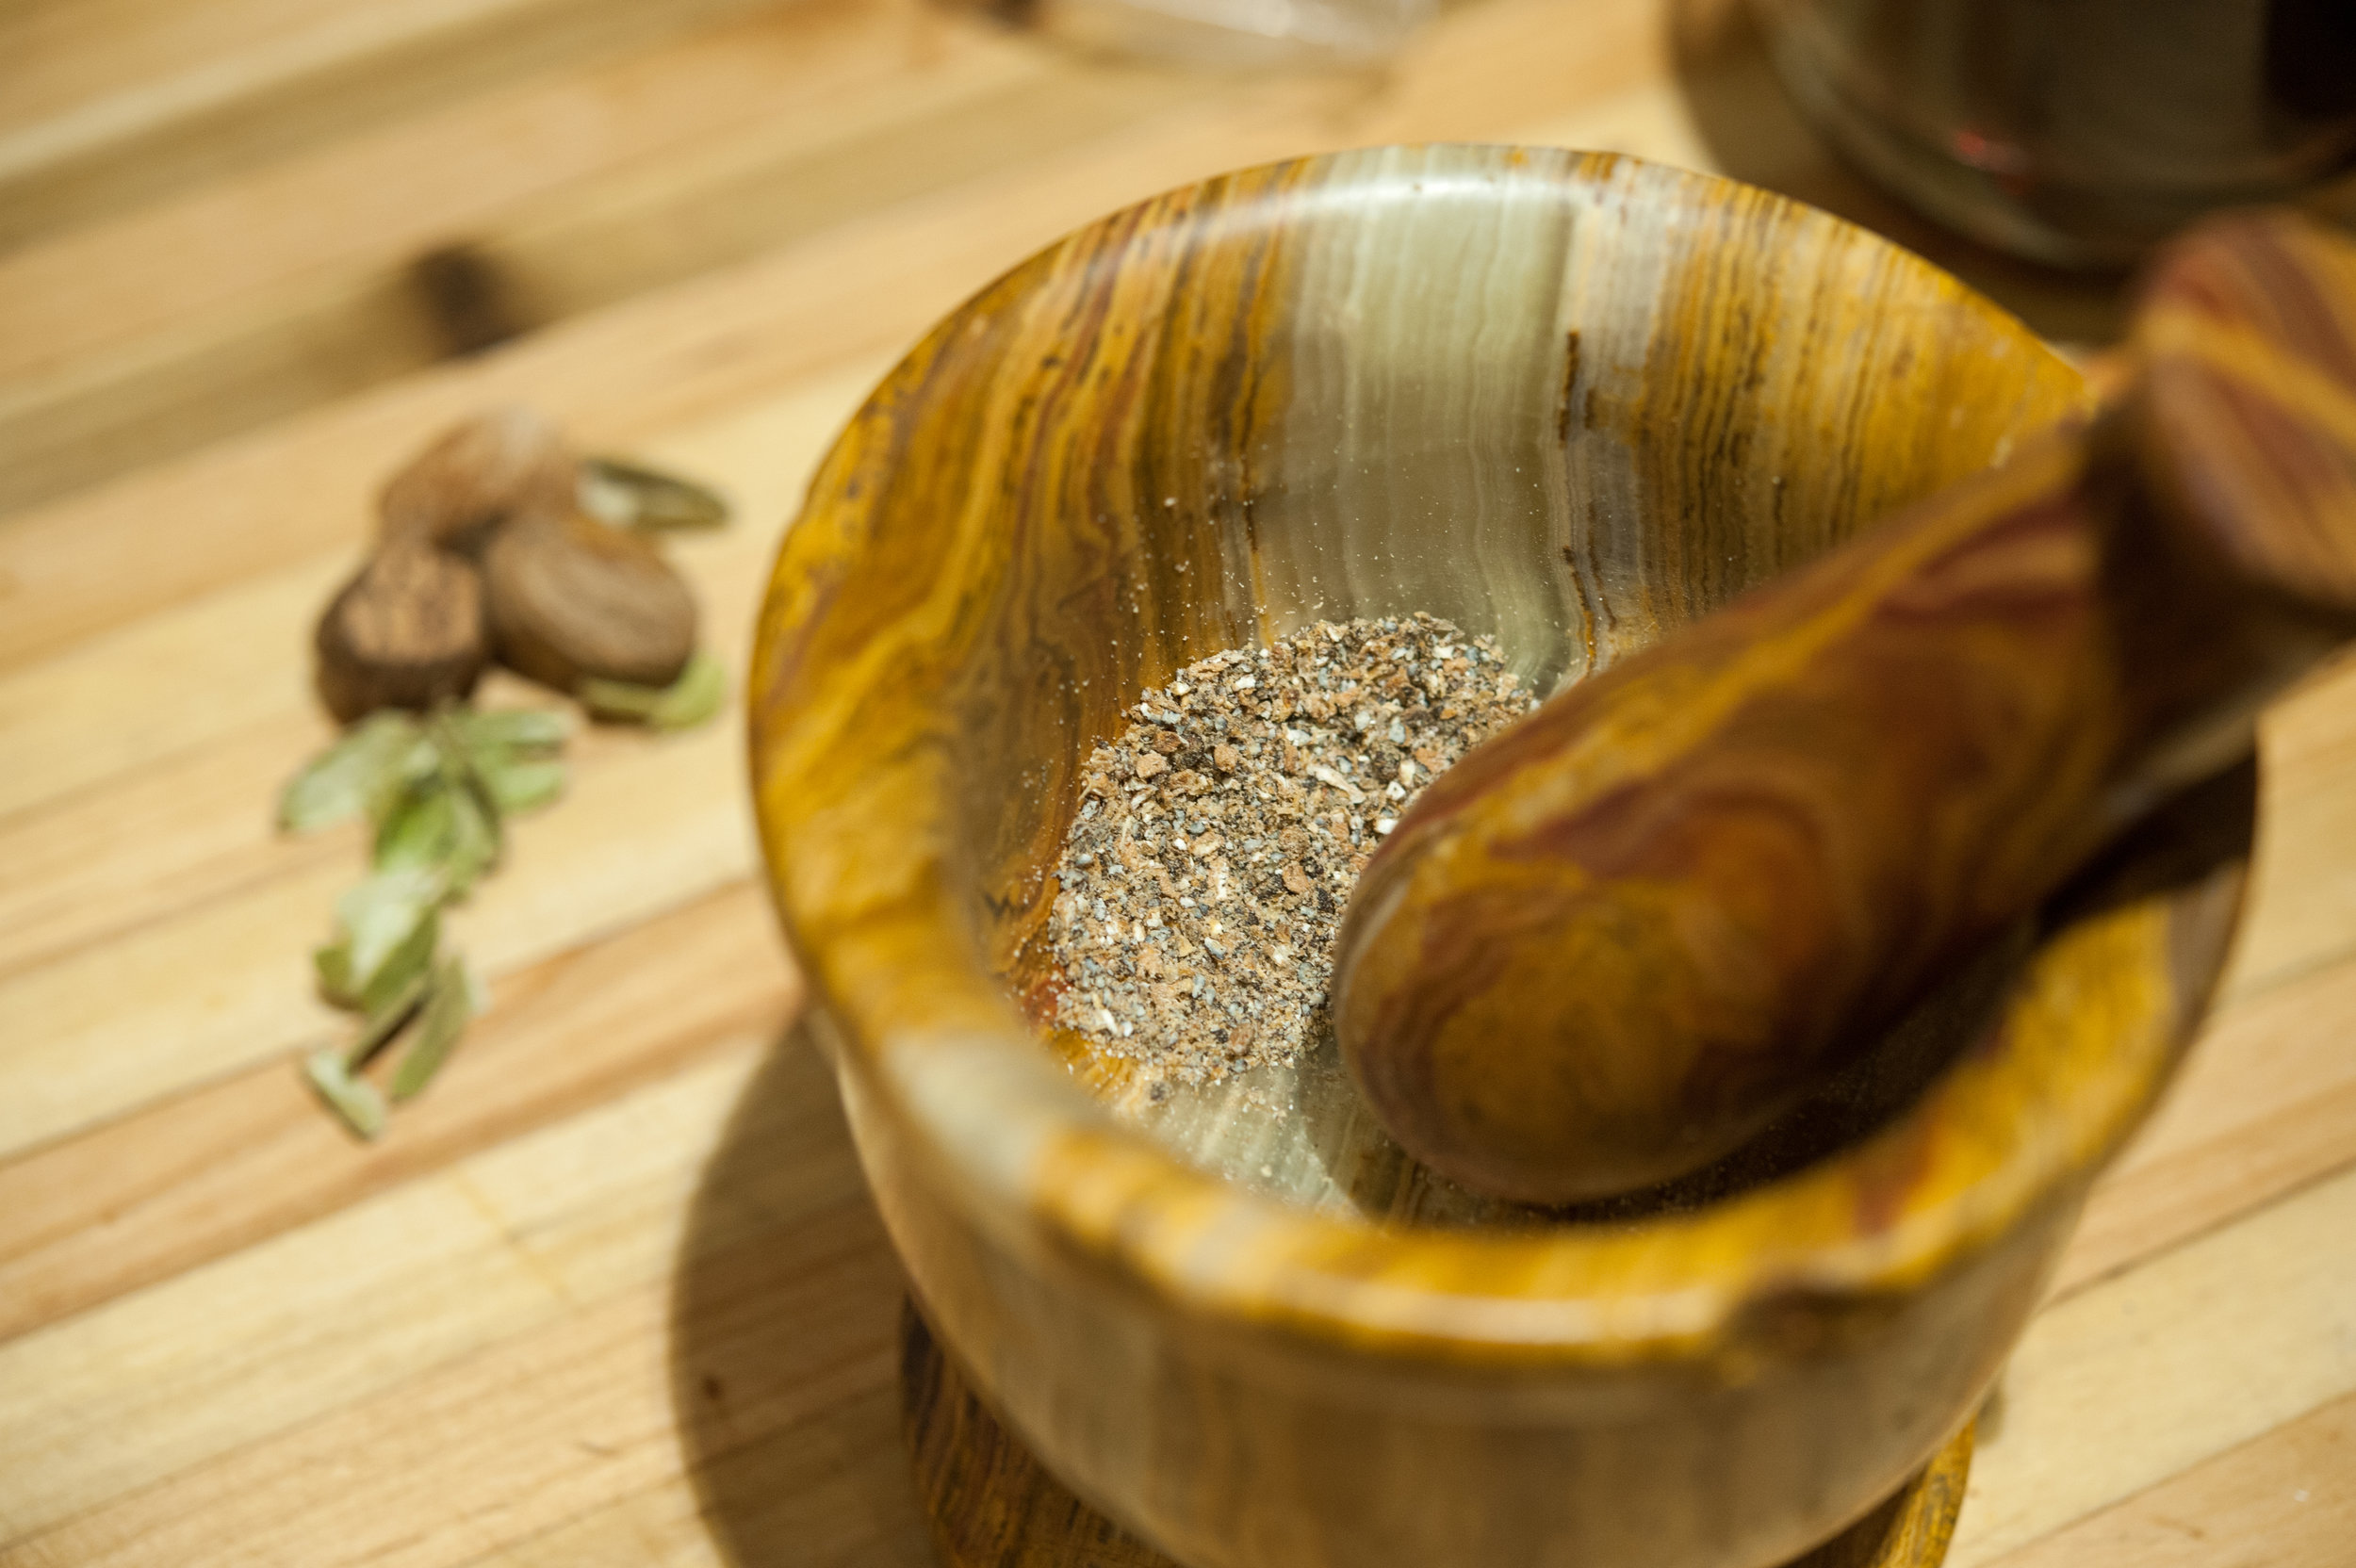
1/2 teaspoon coriander seeds
1/4 teaspoon cumin seeds
1/4 teaspoon allspice
1/4 teaspoon black peppercorns
1/4 teaspoon fenugreek

Preparation 
Heat a large stockpot or canner with water and bring to a boil. 

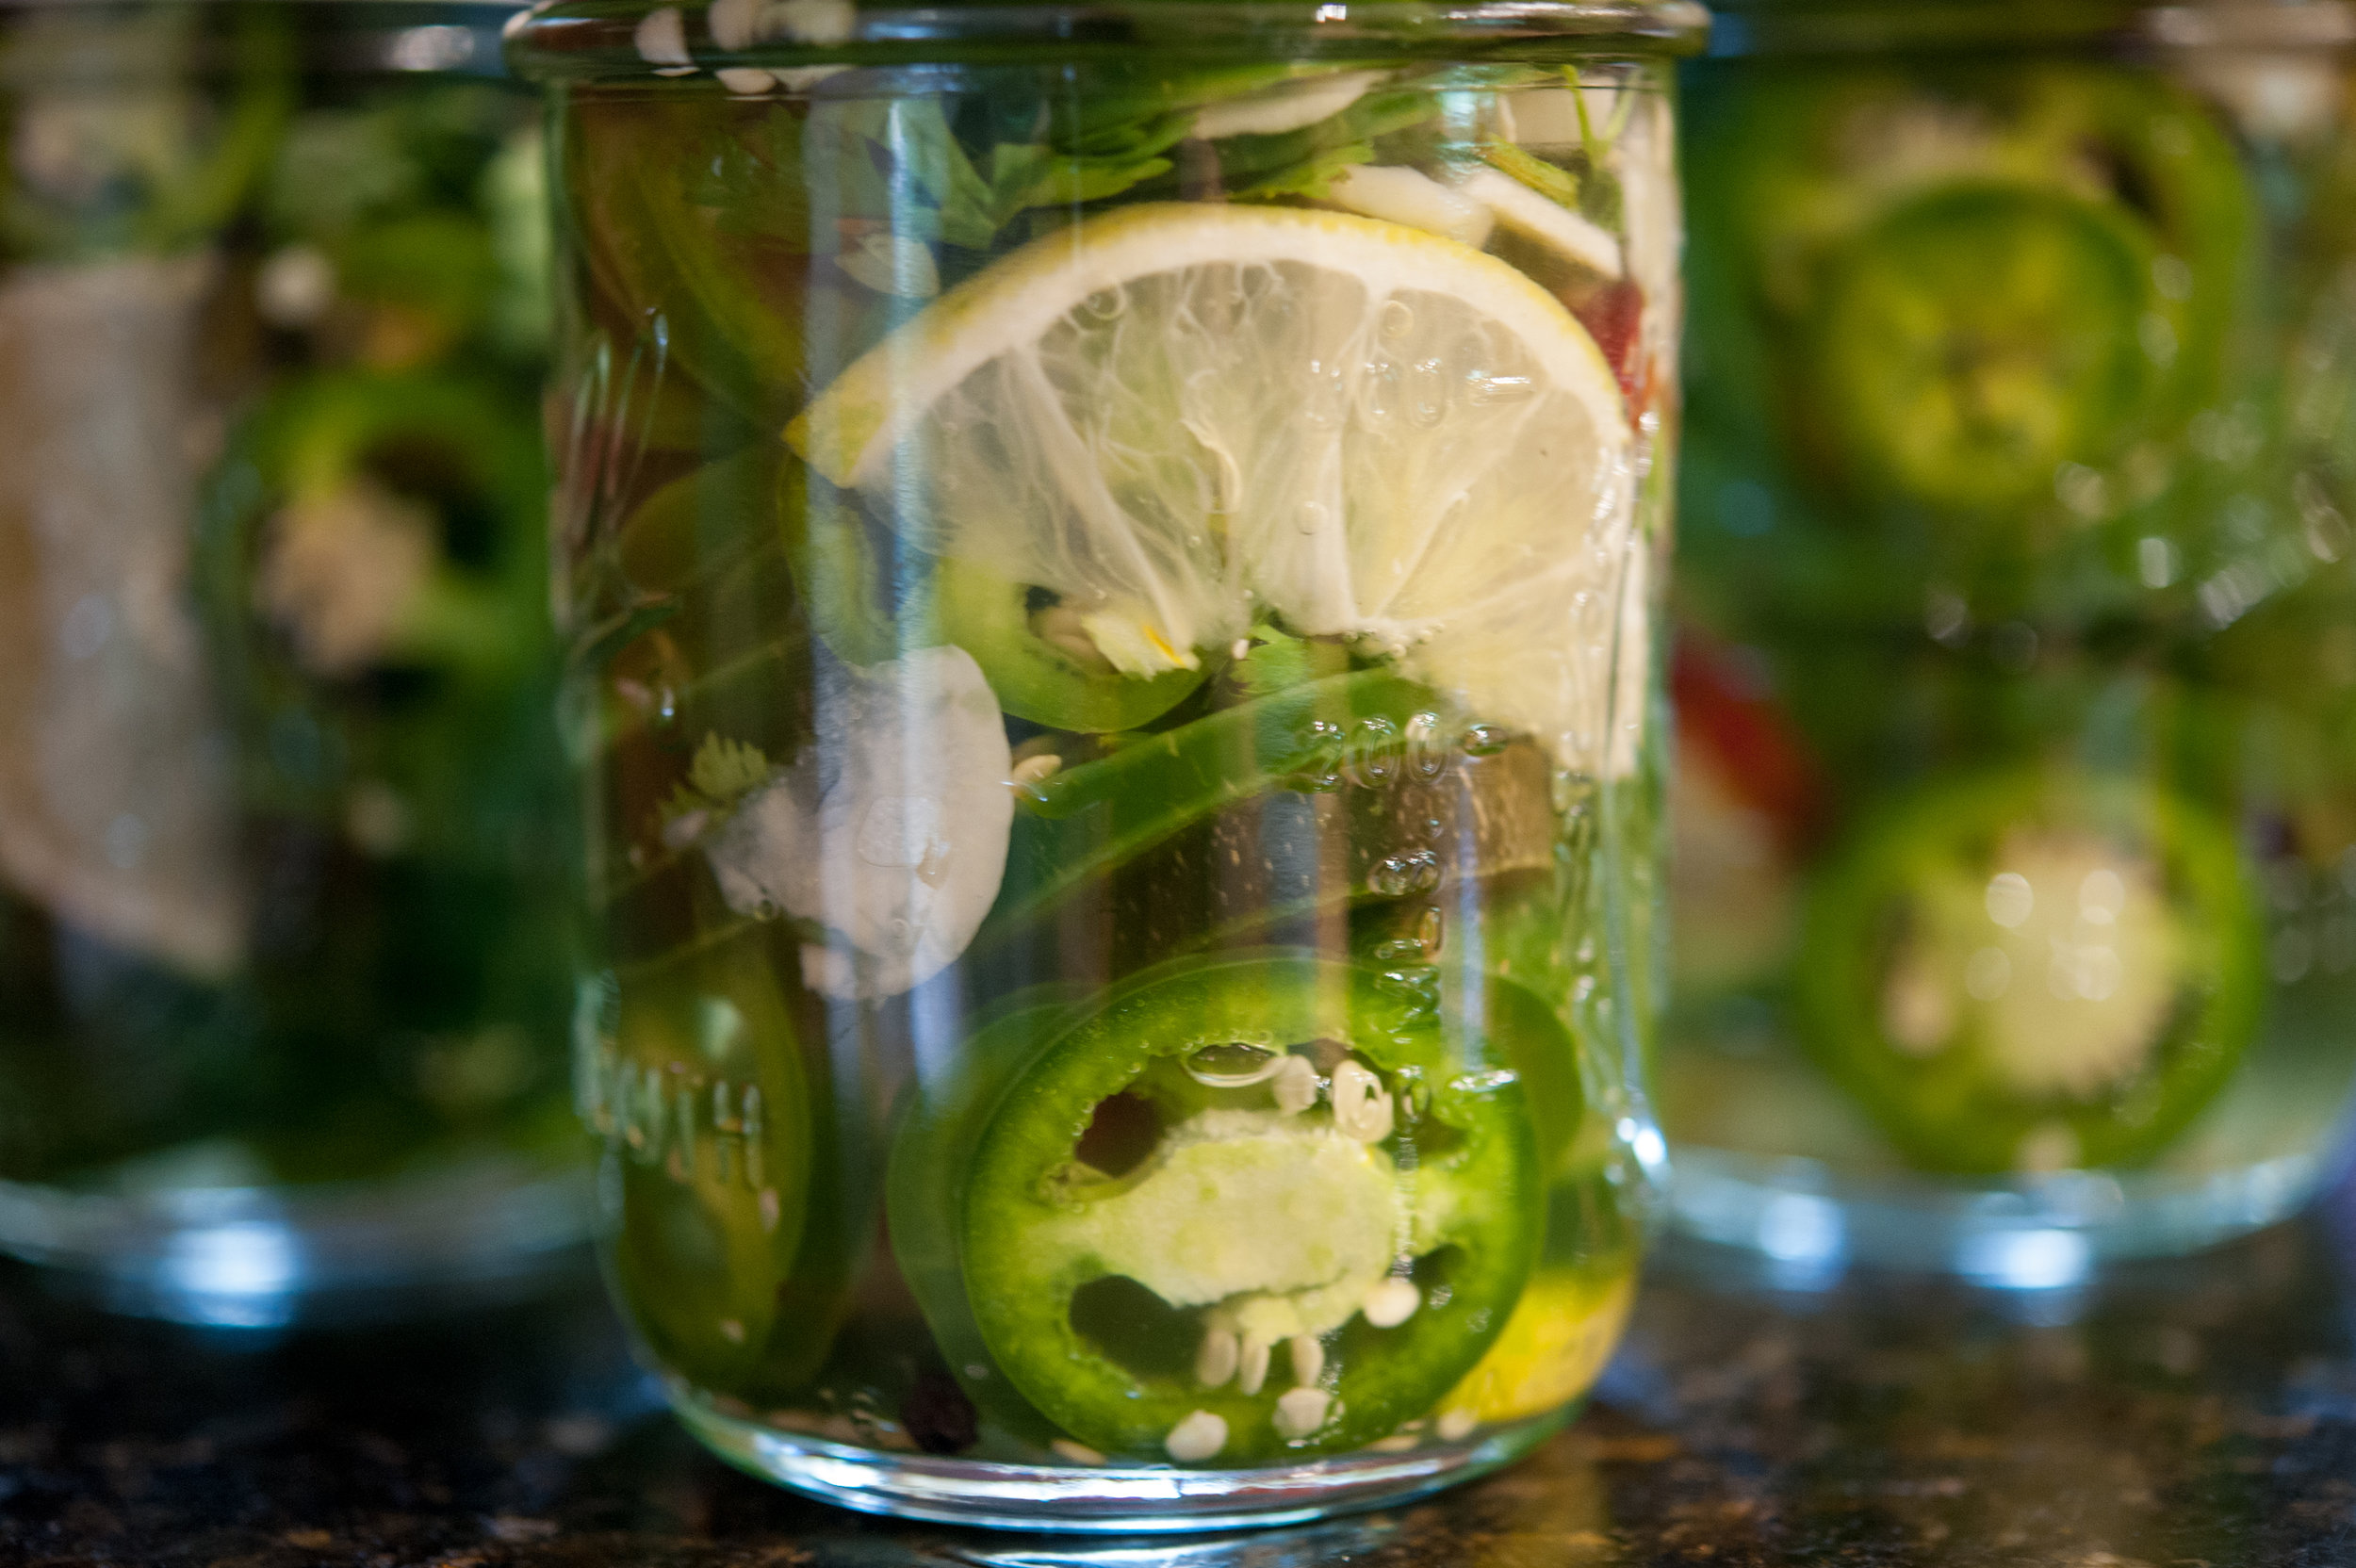
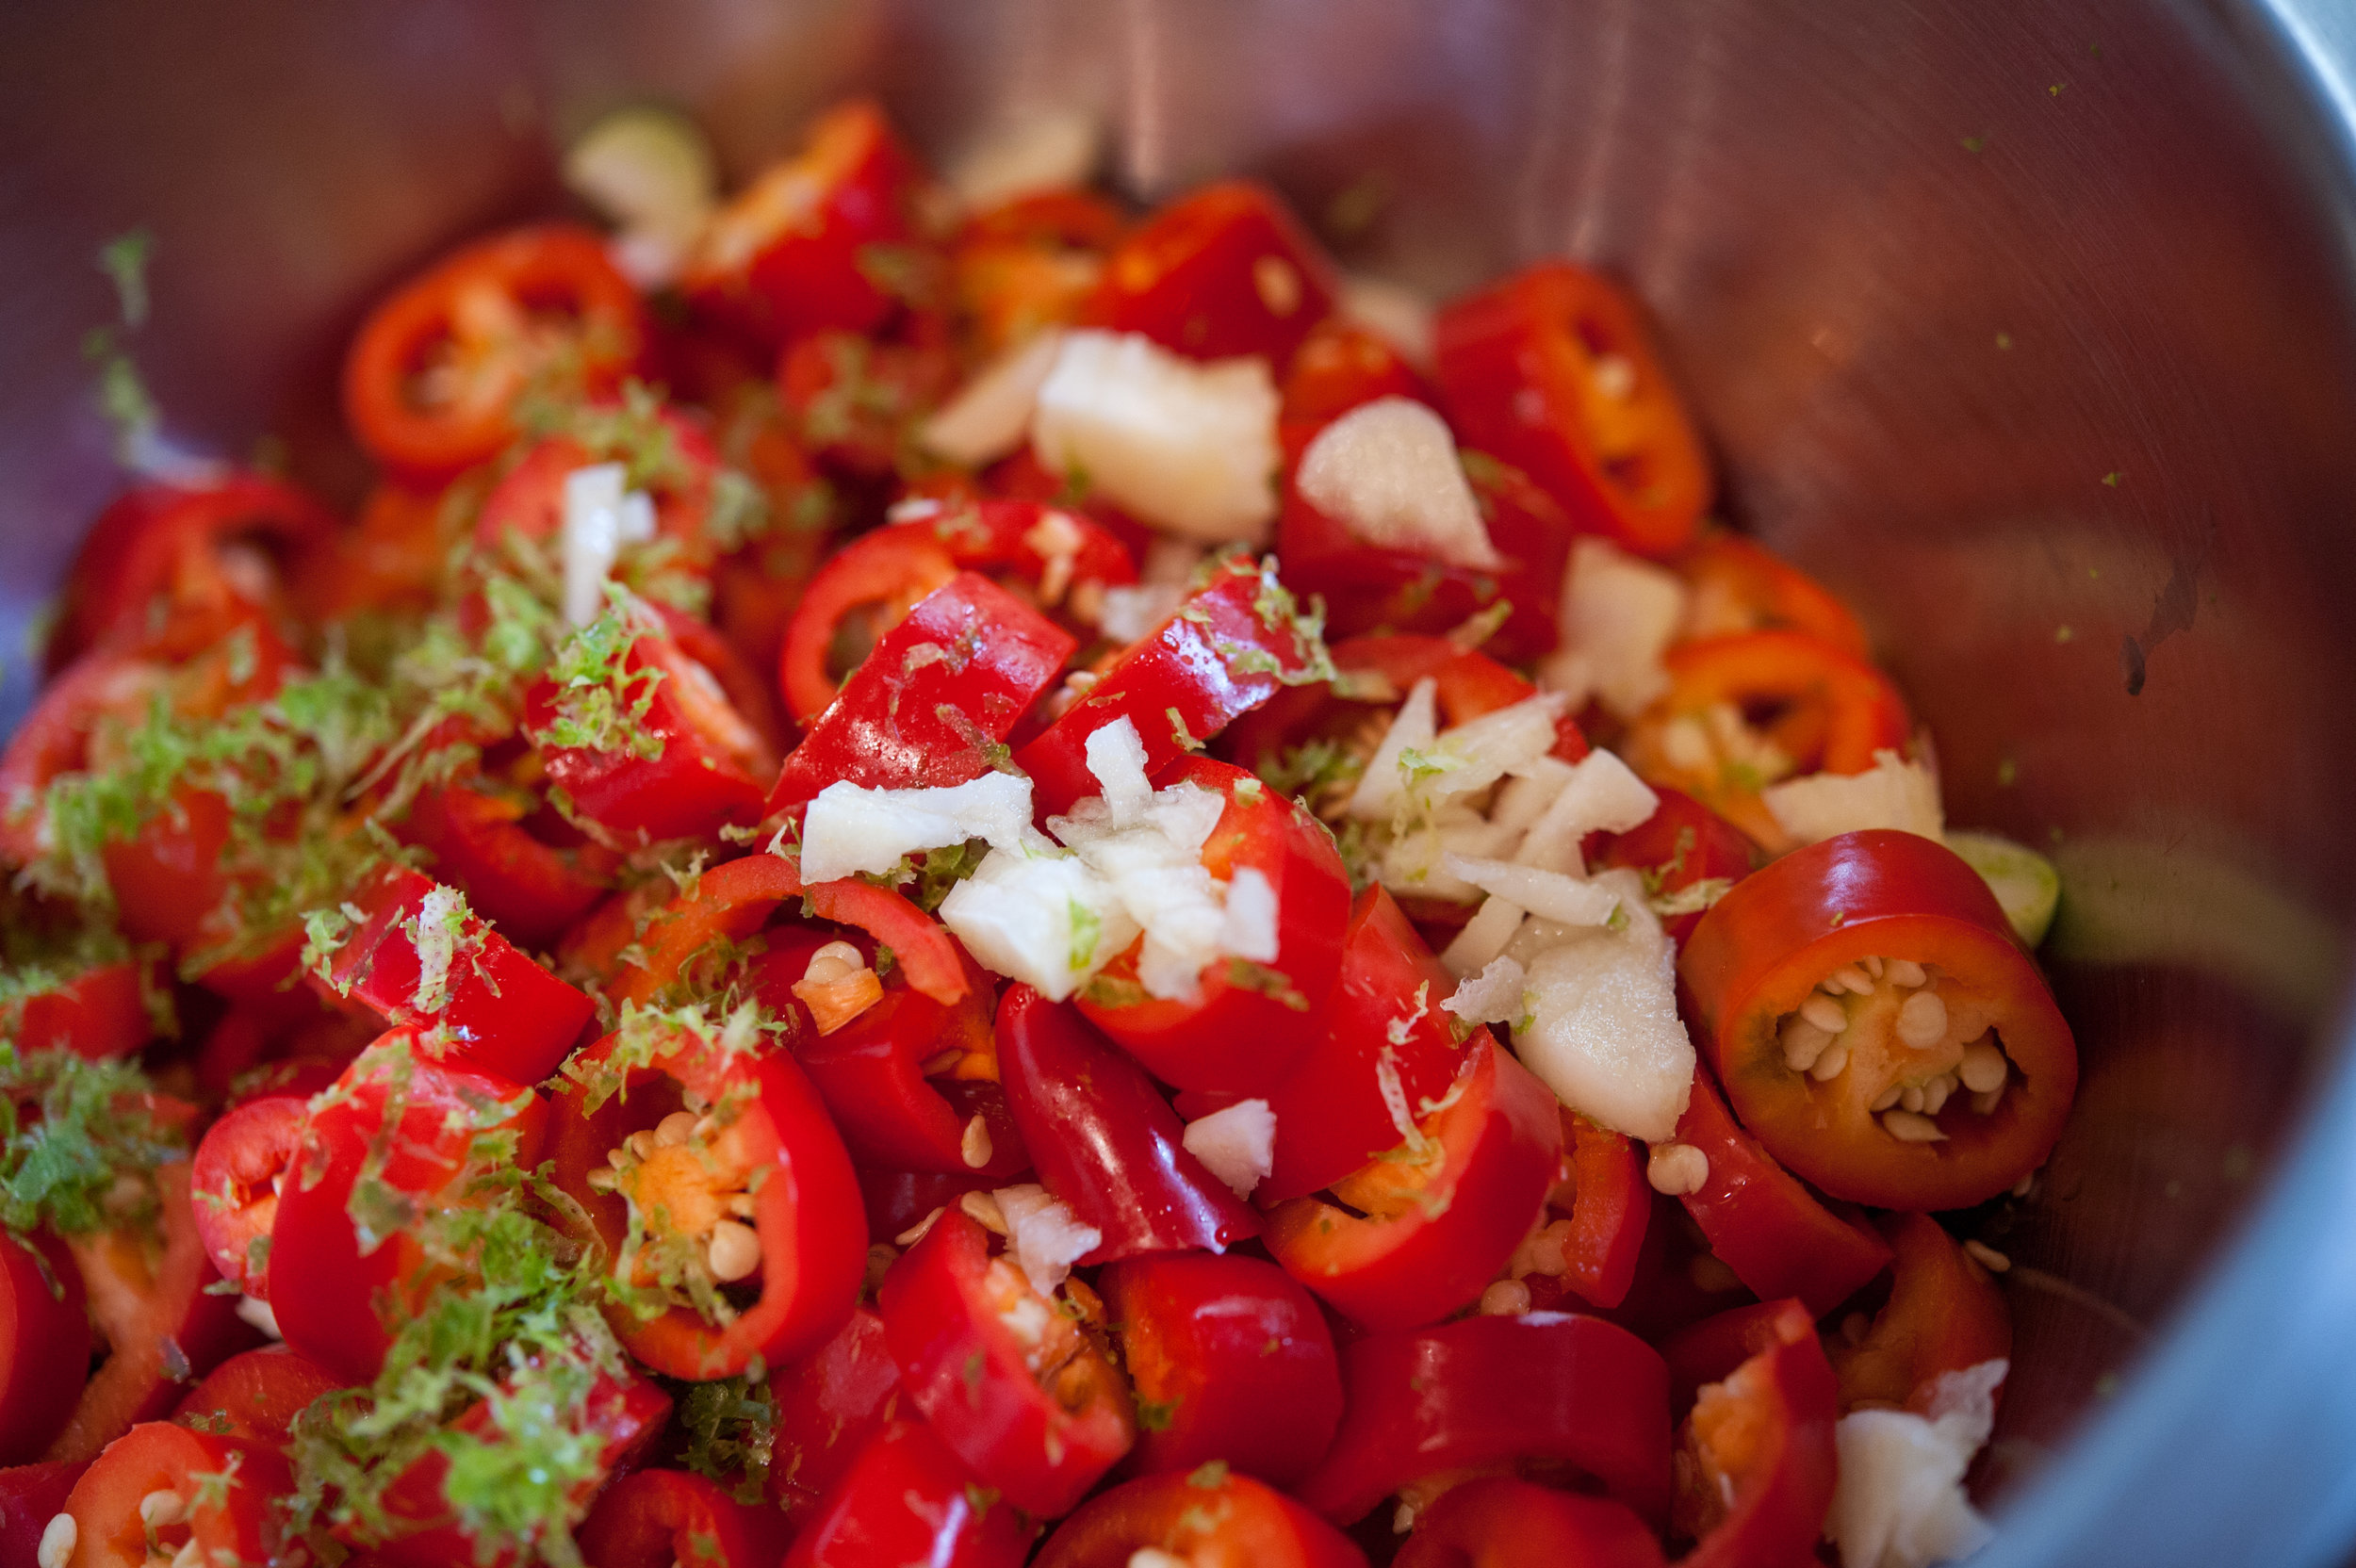
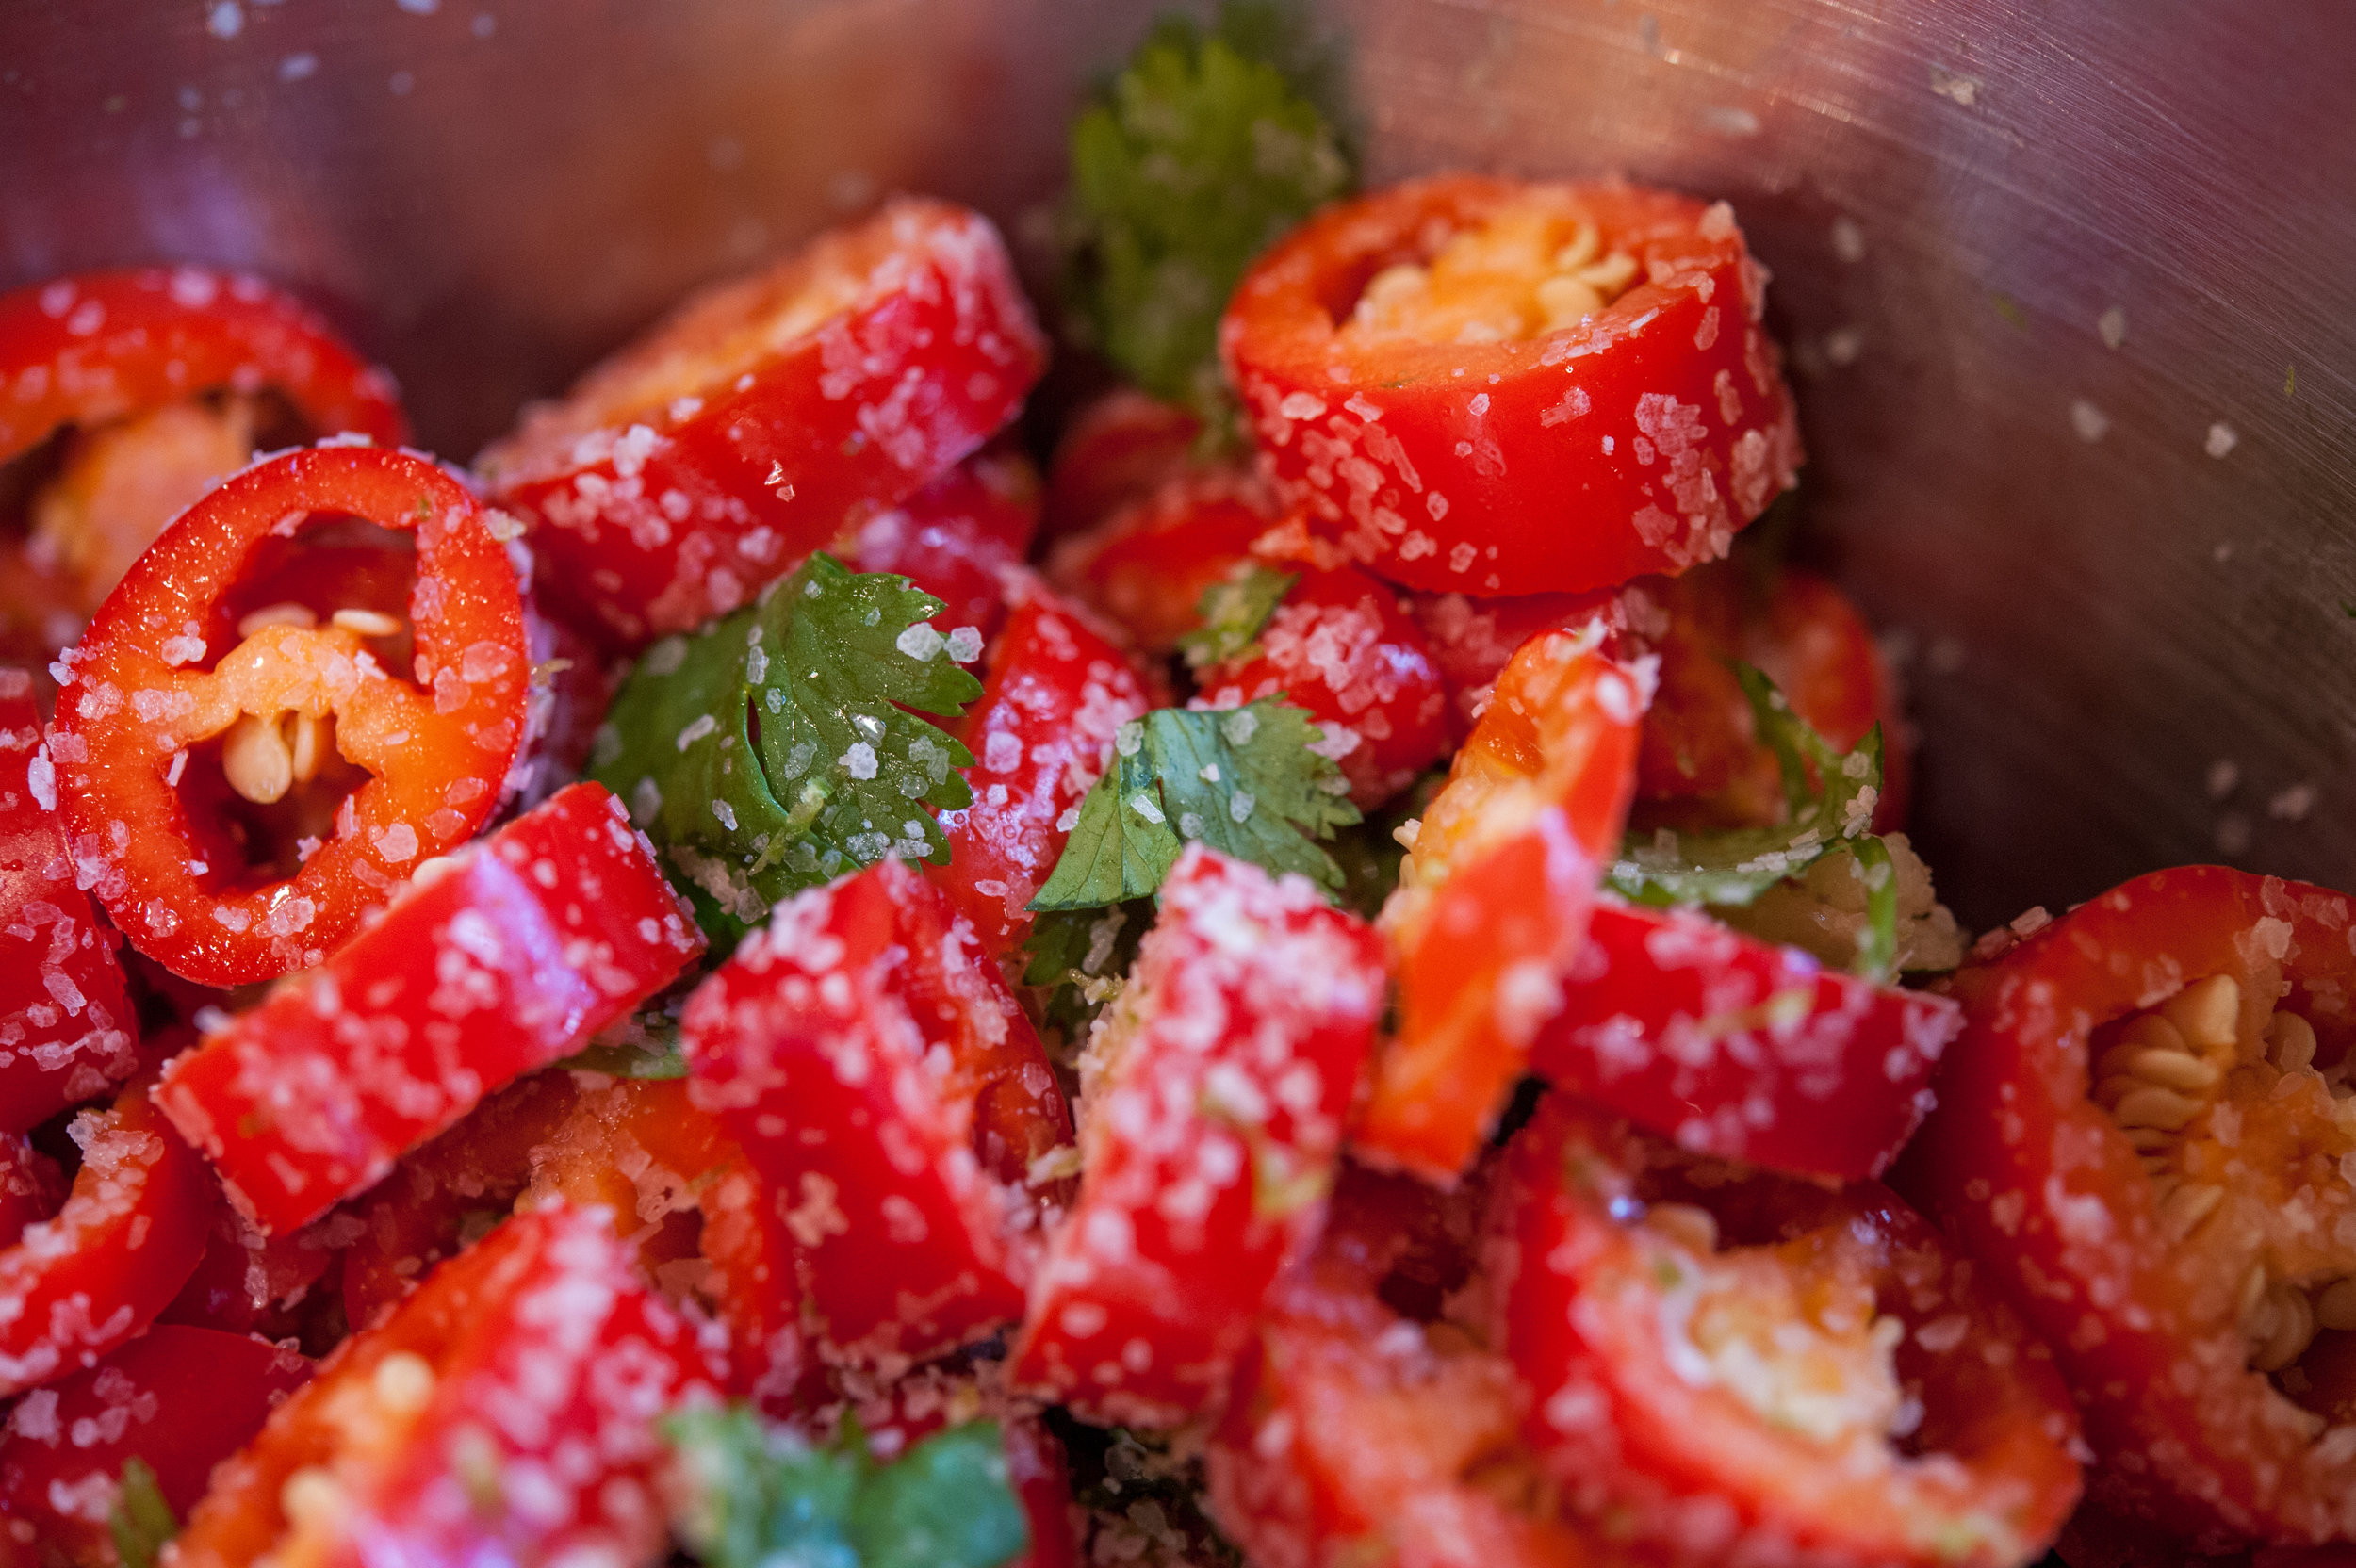
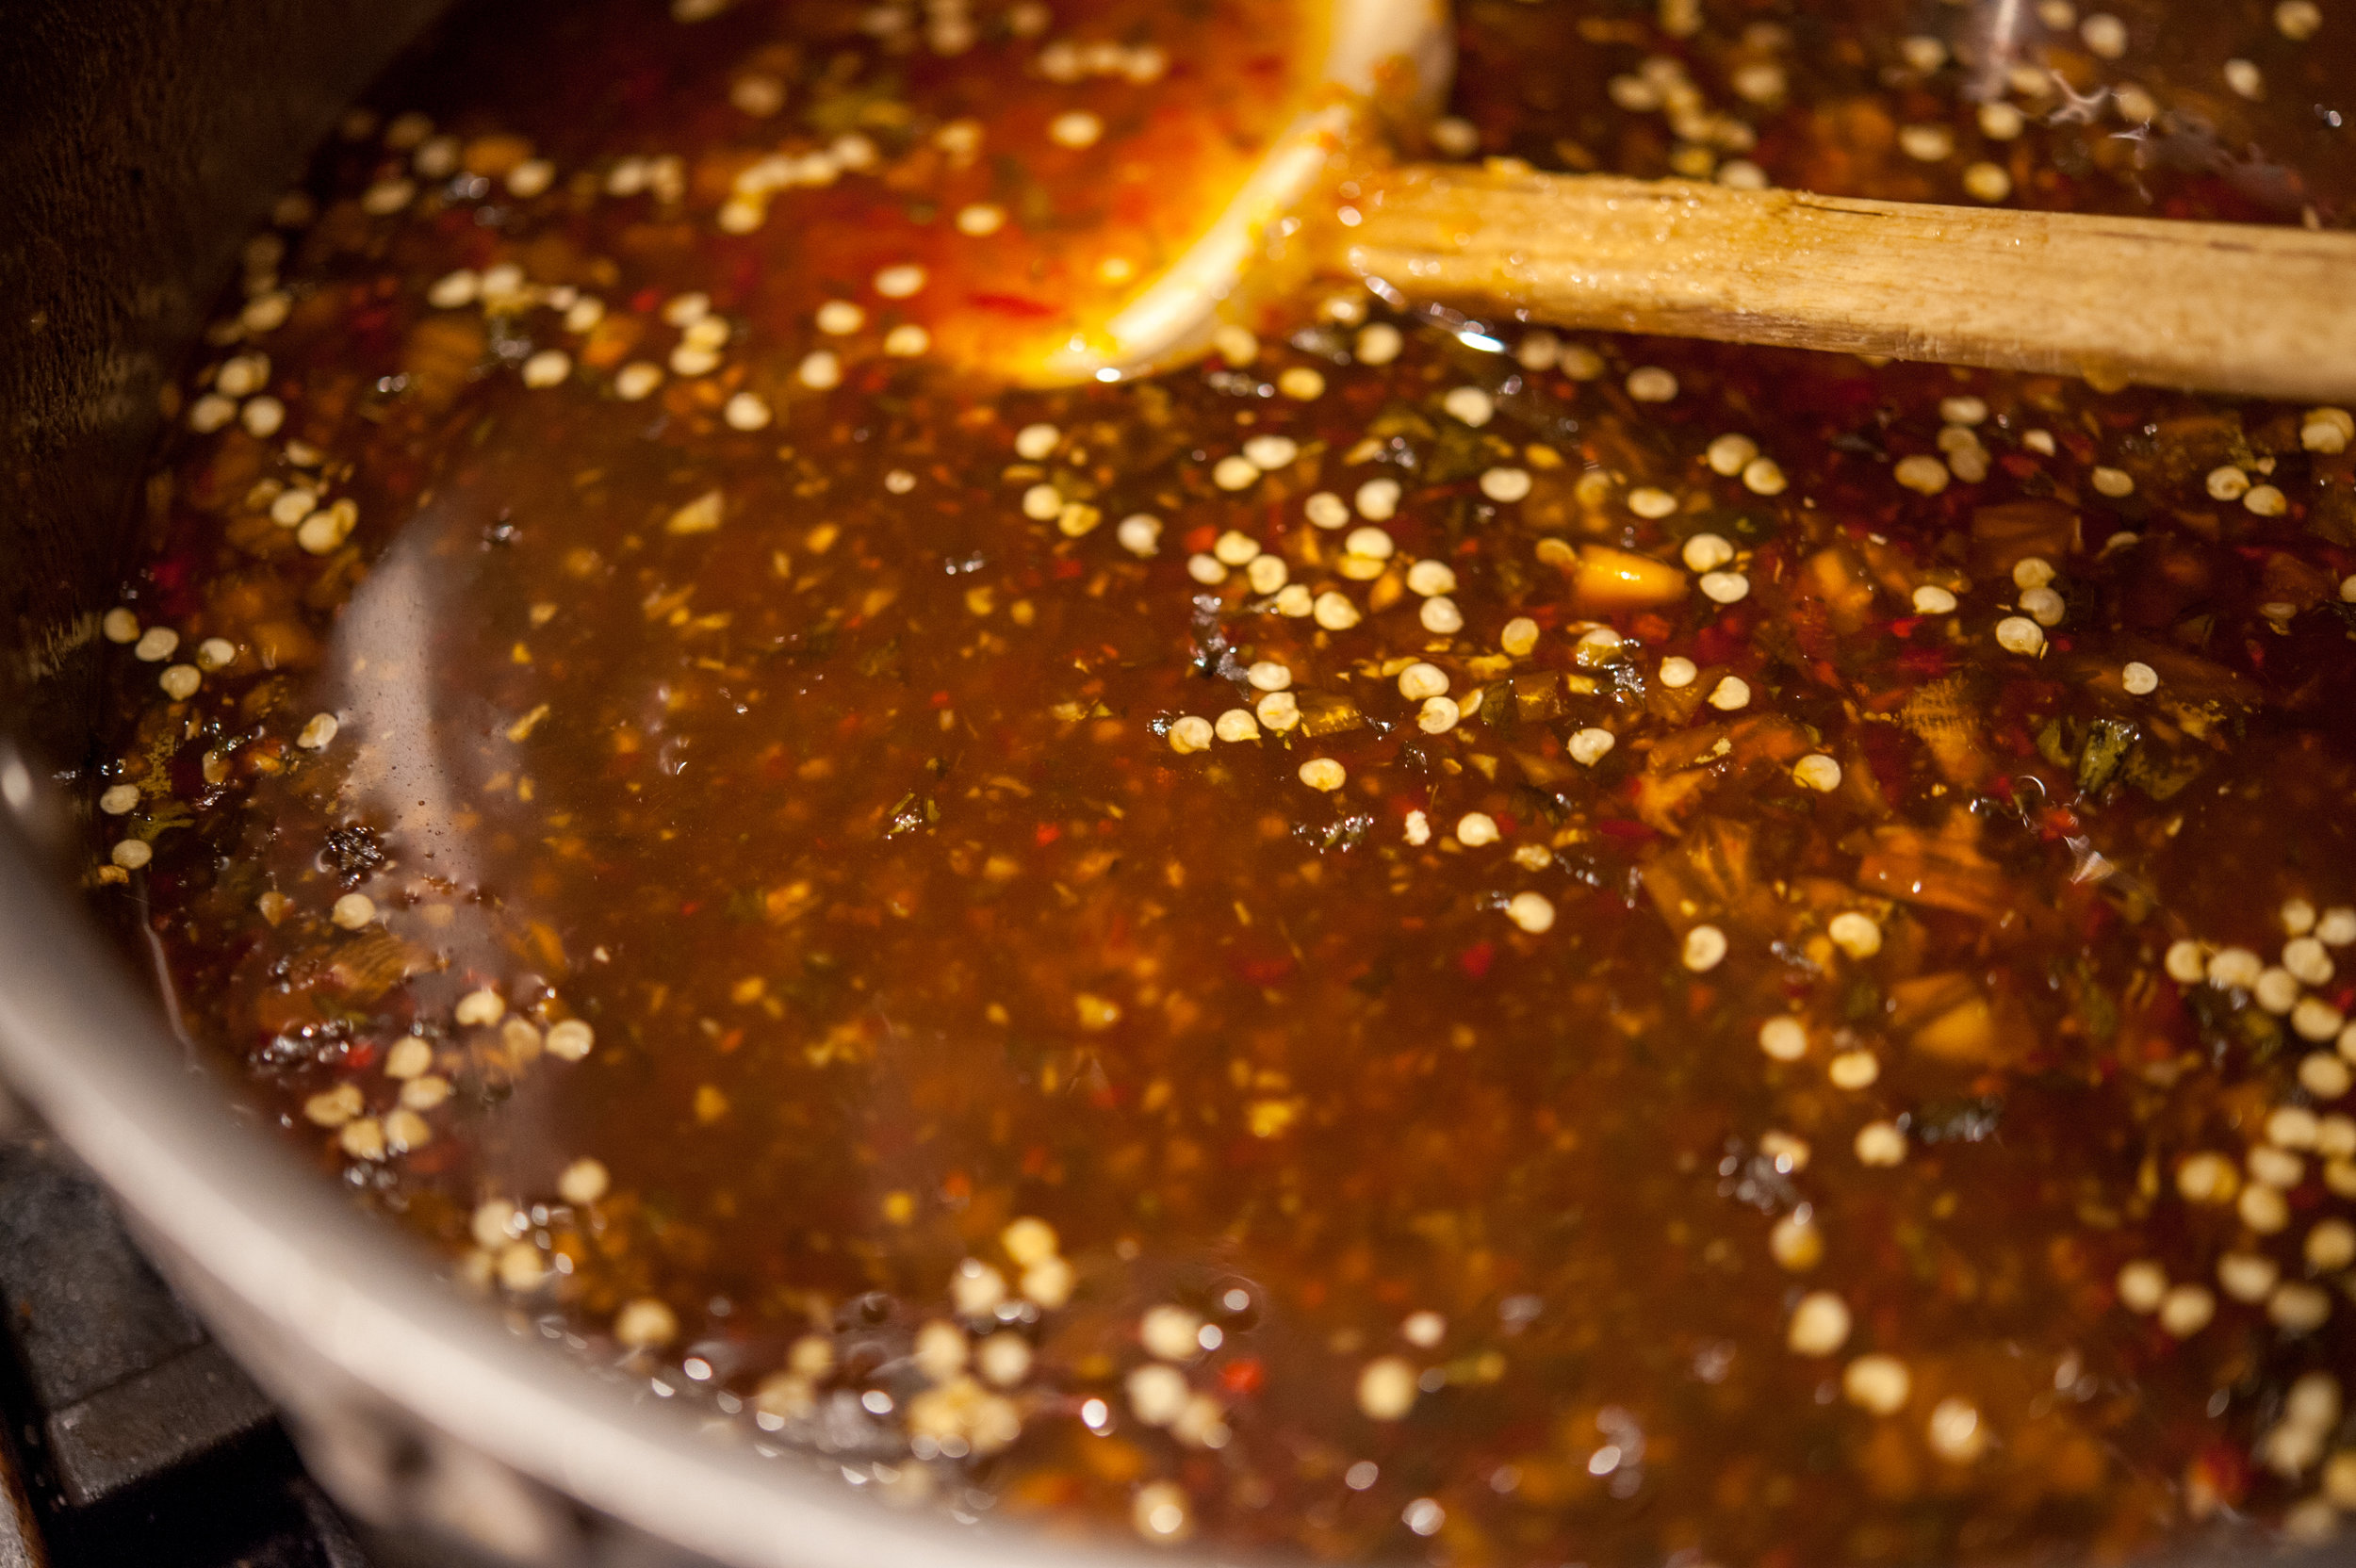
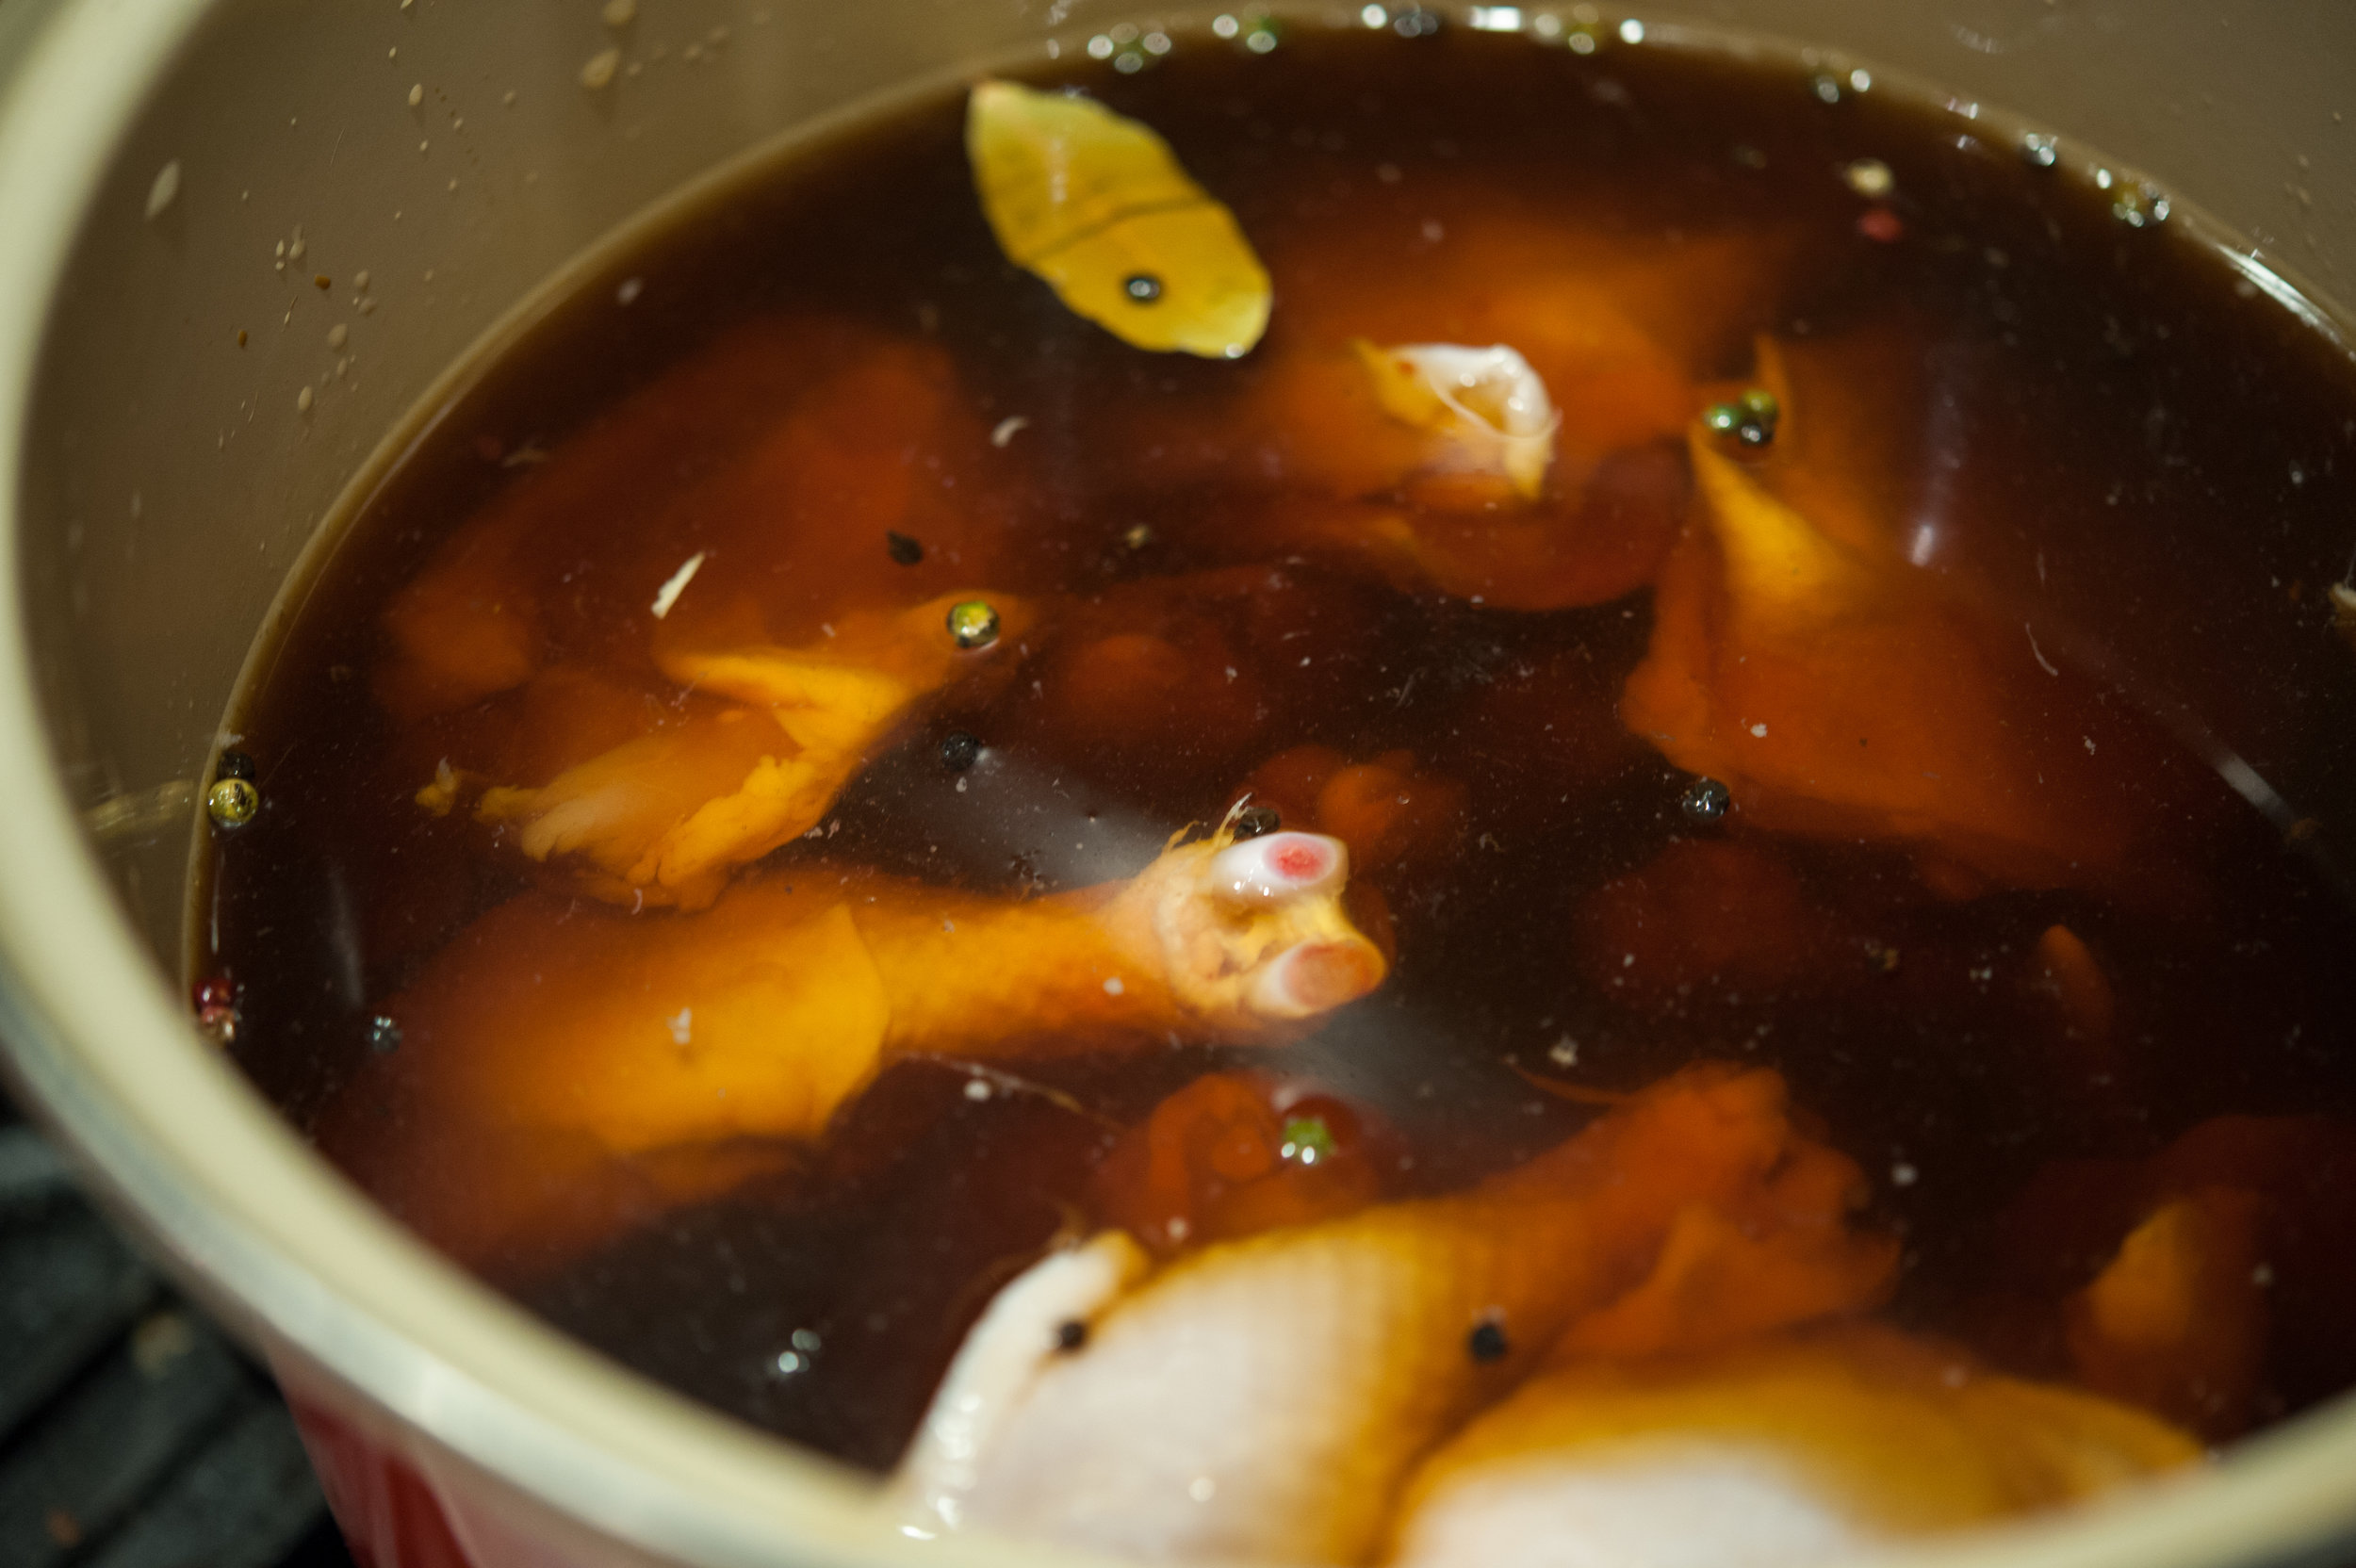
Heat the water, vinegar, sugar, curry powder, and salt in a saucepan and bring to a boil. While the water/vinegar mixture is heating up, divide the sliced/quartered green tomatoes, onions, jalapeños, ginger, lime zest, cilantro, garlic, and spices between the prepared (sterilized) canning jars. Pour the water/vinegar mixture into each canning jar, leave about a 1/2-inch headspace at the top, place the lids on, and screw on the rings until just finger-tight.

Carefully transfer the jars to the stockpot/canner. When all the jars are in the canner, there should be at least 1 inch water covering them; if you need more, add water from the kettle until the jars are sufficiently covered. Bring the water to a full rolling boil, and process for 5 minutes. Using canning tongs, gently remove the jars from the stockpot/canner and transfer them to a kitchen towel or cooling rack, keeping them vertical. Leave to cool, undisturbed, for at least 12 hours. Store in a cool/dark place for up to one year. 

_DSC9863.jpg

Pickled Jalapeños -- Peppers with a Message

Two things alerted me that Meghan was going to be the newest member of the Dougherty clan fourteen years ago -- 1) I got weepy while listening to Lullaby, a song by Trout Fishing in America, driving back to Bayfield from the beach in Cornucopia and 2) I was craving pickled jalapeños.

The summer of 2002, I was living on the boat with the kids when the weepy/pickled jalapeños calling card came and rather than take the pregnancy test in Bayfield without Ted, I decided to head back to St Paul. On our way home, I met Liz, my sister, at Grandma's Sports Garden in Duluth for lunch and my suspicions about the fifth Dougherty child were confirmed -- all I could think about was a plate of nachos with a pile of pickled jalapeños on top.

This jalapeño craving wasn't a new thing for me -- I always had a hankering for spicy food when I was pregnant. I couldn't get enough jalapeño poppers when I was pregnant with Jack and in fact, it was a jalapeño popper lunch at Pasqual's in Uptown that jump-started my labor with him. I guess pregnancy messages come in all sorts of shapes, sizes, and flavors......and pickled jalapeños are still a staple in our kitchen, even if our baby days are over! 

Pickled Jalapeños

2 cups water
2 cups white vinegar
1/4 cup white sugar
3 tablespoons kosher salt
4 pounds jalapeños, sliced and seeded (keep the seeds if you like it spicy)
1/2 cup cilantro, rough chopped
1/4 cup peppercorns
7 garlic cloves
A couple of sprigs of oregano
Handful of lime slices

Preparation
Heat a large stockpot or canner with water and bring to a boil. 

Heat the water, vinegar, sugar, and salt in a saucepan and bring to a boil. While the water/vinegar mixture is heating up, divide the sliced jalapeños, cilantro, peppercorns, garlic, oregano, and limes among 6 or 7 half-pint sterilized canning jars. Pour the water/vinegar mixture into each canning jar, leave about a 1/2-inch headspace at the top, place the lids on, and screw on the rings until just finger-tight.

Carefully transfer the jars to the stockpot/canner. When all the jars are in the canner, there should be at least 1 inch water covering them; if you need more, add water from the kettle until the jars are sufficiently covered. Bring the water to a full rolling boil, and process for 5 minutes. Using canning tongs, gently remove the jars from the stockpot/canner and transfer them to a kitchen towel or cooling rack, keeping them vertical. Leave to cool, undisturbed, for at least 12 hours. Store in a cool/dark place for up to one year. 

Pumpkin & Peanut Butter Treats for the Pups

_DSC9788.jpg
_DSC9790.jpg
_DSC9791.jpg

When Henry, our Cavalier King Charles Spaniel, was diagnosed with congestive heart failure I did the only thing I knew how to do -- I started cooking. In retrospect, it was the medicine that helped him live an additional two years, but I like to believe that these pumpkin biscuits helped a little as well. They have become a staple in our house and while I'm sure the boys don't mind when the treat jar is full of store-bought treats, I swear they prefer my pumpkin biscuits! Though it's tough to tell because they are world-champion gobblers of anything food-related. 

_DSC9796.jpg
_DSC9805.jpg
_DSC9803.jpg

These treats are loaded with anti-inflammatory spices (turmeric, ginger, and cinnamon) and chia seeds, a good source of protein and antioxidants. The dogs know when I'm making them (must be the very distinctive smell, just ask Ted.....he's not a fan) and they position themselves between the center island and the oven so they can keep an eye on the mixing, rolling, and cutting......three self-appointed canine kitchen inspectors. 

_DSC9806.jpg
_DSC9811.jpg

Pumpkin and Peanut Butter Dog Biscuits

4 cups whole wheat flour
3 eggs
1 (15-ounce) can of pureed pumpkin (not pumpkin pie mix) 
1/2 cup peanut butter
1/4 cup chia seeds
1 teaspoon ground cinnamon
1 teaspoon ground ginger
1 teaspoon turmeric
1/2 teaspoon kosher salt

Preparation

Preheat oven to 350 degrees.

Mix together the flour, eggs, pumpkin, peanut butter, flax seeds, ginger, cinnamon, turmeric, and salt in a bowl. Add water as needed to make the dough workable, but the dough should be dry and stiff. Roll the dough out to about a 1/2 inch thickness and cut into 1/2 inch pieces.

Place on a parchment lined baking sheet and bake for about 40 minutes, or until hard.

_DSC9814.jpg
_DSC9818.jpg

Launching & Selling Books

_DSC2773.jpg
_DSC2780.jpg

Well, it's official -- I wrote a cookbook and we had a launch party to celebrate. I remember when I signed the contract with the Wisconsin Historical Society Press in 2014, the release date seemed a lifetime away but it turns out, 2017 was just the right amount of time I needed to write the book and then plan the party. 

_DSC2789.jpg
_DSC2790.jpg

In true Mary Dougherty fashion, my initial plans for the launch were ambitious and border-line extravagant -- a whole hog on a spit with all sorts of sauces and sides. But somewhere along the way, my plans started to come into line with what I could reasonably pull off -- and 100-plus pounds of pork over an open flame wasn't in the cards. What was in the cards was George on stage, two beef briskets smoked by an actual Texan named Angela, a pile of cheddar chipotle grits, a bunch of tequila, and a theater and house full of some of my favorite people. It all went off without a hitch except for George. George went rogue and as Jack said, it was a code red kind of situation.  

_DSC2792.jpg
_DSC2797.jpg

I had a plan -- I would read the cookbook from stage with a handsome and sedate George lying at my feet. However, George had other plans and completely lost his yellow Lab/food-addled mind. He wanted to eat the food I made for the party and in true Lab fashion, he single-mindedly pursued that goal. By the time we took the stage, he was wound up and refused to be calm, cool, and collected. So we took his leash off, gave him free range of the theater, and proceeded as if it's entirely normal to have a free range Lab at a book launch party. And truthfully, it was perfectly normal -- he is a Dougherty dog after all.

_DSC2844.jpg
_DSC2846.jpg
_DSC2860.jpg

It was a truly lovely event -- I was humbled and so touched by everyone who came to help launch Life in a Northern Town into the world. While my name is on the cover, the book actually has multiple co-authors and many of them were in the crowd that afternoon. The Bayfield area community welcomed us all those years ago and shared their experiences, their stories, and their homes with us. The Bayfield we know and love is a direct result of the generosity of the people who call our northern town on Lake Superior home. 

_DSC2868.jpg

The night ended with a couple of briskets smoked to perfection, a pile of white buns, pots of Texas baked beans and chipotle grits, and enough tequila to get everything moving in the right direction. And it was perfect -- our kitchen was full of everything I truly love -- good food, good booze and the best people. 

_DSC9777.jpg

Do you want a signed and/or personalized copy of Life in a Northern Town? They are available on my website here and I'd be happy to sign one and drop it in the mail for you! 

_DSC9784.jpg

ps -- Wil Dougherty, long-time photo safari companion and talented photographer, took all these photos! 

Michigan Island Lighthouse

Lighthouses and islands, two defining features of the Bayfield region, and one of the many things we love about living on Lake Superior. When we first started visiting the Apostle Islands nearly 20 years ago, we made sure to stop by and tour all the lighthouses and for many years, we've visited at least one or two a year. This year, we spent a weekend camping in the Islands and on our way home, we stopped by the Michigan Island light. 

DSC_0419.jpg
DSC_0426.jpg

Michigan Island has two lighthouses and given my serious distaste for heights, I stuck to the older, shorter lighthouse while the kids went way, way up into the 118-foot still-operational tower. 

A few years ago, we did a short video for the Wisconsin Department of Tourism highlighting the Apostle Islands. We shot our segment from Raspberry Island and I remember telling the kids that they had to be on their best behavior...which they translated into playing a Dougherty version of contact frisbee (which you can see on the video). Three years later, it's so fun to watch it -- the kids have grown up so much (and my hair is significantly more grey)! 

The gardens have been restored and were in full bloom when we visited. 

I don't know how many steps there are to the top of lighthouse but it gave me vertigo to look up -- I can't believe the kids climbed them without a second thought. 

Going down is always easier but when you're a Cavalier King Charles Spaniel with very short legs like Gus, any staircase requires careful consideration. We made our way down the stairs, onto the dock, into the boat, and back to Bayfield....where summer was coming to a close,  the kids were leaving for UW-Madison, and our fall schedule was just getting into full swing. There are all sorts of things to look forward to in the coming months but there's something so sweet about our few days in the Islands -- can't wait until next year! 

DSC_0507.jpg

Salt-Cured Hot Peppers

I like all sorts of salt-cured things: salmon, lemons, capers, olives, and oranges. There is something about salt that pulls out the essence of whatever it's mixed with -- kind like a good editor when you're a first-time cookbook author and you tend towards wordy manifestos! Anyway, I decided to see what salt would bring forth from a pile of hot peppers and I wasn't disappointed. These peppers are still relatively crunchy and add a nice salty heat to anything you think needs a little oomph. Unless you're seriously deficient in sodium, I'd give them a quick rinse before you eat them -- salt, while good at highlighting flavors, can stage a hostile takeover of your meal if you aren't careful! 

Salt Cured Pepper with Lime and Cilantro

1 pound hot peppers with seeds, washed and sliced
1/2 cup kosher salt
1/4 cup cilantro, chopped
1 garlic clove, rough chopped
1 lime, zested

Preparation 
Place all ingredients in a bowl and mix to combine. Place in a 1-quart canning jar and cover. Give it a couple good shakes to make sure everything is evenly distributed and then set in a cool and dark place in your kitchen for a week, shaking every day. The salt will pull a lot of the moisture out of the peppers and you'll a salty, peppery 'brine' -- this is a good thing. At the end of the week, place in the refrigerator and use within 6 months. 

Chocolate Cake?? Yes Please!

So, I bet you're wondering why I have a picture of Aldo followed by a picture of grated butter leading off a blog post about chocolate cake. Well, grated butter is an emergency measure when your dog (Aldo) decides to eat the butter you had on the counter for the cake you wanted to make.

I didn't think it was possible to have two dogs who bring food sourcing to the level of an Ocean's 11/12/13 movie but we've managed to do just that. George and Aldo are remarkably resourceful when it comes to counter-surfing and if I'm not on my game (or they aren't sequestered), everything is up for grabs. And grating butter is a good tool to have in your back pocket when you have a hard stick of butter and a serious hankering for chocolate cake! 

Buttermilk Chocolate Cake

1 1/2 cups granulated sugar
1 1/2 cups all-purpose flour
1/2 cup (1 stick) butter, room temperature
1/2 cup cocoa powder
1/2 cup buttermilk
1/2 cup coffee, brewed
3 eggs
2 tablespoons vanilla
1 teaspoon baking soda
1/2 teaspoon salt
1/4 teaspoon baking powder
1/2 cup raspberry preserves, for the bottom layer of the cake
3 cups fresh raspberries, for the top of the cake

Frosting:
6 cups powdered sugar
3/4 cup cocoa powder
3/4 cup buttermilk
1/2 butter (1 stick) butter, room temperature
1 tablespoon vanilla

Preparation
Preheat oven to 350 degrees. Grease and flour two 9-inch round cake pans. 

Sift together the flour, cocoa powder, baking soda, baking powder, and salt in a bowl. Set aside.

In the bowl of a stand mixer, cream together the butter and sugar until light and fluffy. Add the eggs, one at a time, to the butter/sugar mixture until thoroughly combined. Mix the coffee and buttermilk together in a bowl and set aside. 

With the mixer on low, add half the flour mixture to the butter mixture and combine. Then add all  the coffee/buttermilk mixture and mix thoroughly . Then add the rest of the flour mixture and beat on medium for about 2 minutes. Pour into your prepared cake pans and bake for 20-25 minutes, or until a toothpick comes out clean. 

Make the frosting: place sugar, cocoa powder, butter, and vanilla in the bowl of a stand mixer and bet on medium speed until combined. Add the buttermilk and beat until light and fluffy. Spread the raspberry preserves evenly on the bottom layer of the cake and then place the remaining layer on top. Frost the entire cake and place the raspberries in a circle on the top of the cake. 

Poulet Au Pain

This won't come as a surprise to those who know me but I often wake up thinking about dinner. Food is never far from my mind (George and I have a lot in common) and in this case, I woke up thinking about chicken wrapped in puff pastry. I saw a recipe somewhere but when I set out to make this for dinner, I couldn't find it anywhere so I turned to Google....and that's how I discovered poulet au pain, or it's decidedly unromantic English name, chicken bread. I had no idea it was a French recipe; I just remember thinking that chicken wrapped in puff pastry had a lot of potential and I wanted to eat it for dinner.  

I've made quite a few poulet au pains this winter and like the cheddar and apple galette, it never got old. I thought my roasted chicken days were over because the weather is warming up, the crocuses are blooming and I've put all the snow gear away for the summer but Mother Nature threw us a curve ball and there was talk of possible snow showers tonight (which didn't materialize) and that means I had another crack at roasted chicken before spring really takes root.

Looking back at the winter of 2016, we ate a lot of puff pastry and I'm not sure exactly what got into me. I was wrapping, layering, galetting and tartleting all sorts of stuff and it was a buttery, flaky season....and this chicken is my swan song to cold and snow.

_DSC6822.jpg

Poulet Au Pain

1 whole chicken (about 4 pounds)
1 sheet of puff pastry, thawed
1/4 cup of butter, melted
2 garlic cloves, chopped
1/4 cup Parmesan, shredded
1 tablespoon preserved lemon, chopped
1 teaspoon salt
1/2 teaspoon fresh thyme, shopped
1/2 teaspoon fresh rosemary, chopped
Egg wash (1 egg and 3 tablespoons water, beaten)
Herb salt (recipe here)

Preparation 
Preheat oven to 400 degrees. In a small bowl, mix the butter, herbs, preserved lemon, garlic, and salt and combine thoroughly. Loosen the chicken skin and place the herb butter under both breasts, thighs, and legs. Spread any remaining butter over the chicken breast and set aside.

On a floured board, Roll out the puff pastry to about a 14 -16 inch square-isa shape and place the chicken, breast side down, on the puff pastry. Wrap the dough around the chicken and seal all the seams with the egg wash. Place the chicken on a roasting rack or a parchment-lined sheet tray, brush the entire chicken with the egg wash and sprinkle with herb salt. Place in oven and cook for about 1 1/2 hours, depending on the size of your chicken. The chicken is done when the puff pastry is golden brown and the chicken thighs register 175 degrees. Let sit for about 10 minutes before carving. 

Cheddar and Apple Galette

I've made this galette a number times over the past few months and it hasn't gotten old -- which is a pretty good indicator of a solid recipe. Although to be fair, it's find of hard to get sick of anything with cheese, puff pastry and caramelized onions. I made one to bring to Julie and Charly's sugarbush yesterday and I decided to make one little change that took this solid recipe and transformed it into a stellar recipe -- I drizzled my spicy pepper and ginger jam on top of the apples before I baked it. I love it when recipe improv works out. 

While this is definitely more of a fall and winter type of dish, it's light enough that it would make a nice lunch with a salad in the spring. Plus, it's supposed to snow tomorrow and this galette will help take the sting out of snowflakes in April...maybe. 

Cheddar and Apple Galette

1 onion, sliced and caramelized
2 cups sharp cheddar, shredded
3 apples, thinly sliced
1/3 cup hot pepper and ginger jam (recipe here)
1/4 cup flour
2 tablespoons thyme
1 sheet of puff pastry, rolled into a 16 x20 rectangle
Maldon sea salt for sprinkling
Egg wash (1 egg and 1 tablespoon of water) for puff pastry

Preparation
Preheat oven to 400 degrees. Line a sheet tray with parchment and place the puff pastry on the sheet tray. Place the sliced apples in a large bowl, sprinkle with the 1/4 cup of flour, toss to distribute the flour evenly over the apples and set aside. Sprinkle the shredded cheddar cheese over the puff pastry and then evenly distribute the caramelized onions over the cheddar cheese.

Place the sliced apples, slightly overlapping, in three or four rows on the puff pastry, leaving about an inch of pastry exposed. Sprinkle with thyme leaves and drizzle the hot pepper and ginger jam over the galette. Fold up the edges of the puff pastry, brush with the egg wash, and sprinkle the Maldon sea salt on the crust. Place in oven and bake, rotating once, for 20 - 25 minutes, or until golden brown and puffy around the edges. Let cool for about 10 minutes and serve. 

Spicy Pepper & Ginger Jam

I just finished my last jar of this sweet and spicy jam yesterday and I'm really wishing I had persevered in my late summer canning marathon and made a few more pints of this stuff. I remember the day I took these photos -- it was about 100 degrees in my kitchen and the air was thick with pepper fumes....even the dogs beat hasty retreat when I started chopping these bad boys up.

I can't recall the names of all the peppers I used; it was a mixture of super-nuclear Bulgarian Carrots (those little orange ones), mature Hungarian Wax, plain-old Jalapeños and a sweet pepper or two. This recipe is super easy and adaptable -- you should use a combination of peppers that suits your taste-buds and tolerance for heat. This summer I'm going to strap on my ski-googles, put my gloves on, let the dogs outside, turn the fan on, and persist....I need a double batch of this jam next time around! 

Spicy Pepper and Ginger Jam

1 pound of hot peppers, seeded and finely chopped (add a handful of seeds if you like it hot) 
1/2 pound sweet peppers (like bell peppers or sweet Italian), seeded and finelychopped
2 garlic cloves, minced
1/2 cup ginger, peeled and finely chopped
6 cups white sugar
2 cups apple cider
1/4 cup basil, finely chopped
2 packages (1.75 ounce) Sure-Jell

Preparation 
Prepare jars and lids: place 4 half-pint jars on rack in a large pot. Add enough water to cover jars, and bring to boil over high heat. Boil for 10 minutes, then turn off heat and allow jars to rest in the hot water. Meanwhile, put bands and lids in small saucepan and cover with water. Heat over medium heat until the water is simmering, then remove pan from heat and allow bands and lids to rest in hot water until ready to use.

Add all ingredients, except the Sure-Jell, to a large stockpot, bring to a boil over high heat and then simmer for 20 minutes. Bring back to a rolling boil, add the Sure-Jell, and boil for one minute. Ladle hot jam into hot sterilized jars, leaving 1/4-inch headspace. Wipe rims of the jars, cover with lids, and screw bands on until just barely tight. Place jars on rack in pot and cover completely with water. Cover pot and bring to a boil over high heat. Boil for 10 minutes. Turn off heat, uncover pot, and allow jars to rest in water for five minutes. Remove jars from pot and allow them to rest undisturbed on countertop for six hours or overnight. 

A Hidden Village in the forest

The first time we visited the hidden village, the kids were little -- Sadie was a toddler, Meg and Charlie weren't on the scene yet and our big Newfie, Guinness, was still with us. It was a rainy weekend and the kids were getting stir-crazy and a friend, sensing my frustration with trying to keep three kids happy-ish, asked if we had ever visited the secret village. The kids were immediately intrigued and after a day of badgering, we decided to set out to find this village of small stone houses in the woods near a large birch tree. Yup, that was the extent of our directions but we persevered -- when you have three kids under the age of 6 who are excited to find a secret village, full-steam ahead is the only way to go.  

I remember Ted was carrying Sadie as we hiked along, looking for a large birch tree....which was somewhat of a challenge because birch trees are a dime a dozen in northern Wisconsin. The boys ran ahead, dipping in and out of the forest, excited to be in charge of locating the village. Eventually, they hollered that they found it and we all gathered around this collection of stone and concrete houses in a small clearing in the woods. It was one of those moments I will never forget; the kids were mesmerized by these magical fairy homes in the wilderness and I was grateful to witness such faith in that unexplainable magic that kids are so willing to embrace. 

DSC_0259.jpg

Fast forward 16 years or so and we visited the hidden village again last summer. This time, Jack was in Madison, Sadie was in Bayfield and it was Will's last weekend in Bayfield before he left for UW-Madison. I had forgotten about the village but as we were walking down the trail, Ted said he thought we were near it and Will and Charlie took off into the woods to find it (some things don't change). Sure enough, they found it and as we walked up to the village, I was struck by how small it looked. The kids are so much larger now and they dwarfed the little dwellings, animals and figurines. 

The houses had greenery poking out through the windows and it looked as though they hadn't been visited for quite some time. The forest floor was littered with sticks and leaves but the houses looked much the same as they had during our first visit, all those years ago.  

Meg and Ted headed off to explore while the boys spent time arranging the animals and figurines near the houses and taking photos of the little community. They are much older now and magical fairy villages aren't as enchanting as they used to be.  Instead of talking about the magic that created those houses, we talked about the memories that this place holds for our family as we walked back to the campsite. So much has changed in the past 16 years and while I couldn't be more proud of them, nostalgia has a way of washing over me, like a rogue wave. Time flies and finding your back to places that are suspended in time, that hold memories waiting to be remembered......that's my kind of magic. 

DSC_0287.jpg

Salty, Sweet and Savory Shortbread Crackers

I have a thing for preserved lemons (recipe here) and oil-cured olives -- when I find a recipe that includes both of them, I'm a happy camper. I'm also a big fan of savory shortbread crackers: they are the perfect cocktail food, they can be made ahead of time and baked right before you need them, and they are well-suited to a variety of flavors: gorgonzola, cheddar, feta, a variety of herbs, and in the case of these crackers -- olives and preserved lemon.  

I have quite a collection of cookbooks and Dorie Greenspan's, Around My French Table, is dog-eared and stained (good indicators of a well-loved cookbook) but the first time I made these, I was skeptical. Grated egg yolk? Powdered sugar? And oil-cured olives?? It seemed a little strange but since shortbread crackers are a staple in my kitchen and I happened to have potato starch in the cupboard, I decided to give it a whirl. Boy, am I glad I did -- these are lovely sweet and salty crackers with a delicate texture that makes it mighty tough to have just one (or two, or seven). The dough freezes beautifully, well-wrapped, for up to two months...it's always good to have a secret cocktail weapon on hand when you need a little something to accompany your wine! 

Olive and Preserved Lemon Shortbread Crackers
(adapted from Dorie Greenspan's, Around My French Table)

1 large hard-boiled egg yolk, white discarded
2¼ cups all-purpose flour
6 tablespoons potato starch
15 tablespoons (1 stick plus 7 tablespoons) unsalted butter, at room temperature
1/3 cup olive oil (a fruity oil is best)
1 cup confectioners’ sugar, sifted
1/2 cup pitted black olives, preferably oil-cured, chopped
1/4 cup preserved lemon, rinsed and chopped (rind only)
Maldon sea salt, for sprinkling

Preparation
Grate the hard-boiled egg onto a piece of wax paper. Put the flour and potato starch in a strainer set over a large bowl and sift into the bowl; whisk to thoroughly blend.

Working with a stand mixer, preferably fitted with a paddle attachment, or with a hand mixer in a large bowl, beat the butter on medium speed until it’s soft and creamy. Beat in the olive oil, followed by the grated yolk. Blend in the confectioners’ sugar, reduce the speed to low and add the dry ingredients. Mix until the dough just comes together and then stir in the chopped olives and preserved lemon. You’ll have a soft, pliable dough. 

Turn the dough out onto a work surface, divide it into thirds, and shape each piece into a log about 1 1/2 inches in diameter. Wrap the dough in plastic and chill for several hours or, better yet, overnight. If you’re in a hurry, you can freeze the logs for an hour or so.

When you’re ready to bake the crackers, center a rack in the oven and preheat the oven to 325°F. Line a baking sheet with a silicone baking mat or parchment paper.

Working with 1 log at a time, slice the cookies 1/4 inch thick and arrange them on the baking sheet, and sprinkle with Maldon sea salt.

Bake the sablés for 15 to 18 minutes, rotating the baking sheet at the midway mark, or until the cookies are firm, but not colored. They may turn golden around the edges, but you don’t want them to brown. Transfer the cookies to a rack to cool, and repeat with the remaining logs of dough, making sure to use a cool baking sheet each time. 

Makes about 60 cookies.

A Photo Safari in the Porkies

The backlog of blog posts continues to grow (I keep eating and taking photos but can't seem to find the time to edit and write) and I've committed to try and spend a few hours a week on my website. Since it's technically spring and that means green will soon replace white in Bayfield, I thought these shots from our photo safari in the Porcupine Mountains a few weeks before Will left for Madison were appropriate.

Will's home for spring break and we went back to the Upper Peninsula today for another photo safari (at this rate, I'll get those photos edited sometime in August) and we were remarking that he's almost done with his freshman year...time has flown by.

What a difference 7 months makes -- he's had a great year and I've learned that sending kids away to college doesn't kill a person after all. These photos are a sweet reminder of our last photo safari in 2016 -- before Will struck off on his own and I became a mother of two college students. 

It was a humid and cloudy day and there were mushrooms everywhere. 

We hiked down to the Lake of the Clouds but it was the mushrooms that got my attention -- there were a wide variety and they were tucked into small spaces, scattered on the forest floor and perched on the tree trunks. 

Water drops suspended on a blade of grass. 

These were the most delicate looking mushrooms; their caps were balanced on impossibly thin stems. It was a feat of natural engineering that they were upright. 

We stopped in a meadow that used to be a school yard when Nonesuch was a active mining community and encountered these Suessian-looking flowers. 

We hiked down to Nonesuch Falls and found these old stone foundations along the way. 

The little worlds that exist amidst my oh-so-human fuss and bluster help me to be mindful and remember that magic is everywhere....even when I'm not looking. 

Cedar embracing stone. 

"Courage is the measure of our heartfelt participation with life, with another, with a community, a work, a future. To be courageous, is not necessarily to go anywhere or do anything except to make conscious those things we already feel deeply and then to live through the unending vulnerabilities of those consequences. To be courageous is to seat our feelings deeply in the body and in the world: to live up to and into the necessities of relationships that often already exist, with things we find we already care deeply about: with a person, a future, a possibility in society, or with an unknown that begs us on and always has begged us on. Whether we stay or whether we go - to be courageous is to stay close to the way we are made." David Whyte

I struggle with change, especially when it involves my kids growing up and leaving home, and I spent a good portion of this afternoon in the Porkies thinking about dropping Will in Madison and then turning the car north, without him. I wish I could say I had some sort of epiphany in the woods that August day that settled my mind and heart but I didn't....and as it turns out, I don't need epiphanies to muddle my way through letting go. I just need to be brave. Brave enough to know that Will would be fine (and trust me, it's clear that Madison is exactly where he belongs) and that he'll carry the smell of damp pine needles, the sounds of running water and the memories of tiny mushrooms nestled in the crooks of giant red pines with him as he moves along. He knows to stay close to the way he was made.

Fried Chicken That Will Blow Your Mind

I realize the thought of fried chicken blowing you mind is a little 'out there' but I'm serious -- this is really good chicken. Fried chicken is a funny thing -- it looks like a simple proposition (dredge chicken parts, deep fry and eat) but I've found it difficult to find that sweet spot where the breading is golden-brown, the skin is crispy and the inside is cooked. Add a thermometer to the mix that someone diligently scrubbed clean but also removed the temperature markings and fried chicken takes on a level of complexity that gives me a headache. I suppose I could have bought a new thermometer or been satisfied with two of the three criteria for superlative chicken mentioned above but instead, I set out to research recipes that cooked the chicken before frying....which would allow me to fry the chicken at slightly higher temperature without worrying about the meat being fully cooked. 

The vinegar and soy sauce poaching liquid combined with a fermented chili and soybean paste that I'd never heard of before (and still can't pronounce) takes fried chicken to a whole new level. The gochujang paste is critical and can be found at an Asian grocery store or on Amazon -- it has a very particular taste and I can't think of a decent substitute. Also, poach the chicken very slowly -- you don't want the skin to shrink too much or fall off the chicken....the crispy skin is my favorite part of fried chicken. And I'm telling you, once you taste the chili sauce you're going to want to slather it everything you can think of -- it's that good. 

Korean Fried Chicken 

For poaching

2-1/2 cups distilled white vinegar
1 1/2 cups water
1/3 cup soy sauce
5 medium cloves garlic, smashed
1 teaspoon kosher salt
1 teaspoon whole black peppercorns
1 teaspoon brown sugar
2 bay leaves
2 to 3 lb. bone-in chicken drumsticks and thighs
Kosher salt

For the sauce

1/4 cup plus 2 tablespoons gochujang paste
1/4 cup apple cider (apple juice can be substituted)
2 tablespoons lime juice, freshly squeezed
3 teaspoons Asian toasted sesame oil
2 teaspoons rice vinegar
2 teaspoons honey
2 teaspoons soy sauce

For dredging and frying

1 cup all-purpose flour
1/3 cup cornstarch
1 teaspoon kosher salt
1/2 teaspoon onion powder
1/2 teaspoon garlic powder
1/2 teaspoon freshly ground black pepper
2 cups buttermilk
1 quart vegetable or peanut oil

Preparation

Poach the chicken: in a 4-quart saucepan, bring all ingredients to a simmer over medium heat ad then reduce heat to low. Add the chicken to the simmering broth, partially cover the pan, and poach for 15 minutes, turning the pieces over midway (it’s important that the liquid never get hotter than a very gentle simmer). Turn off the heat and let the chicken rest in the broth for 20 minutes. Transfer the chicken pieces to a cooling rack set over a sheet tray and pat the pieces dry.

Make the sauce: whisk all the sauce ingredients together in a medium bowl; set aside.

Dredge and fry the chicken: combine the flour, cornstarch, onion powder, garlic powder, salt, and pepper together in a medium bowl. Pour the buttermilk into a separate bowl. Dip each piece of chicken in the buttermilk, lift out, and let the excess buttermilk drip off. Dredge the chicken in the flour so that each piece is evenly coated. Transfer to a large plate and set aside while you heat the oil.

Add oil (enough to fill the pan halfway ) to a 12-inch cast-iron or deep fryer; heat the oil over medium high to 365°F. Set a wire rack on a paper-towel-lined rimmed baking sheet.

Working in batches, fry the chicken, turning it over every minute or two and adjusting the heat as needed to maintain 365°F until an instant-read thermometer registers 165°F in the thickest part of each piece, 8 to 10 minutes. Transfer the chicken to the rack. Liberally brush the fried chicken with the sauce and serve with more sauce on the side.

Cardamom and Orange Cookies

Cardamom was the name of the game in my kitchen this winter. I haven't cooked much with it in the past but I made up for lost time with Swedish meatballs, cakes and cookies. Orange and cardamom are the culinary version of Laverne and Shirley or Starsky and Hutch -- totally different flavors but perfectly matched. Cardamom requires a light hand, too much and it goes from lyrical to over-powering....which in the case of these cookies, is not a good thing. 

I found some vanilla beans in my cupboard that were getting a little long in the tooth and needed a purpose before they bit the dust. Vanilla sugar is about as simple as it gets: find a Mason jar, put in 4 or 5 vanilla beans and fill the jar with raw sugar. I let it sit for about 2 weeks and I add fresh sugar (give the jar a couple shakes to mix the old and new sugar) every time I use it. It adds a nice layer of flavor to cookies, cakes and pies. 

Orange Cardamom Cookies (adapted from Food 52)

2 cups all purpose flour
1/2 teaspoon baking powder
1/4 teaspoon salt
1 teaspoon ground cardamom
2 sticks ( 1 cup) butter, room temperature
1 cup light brown sugar
1/2 cup granulated sugar
1 large egg, room temperature
1 yolk of large egg, room temperature
1 tablespoon vanilla extract
Zest of one large orange
Raw vanilla sugar, for rolling

Preparation

Preheat oven to 350 degrees. Whisk together flour, baking powder, salt and cardamom and set aside.

In a stand mixer fitted with a paddle attachment, stir the butter and sugar together till just combined, about 30 seconds. Add the egg and egg yolk; stir to combine. Add the vanilla extract and orange zest, stir again. Gently add in the dry ingredients a little at a time, stirring just until they are combined, about 30-45 seconds.

Scoop the dough with a tablespoon and roll into balls. Roll the cookie balls in the vanilla sugar. Place evenly on parchment lined cookie sheets and flatten slightly with the back of a spatula. .

Bake for 10 - 12 minutes or until cookies are brown on edges and still soft in the center.

Place cookie sheet(s) on wire rack for 5 minutes. Remove cookies with spatula and place them on wire racks to cool completely.

An Icy March Sunrise

One of the benefits of taking Meghan to Washburn for a 6:15 AM bus ride to a volleyball tournament? Catching the sunrise on Bayview Beach. A late winter beach is constantly changing -- one day the beach will be socked in with ice and two days later, there is open water and small icebergs bobbing a few feet offshore.  The interplay of the Lake and its ice, the sun and its golden-orange rays and the pups running along the ice-strewn beach was a helluva way to spend an early March morning. 

There is something about ice as it's melting its way back to its beginnings that is delicately beautiful. It reminds me of lace -- a weblike pattern fashioned by winter's loosening grip as we move towards spring.

There was a thin skim of ice over the Lake and the cracks were delineated with ice crystals, lit up by the rising sun. 

We're going to have an early spring -- it was a warm winter and the Lake didn't freeze completely. The snow is nearly gone and I bet the Lake will be open by early April. Ice is ephmeral and in a changing climate, becoming more of a rarity than a guarantee. 

I'll witness many more sunrises over this beach but this one will stick with me. The world seems to have lost its mind and we are in the in-between of a great awakening and a great turning...and it feels chaotic. I have no idea where we are headed as a country and I'm watching the horizon for what's next. Thankfully, the sun rises each morning, bathing the world in its light, and winter's melting ice will become the summer's liquid waves -- there is comfort in those watery rhythms and I'm thankful for the peace it gives me.  

Swedish Meatballs in an Irish Kitchen

Swedish meatballs -- the final frontier in my meatball journey. A few years ago, I set out to make as many kinds of meatballs that I could dream up. I made Italian, Asian, Indian, Moroccan and even Reuben meatballs but for some reason, I stopped at Swedish. Until a few months ago when Mary came over to show me how to make lefse and she brought a container of Swedish meatballs so we could make Swedish burritos. Those meatballs, with their cardamom flecked pork/beef mixture and creamy gravy, were a game-changer for me (the freshly made lefse wrapped around the meatballs didn't hurt either).

I decided to tackle the iconic Upper Midwestern meatball in my own kitchen and I have to report, these meatballs passed muster at our monthly Let's Do Lunch cooking class at Bethesda Lutheran Church in Bayfield. And that's saying a lot for a Swedish meatball recipe developed in an Irish kitchen! 

Swedish Meatballs

1 pound pork sausage
1 pound ground beef
1/2 cup onion, finely diced
1/2 cup (1 stick) butter, divided
1 cup bread crumbs
1/3 cup milk
2 eggs, lightly beaten
2 teaspoons kosher salt
1 teaspoon black pepper
1/2 teaspoon ground cardamom
1/2 teaspoon ground allspice
1/4 teaspoon nutmeg
1/4 teaspoon ground ginger

Gravy

4 tablespoons butter
1/3 cup flour
1/2 tablespoon Worcestershire sauce
1 teaspoon Dijon mustard
4 cups beef stock
1 cup sour cream

Preparation

Preheat oven to 200 degrees. Combine the bread crumbs, salt, pepper and spices, and then add the milk, set aside. Melt 2 tablespoons of butter over medium heat in a large skillet and cook the onions until soft, about 5 minutes. After the onions are cooked, place all meatball ingredients in a large bowl and, using your hands, thoroughly combine. Shape into small meatballs. Heat the remaining butter in the skillet you cooked the onions in and gently brown the meatballs on all sides (about 7 minutes). Place them on a sheet tray in the oven to keep warm. 

To make the gravy, blot the grease form the skillet (leaving most of the browned pan drippings behind). Add the butter and melt over low heat. Stir in the flour and cook for a couple of minutes, or until brown and bubbly. Stir in the mustard and Worcestershire sauce. Slowly stir in the stock and cook until gravy is thickened and does not taste 'floury'. Stir the sour cream into the gravy and  cook for another 3 - 5 minutes. Put the meatballs back into the skillet, cover, and cook over low heat for another 10 minutes. Serve with mashed potatoes. 

Michigan Island Camp

Spring is in the air, even though it's mid-February and we should have a couple of feet of snow on the ground, and that means a couple of things: I start to plan the garden and Ted starts to plan our May BWCA trip. In honor of this annual rite of spring-in-the-middle-of-winter, I thought I'd share some photos from our August trip to Michigan Island.

It was a momentous trip -- Will was leaving for his freshman year in a few weeks, it was our first time camping as a family in the Islands and it was the first time George and Gus had been invited to come along for the ride. A trifecta of 'firsts' played out on one of our favorite islands. We packed the Karl with enough provisions to last a couple of days and headed out on the Lake. 

Ted is a big, and I mean BIG, fan of camping preparation and that means he has bottles, jars, packages, stuff sacks and baggies for everything you can think of.....including Ulf's curry powder. Our friend, Ulf, makes his own curry powder in Washburn and it's the gold standard in our kitchen and in camp. 

Bordeaux, red vermouth, whiskey and a roll of paper towel -- essentials for a Dougherty camping trip. 

George and Gus took to the camping life remarkably well until they realized I left their bed at home and they had to sleep on the ground. That was clearly troublesome for our two little princes but they managed to find ways to cope -- like sitting on top of the picnic table. 

Michigan Island has a single campsite and it's a sweet one. Tucked back from the beach among the pines, it had two level spots for the tents and a fire ring with huge pieces of driftwood re-purposed as benches. The bear locker made a great cooking surface and the picnic table was a nice touch. My camping experience is limited to the BWCA (where tables are improvised) and I have to admit, there's something about a picnic table that seems mighty civilized when you're in the woods. 

We got up in the morning and headed out for a walk down the beach. While I'm not the biggest fan of camping (sleeping on the ground and pit toilets in the middle of the forest require a open-mindedness I'm not always ready to embrace), I do love the slower cadence of life outdoors.  We spent three hours exploring the beach, watching the fishing tug pull their nets and hollering for George (who was having the time of his life eating seagull poop...more about that later). 

It started to rain while we were walking on the beach but we were resolute in our commitment to camping. Well truthfully, Ted and Charlie were resolute --- Meg, George and I were ready to abandon ship. But Ted set up a tarp, George got up on the picnic table and Meg and I decided to play cards...it was actually quite pleasant until George jumped up on the table and sat down on our game of gin rummy. I think Meg put him up to it because I was winning. 

Gus needed a helping hand to get around the logs that littered the shoreline. He's a sturdy little dog but swimming, given his short legs and wide girth, is not his idea of a good time. 

You'd never know it from this photo of George, looking oh-so-regal and self-composed, that he threw up sea gull poop (that he was eating on our morning beach hike) in our tent at 2 AM in the middle of a rainstorm. There's nothing quite like a heaving 80 pound Lab, a bunch of zippers (between sleeping bags, tents and rain flys...camping is a zipper-lover's dream), pouring rain and utter darkness to get your heart pumping. It was yet another unforgettable experience thanks to Handsome George....hopefully he'll go back to rolling in poop instead of eating it. 

The time flew and before we knew it, it was time to pack up and head home. Will had to get packed for Madison, Charlie had soccer practice, Meg's iPhone was out of juice and I had a serious hankering for a shelter without zippers. With the smell of wood-smoke in our clothing, we loaded the Karl and headed home. Even with the rain and George's puke-a-thon, it was a good way to mark Will's last week at home before he started his new life as a Badger. The islands and Lake Superior have been the backdrop for many funny, tender, chaotic and trying Dougherty stories and thank God, we're still composing chapters in our tome about life in a northern town. 

A Tendency to Shine

DSC_8408_1.jpg

A Tendency to Shine

If you prefer smoke over fire
then get up now and leave.
For I do not intend to perfume
your mind’s clothing
with more sooty knowledge.

No, I have something else in mind.
Today I hold a flame in my left hand
and a sword in my right.
There will be no damage control today.

For God is in a mood
to plunder your riches and
fling you nakedly
into such breathtaking poverty
that all that will be left of you
will be a tendency to shine.

So don’t just sit around this flame
choking on your mind.
For this is no campfire song
to mindlessly mantra yourself to sleep with.

Jump now into the space
between thoughts
and exit this dream
before I burn the damn place down.

– Adyashanti

It was a Dark and Stormy.....Molasses Gingerbread Cake

Okay, this cake isn't exactly stormy but it is dark and spicy and that makes it a good choice for these cold winter nights. Cake baking is not my strongest suit but this recipe is incredibly easy and requires one whisk and one bowl....which is a bonus when the kitchen looks like a bomb hit it but I want something sweet-ish.   

This cake dense, rich and not terribly sweet...and gets better after it sits for a couple of days (covered, of course). 

I've served this cake with whipped cream or vanilla ice cream but it's really good on its own with a cup of black tea or coffee.

Molasses Gingerbread Cake

2 cups flour
2 teaspoons baking powder
1/4 teaspoon baking soda
2 tablespoons candied ginger, minced
2 tablespoons orange zest
1 tablespoon ground ginger
1 tablespoon ground cinnamon
1 teaspoon ground cardamom
1/2 teaspoon ground cloves
1/2 teaspoon ground nutmeg
1/2 teaspoon salt
1/2 cup butter
1 cup boiling water
2 eggs, beaten
1 1/2 cups molasses
2/3 cup orange juice, freshly squeezed
1/2 cup powdered sugar
1 tablespoon vanilla

Preparation 

Preheat oven to 350 degrees. Butter a 8-inch spring-form pan and place a round piece of parchment paper on the bottom and fold it so it covers about 2/3 of the sides. Set aside.

Sift the flour, baking soda and backing powder into a large mixing bowl. Add all the spices, orange zest, candied ginger and salt, whisking to thoroughly incorporate. Melt the butter in the boiling water and then whisk into the flour/spice mixture. Add the eggs and molasses and whisk until well-blended. Pour into the prepared pan and bake for 45 minutes, or until a skewer plunged in the center comes out clean. 

While the cake is baking, mix the orange juice, powdered sugar and vanilla and set aside. Immediately after you remove the cake from the oven, poke a number of holes into the cake and then pour the orange juice/sugar mixture over the top. Allow to cool completely and then remove from the pan. You can serve it immediately or store, covered, to serve later. This cake improves with age...you can serve it up to 3 days after you baked it and it'll taste fantastic!